|
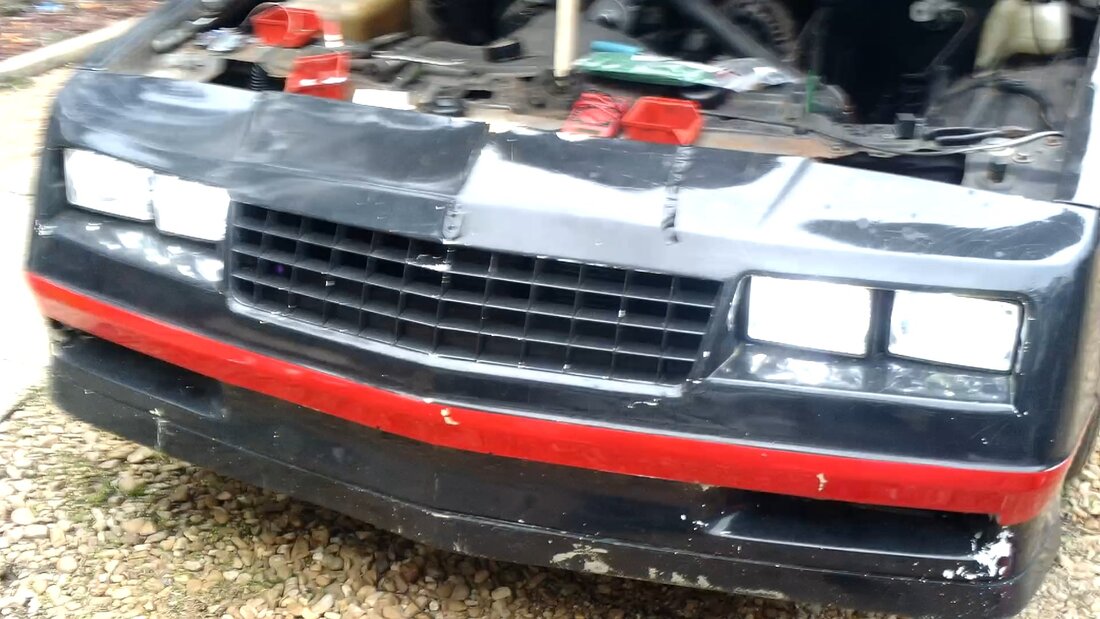
After having sat for so long I've decided to start taking steps to get the Monte back on the road again. Part of this involved patching up the rear since the bumper skin was of a different shade and the trunk lid still had the damaged paint from a past car fire behind the Monte. I managed to get the rear patched up enough to at least look somewhat decent while I work on eventually painting the whole car. Right now my next move on the Monte is to upgrade the headlights to LED.
This involved getting a set of H4 light sockets that fit in place of the 4x6 sealed beam headlights but use H4 bulbs. Of course instead of using incandescent bulbs I'll be replacing them with LED versions. As has always been the case with H4 LED's, there is a different wiring for these bulbs compared to the old school bulbs of the same plug style. The H4 LEDs actually use a single 12v power feed and two grounds that are switched to control the high and low beams. Luckily this would end up being pretty easy since I won't have to go in the car's old wiring to redo things. I added relays a while back so the headlight switch and the aftermarket rocker switch I added for the high beams will only switch the relays, which in turn control power to the headlights. 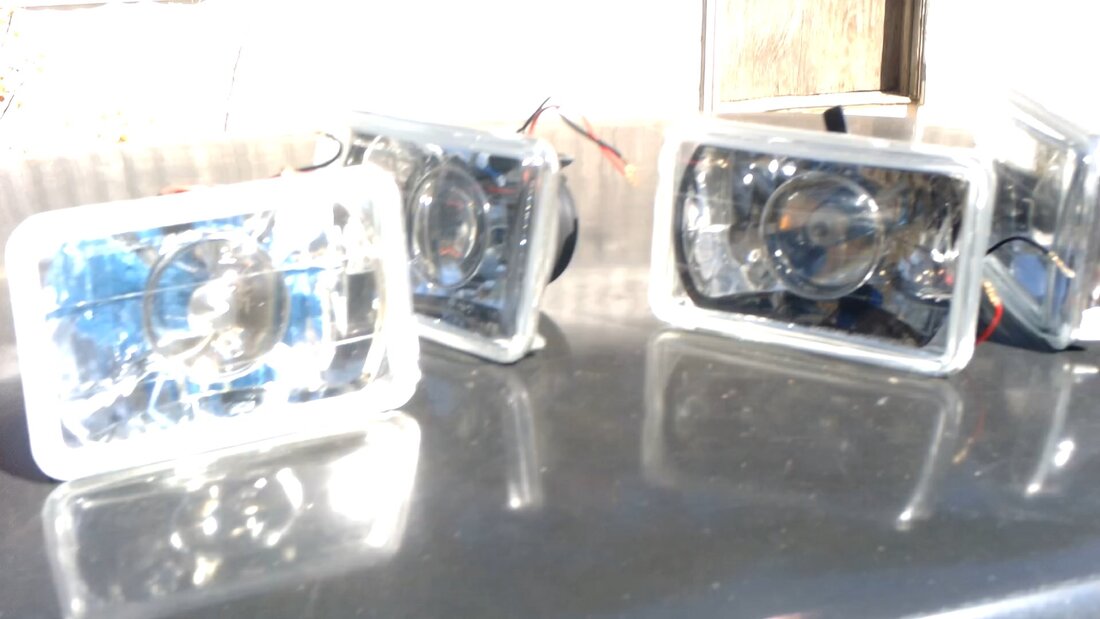
H4 4x6 headlight sockets.
I started off by replacing the headlight plugs with fresh units since there was only female plugs on the ends of the wires plugged to the headlights. Replacing with regular plugs makes things neater and a little less "fire hazardy" than having loose wires plugged up. In the process of wiring in the headlight plugs, I took the time to reroute wires to the relays so I can have switched grounds instead of switched 12v lines. After some playing around, I got everything figured out and had one side all wired up properly, so the lights switch on and off as intended. 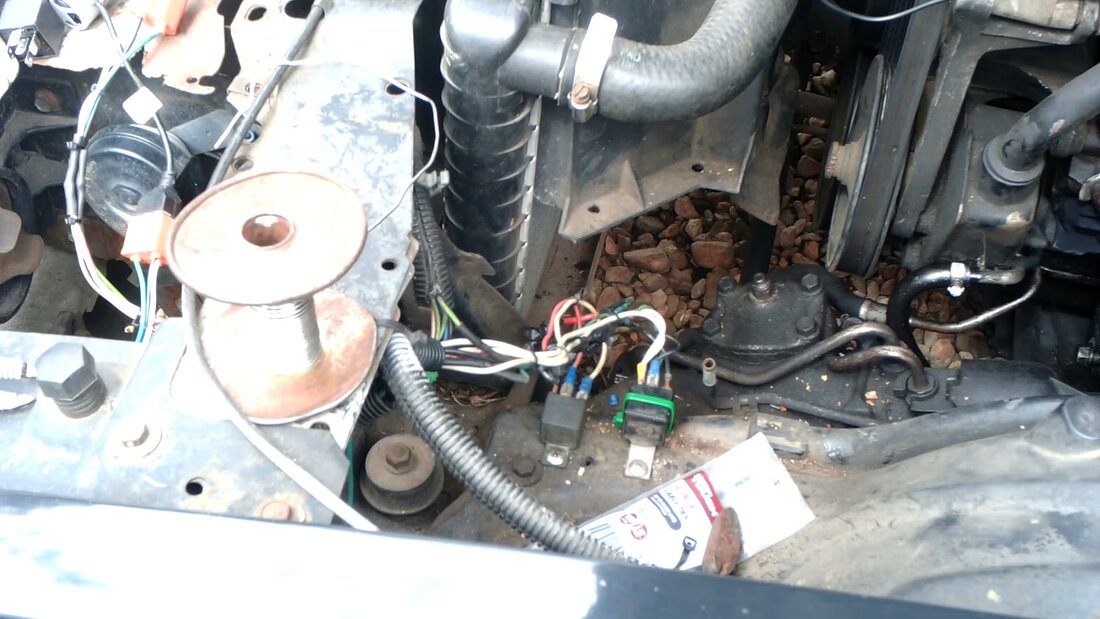
Automotive relays used in previous headlight system, rewired to accommodate the H4 LED lights.
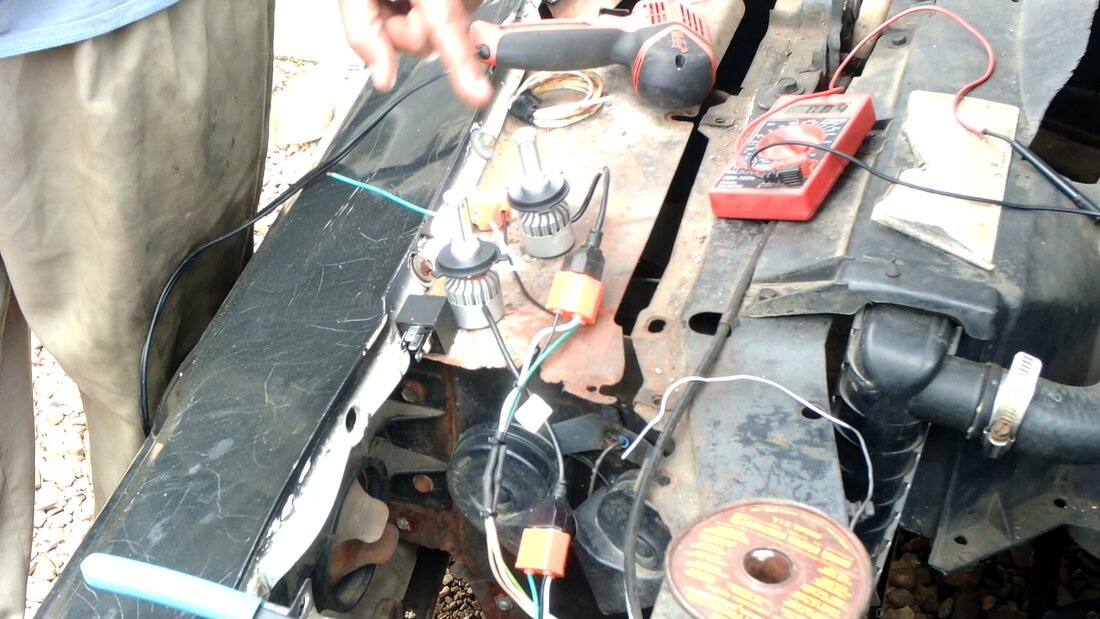
LED bulbs illuminated during test after rewiring the plugs and relays.
With the left side wired up, I duplicated the same wiring with the right side. I had to route new wires since the old wiring only took into account the one chassis ground and the switched 12v power feeds. These extra wires were routed along the same cable that was linked to the right side headlights to begin with. With the new wiring added and the light plugs wired in, I had the right side lighting up just as the left side was. Everything as far as the electrical side of this job was complete. The next move was to actually install the light sockets. 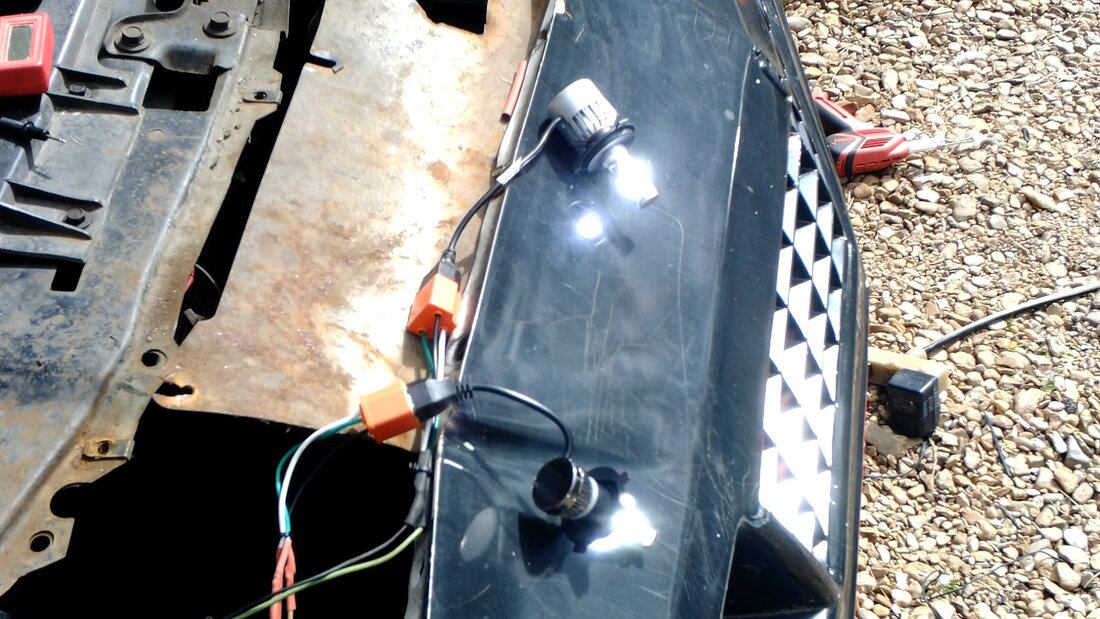
Right side LED bulbs lit up after rewiring successfully.
Now there were a couple of small hurdles that had to be jumped when it comes to installing these headlight sockets. The first was the idea that I had to remove the whole front clip in order to be able to remove the old headlight bulbs and rings and buckets. The front clip made it extremely difficult to even get a screwdriver in to remove the screws holding the buckets in place, much less actually removing the buckets. So that had to be removed. Second, the headlight buckets have a smaller base that was made to accommodate the old sealed beam bulbs. The H4 sockets have bases that are wider to accommodate the removable H4 bulbs. What this means is I had to trim some of the metal away from the headlight bucket base to widen the opening to accommodate the H4 sockets' bases. This was easily accomplished with the angle grinder. After using a grinding wheel to knock out the sharp edges, I had the headlight buckets modified to accommodate the H4 sockets. I installed all four buckets and the H4 sockets and their rings to get them all locked in place. I installed the LED bulbs before locking the sockets in place so once they were secured, all I had to do was plug the bulbs up. 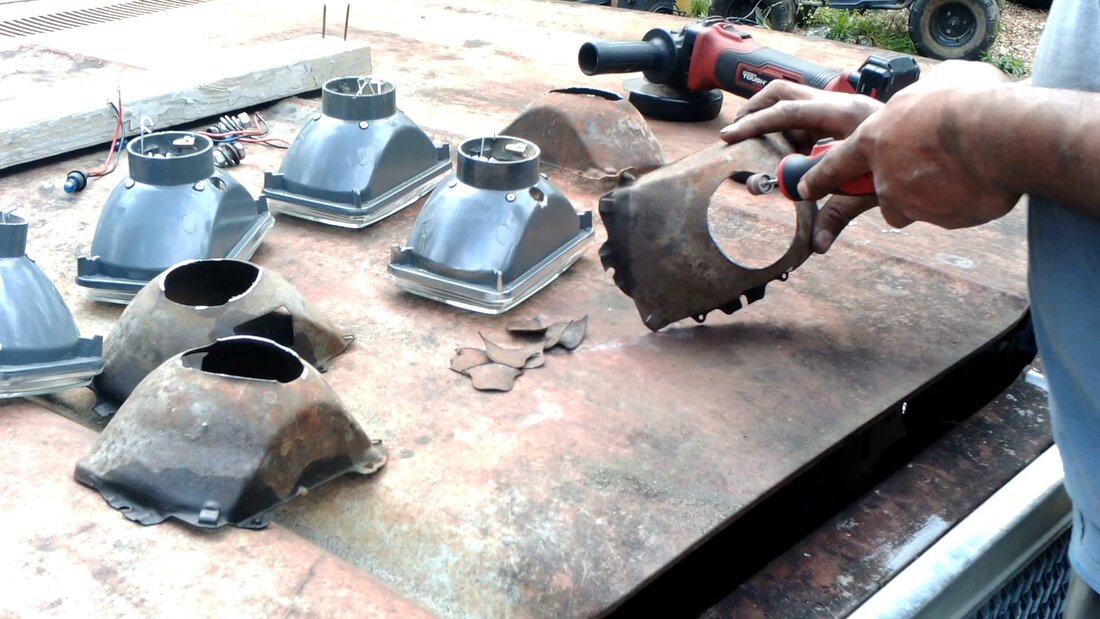
Trimming the openings of the headlight buckets to accommodate the H4 headlight sockets.
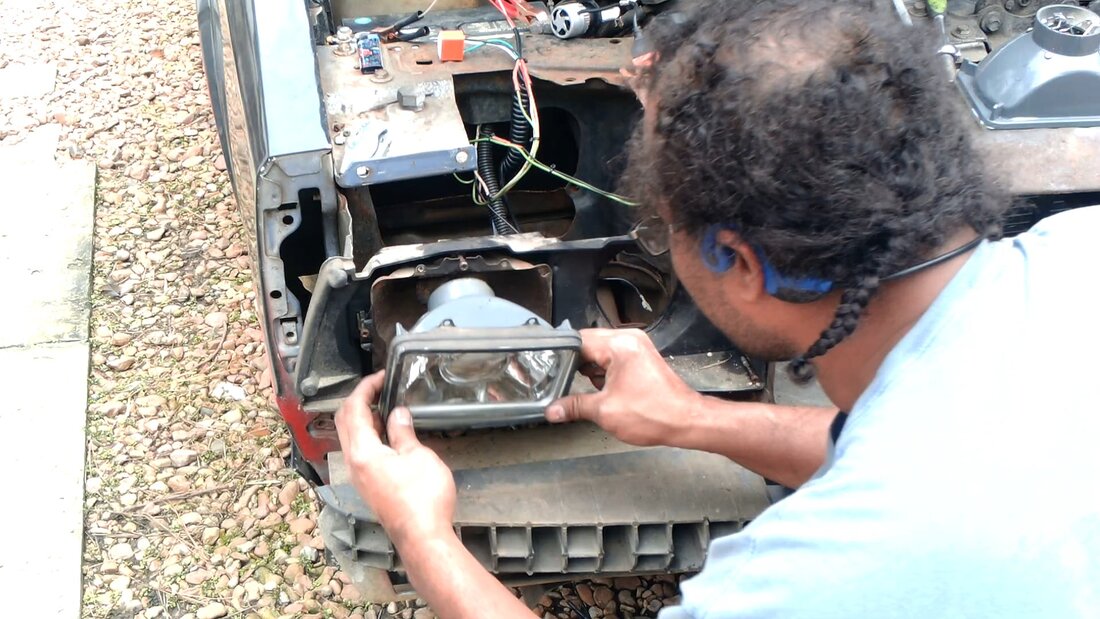
Installing the headlight sockets after installing the buckets back in their respective holes.
Headlight sockets with their buckets reinstalled in their mounts.
After getting all the headlight buckets and sockets secured and tested once more to verify that everything still worked, I went ahead and reinstalled the front clip. This front clip has been distorted some due to past accident damage and even some of the mounting points are damaged, so as it goes, this thing did not perfectly line up as it should. I will have to get a new one at some point and probably do some bending and other manipulation of the metal that holds all this stuff together evenly in order to get even a new front clip secured and lined up properly. Anyway, with the front clip back on and secured to the best of my abilities, I was able to finally say the headlight conversion job was complete. 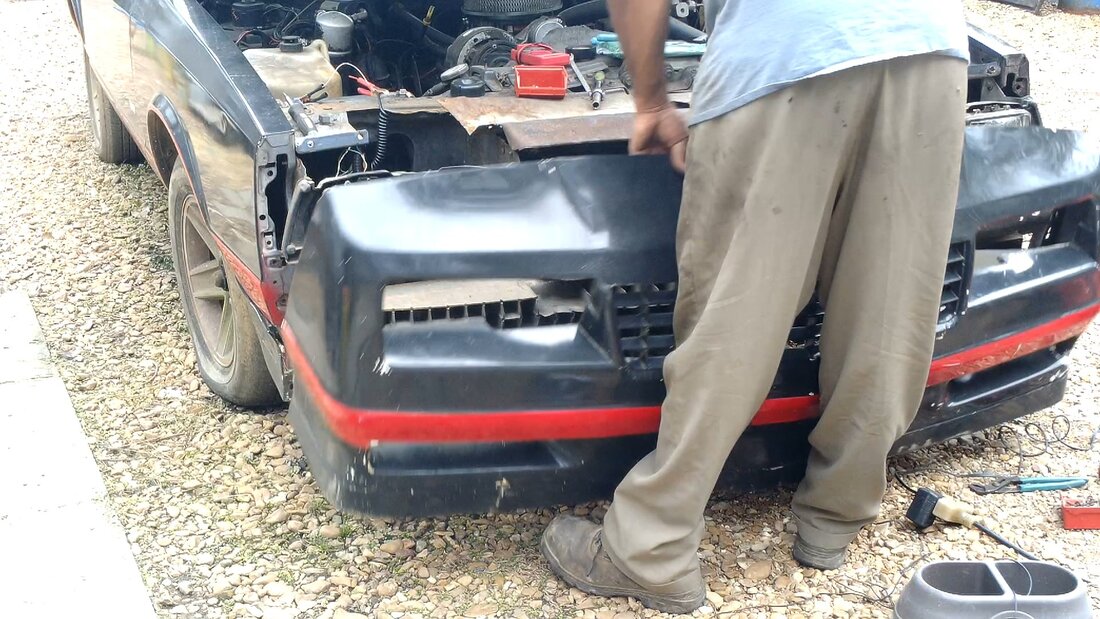
Reinstalling the front clip on the Monte.
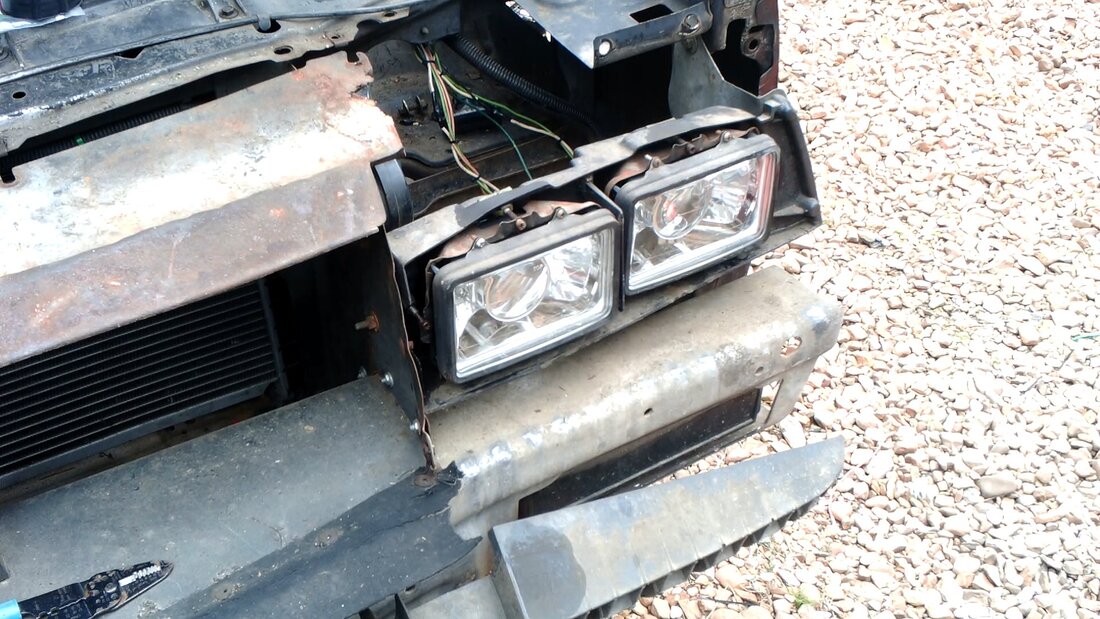
All four headlights lit up after turning on the high beams.
With that, I can now say that I can drive comfortably at night without having to strain my eyes on the blacked out roads I travel. The LED's will light up any deer in the distance and ensure a safe travel down the road. The next thing that I have to do on the car is replace some valve stems in a couple of tires so they won't keep going low every few days. From there the next move is installing a fresh rebuilt engine, and maybe a 700R4 transmission so this car can really be ready for some road running.
0 Comments
One of the things we managed to take advantage of just before leaving for our cruise was corresponding with a dude that happened to have a hood for a 69/70 Mustang on FB marketplace. He contacted me to let me know he still had it when we were coming back and was willing to meet us Sunday evening. $400 later we were in possession of a pretty fresh replacement hood that is already black and even has a red bordering, which is something I thought about adding to the Rustang when I did get the body done anyway, red striping. 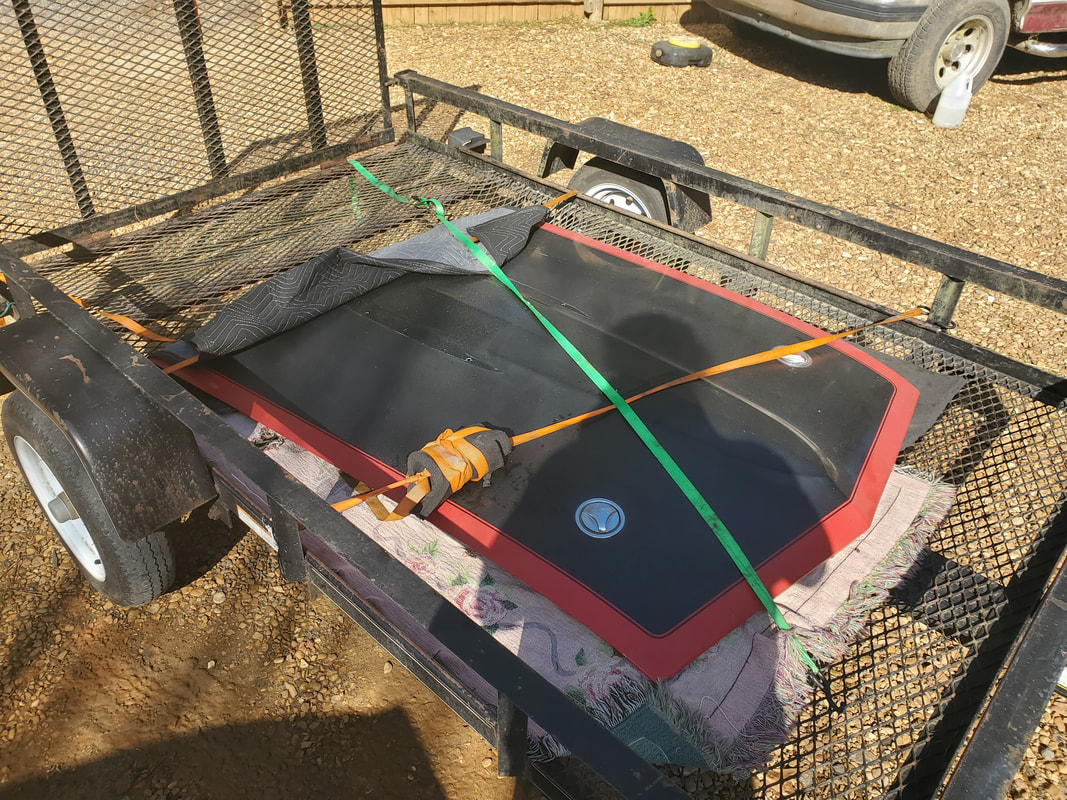 Our new used replacement hood for the Rustang, strapped to the trailer. The old hood on the Rustang was actually a replacement hood we found many years ago but as time passed, the hood rusted in the middle and repeated opening and closing caused the hood to start bending due to the upward resistance of the spring hinges and the downward force of closing the hood. Because of this, the hood would close with a bow in the middle, which was an unsightly thing. This hood had to go. Now there are a couple of things to note. One is the idea that this replacement hood used to have the factory hood scoop typically on the Mach 1 cars equipped with a 351 or 429 V8. The spot is still present on the hood with the input vents at the back of the hood and the stud holes for the vent. I will have to find another one of these vents, especially since I have a lead on a 351 V8/C6 powertrain for this car. More on that in the near future. Anyway, the other thing about this hood is that is has these twist locking hood locks that were installed in place of the regular hood pins that were mounted to the radiator core support. The old hood has these metal washers that bolt to the hood and when the hood is closed, allow the pins to protrude up through the hood so the cotter pins, typically held with short cables, can be snapped in place as an added safety to keep the hood down. I will have to see what else attaches to these twist locks so I can possibly restore this feature for the hood. In the meantime, I'll have to remove the old hood pins so the hood will be able to close all the way. 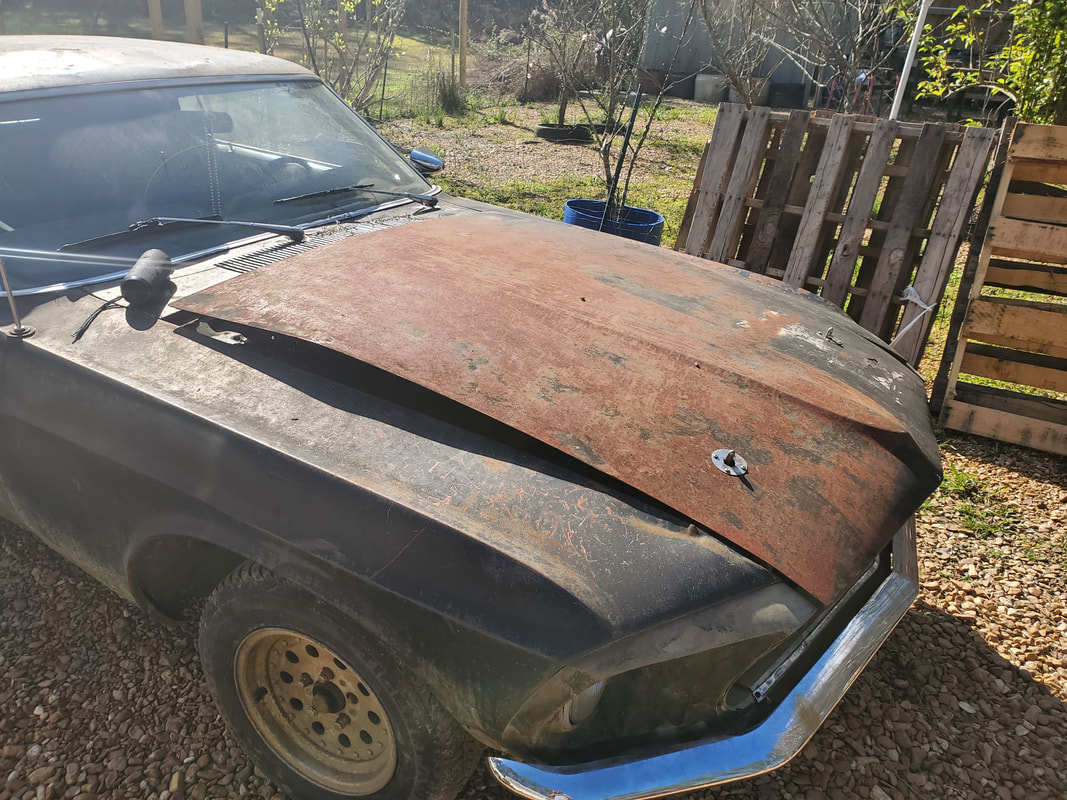 The old hood in the closed position, showing the bowing in the middle due to the weakening support metal of the hood. 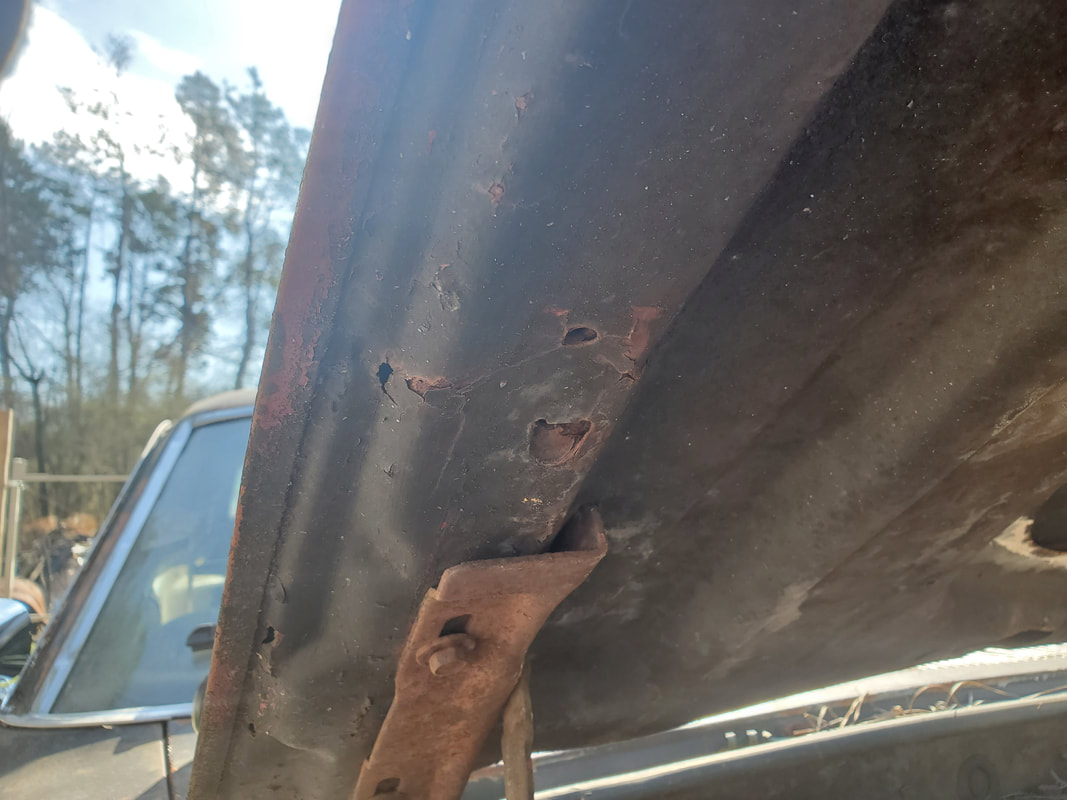 The spot in the middle of the hood where rust caused the metal to bow and bend, creating the bow in the hood. We removed the hood and the hardware from the hood, setting the old hood along with the outgoing scrap as there is nothing we can do with this hood other than scrap it. The hood pin washers and the hood latch bar came out as well. With that, the new hood went on, using the four bolts to hold it in place. I removed the hood pins so the hood can close all the way. Afterward I had to realign the hood so when it closes the hood will be evenly closed on all four corners. 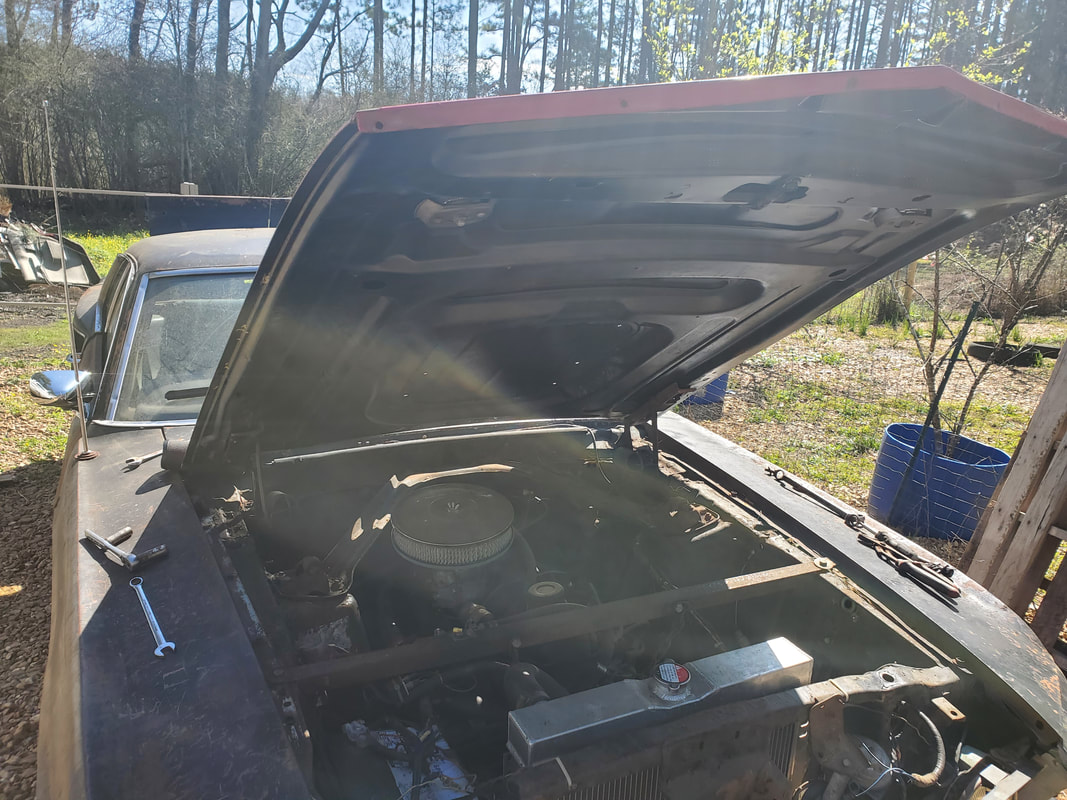 Installing the hood and removing the hood pins, as noted by the vacated spots on the radiator core support. 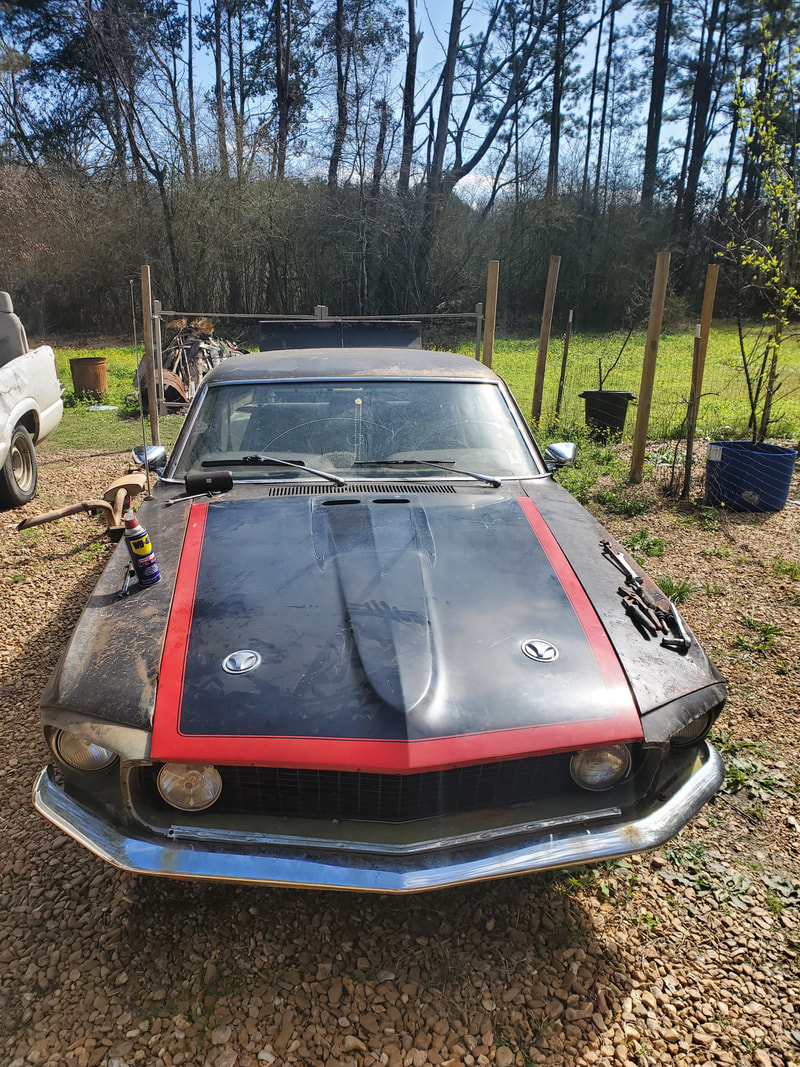 The hood after realigning, closes properly enough to be even all around. With the hood in place, I can now start trying to do some other body work to this car to at least try to make it look a little better. The passenger door still has a major dent that has to be pulled or knocked out. The door panels can also be spray painted, even with canned spray paint to make them look better, along with the front fenders. Even though the front fenders need replacing, hitting them with generic spray paint will at least help make the car look better. Now as for the rear quarters, that's another animal. Short of doing some real fuckery with some scrap sheet metal and some bondo, even on a temporary basis, there's really no other way to address the rear quarters without cutting out the old metal and welding in fresh panels. I'm more than game to do some real fuckery with scrap metal and bondo to give the illusion of a restored body to help make this car look just a little better before I can manage to implement my ultimate plan of installing the body on another truck frame. After leaving Belize we were in for a good two days at sea before we would make it back to NOLA. Only problem is on the evening we left from Belize, weather predictions stated that we would be in for some rough seas due to the weather systems that were affecting the mainland. Being a smaller ship, we figured we'd be in for a really bumpy ride. We had motion sickness pills at least but still, bobbing and weaving for 12+hrs isn't really my idea of fun. 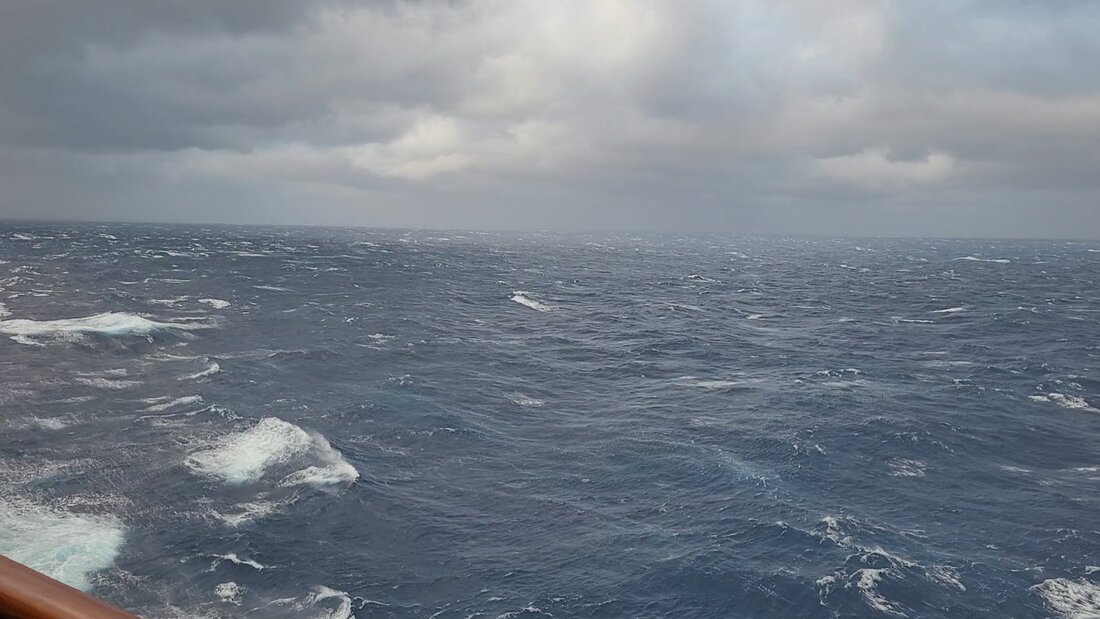 The rough seas we woke up to on the first sea day back. Even though we were bouncing around quite a bit with a couple of rogue waves hitting the side of the ship, we made it through rather well. It was funny that there were barf bags by all the elevators. At least we didn't need them. We took time to have breakfast and lunch without incident. Little techniques like staying hydrated and even tapping our legs to keep our minds occupied from the fact we were moving all over helped to keep us from puking several times over. As we went more north, it got colder as well, making things more uncomfortable. The stormy windy seas only lasted until 3pm and by then the skies cleared up. Other than the rough seas, the day was the same as the other sea days, eating and being entertained. 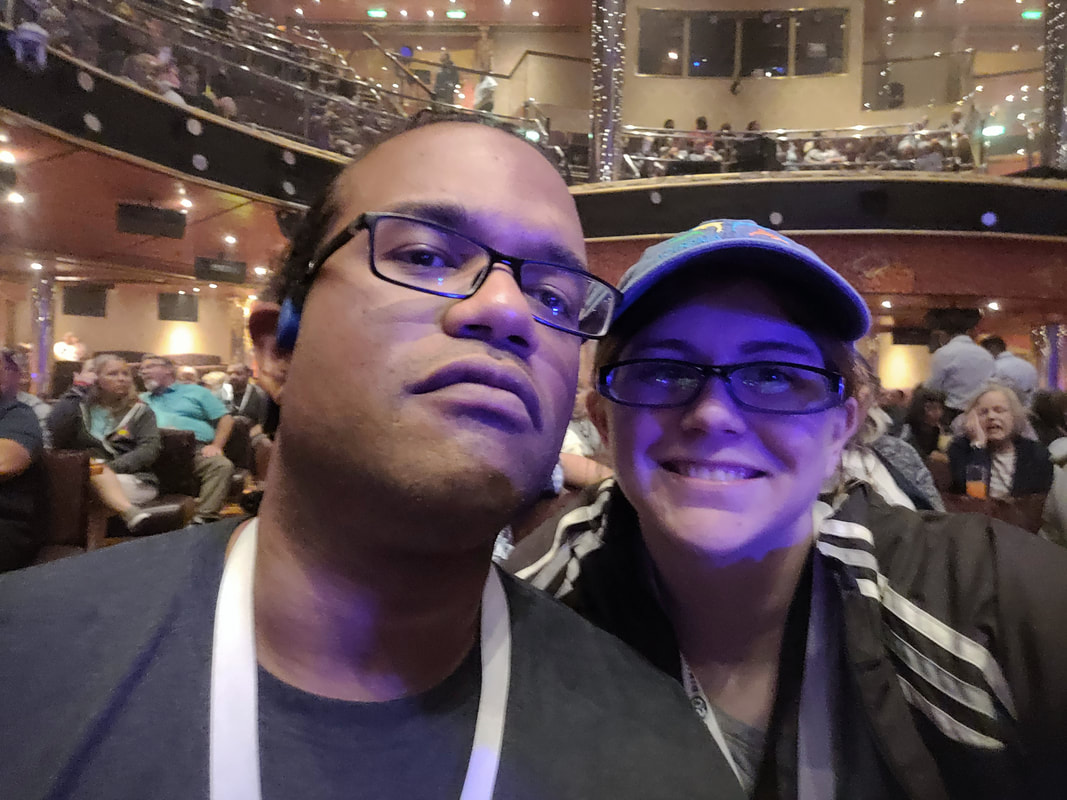 Posing for a pic in the theatre pre-show. 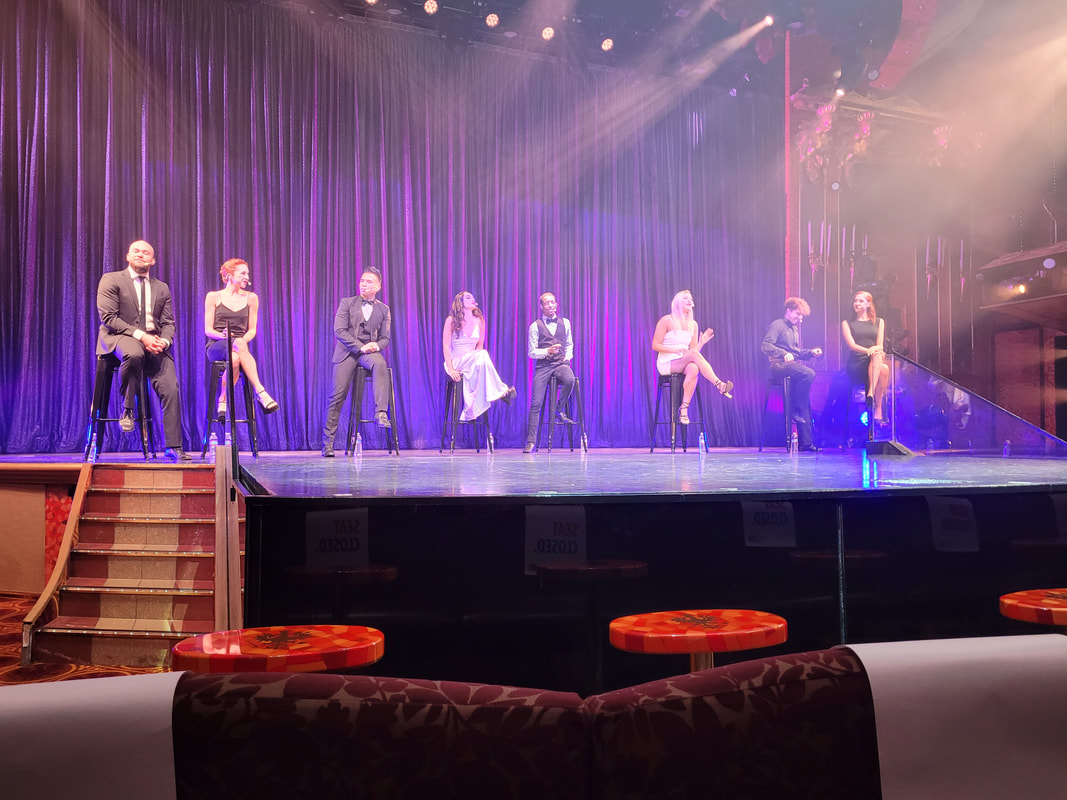 The play cast performing an old school R&B musical. One thing that everyone who takes these cruises needs to take time to see are the live shows that are performed on these ships, typically every night. Our ship didn't run shows as they were still getting things ironed out for their future performances but on the last couple sea days they had shows going on that were always good. They do shows that are rock themed, or 80's/90's or as was the case on the last sea day, an old school R&B themed show, performing songs from the 60's, 70's and 80's. We were happy to be able to enjoy one more live show before retreating back to the room to finalize the packing since we would be getting off the ship the following morning. Even the dining room staff performed a little show for us on the last day as a "see you later". As we finally made it back into the Mississippi River later in the night, we managed to catch the Carnival Valor outgoing, heading towards the Gulf on its own trip, lucky bastards. We went on to bed knowing that when we awoke, we'd be anchored at the Port Of New Orleans. 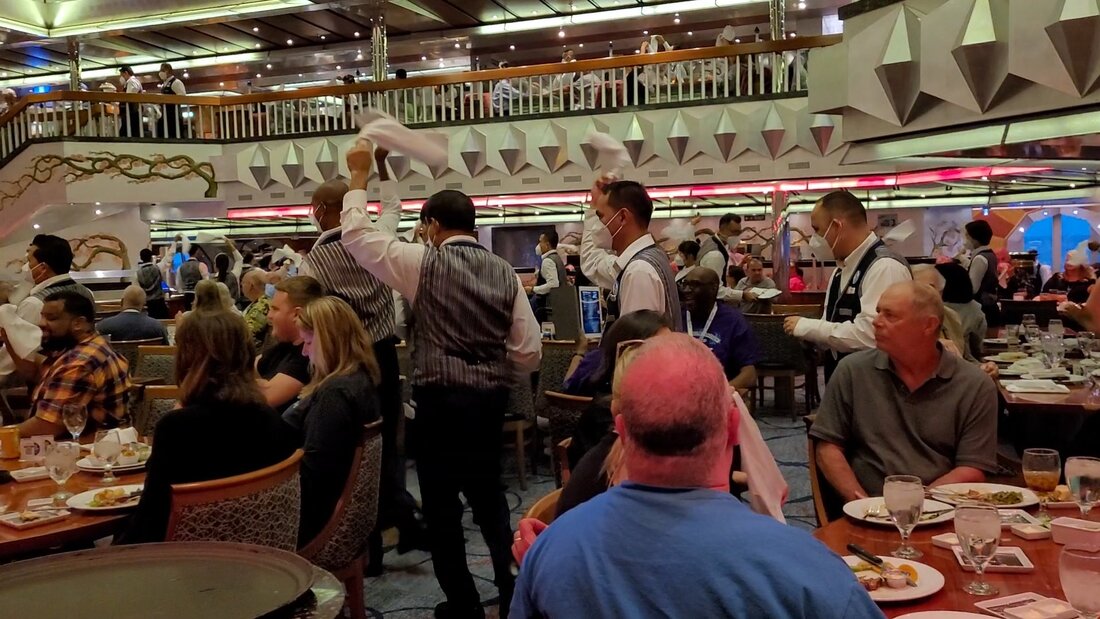 Dining Room staff performing their little show on the last night of the cruise. 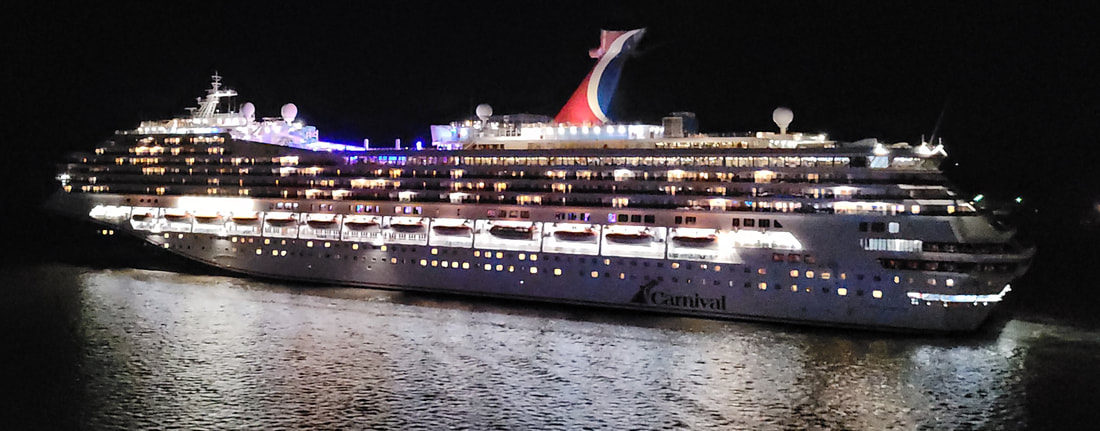 Passing the Carnival Valor on its way out towards the Gulf after entering the river.  Anchored at the port in New Orleans Sunday morning, the cruise is officially over. After waking up in NOLA, we took the time to have one more breakfast before going to retrieve some alcohol we checked in and grabbing our bags so we can head for the gangway to head into the port building and make our way out to the garage back to the car. Afterwards we headed on out, taking time to stop at a local pizza joint in Mandeville, on the other side of Lake Pontchartrain to get some Chicago Style stuffed pizza, made just like Giordano's. We grabbed a couple pizzas and some fried ravioli to bring back, with the plan to freeze one pizza and eat the other over the next week since these large pizzas will typically fill one up with just one slice, compared to other pizzas. With that little pick up made, we headed on back to the homestead to fully conclude our vacation. After another night of just circling around the Gulf, we made it to our final stop, Belize. The port we've visited before and same as now is at Belize City. Because of the reef, the ship had to anchor five miles out while ferry boats come in every 20 min or so to drop people off or pick people up. We caught one of the later boats to shore since we didn't have an excursion that would've required us to get to shore as soon as possible. Our plan was to just hang out around the port, see what kind of stuff they had available, and just overall enjoy the day at the port before getting back to the ship so we can head back home for the next two days. 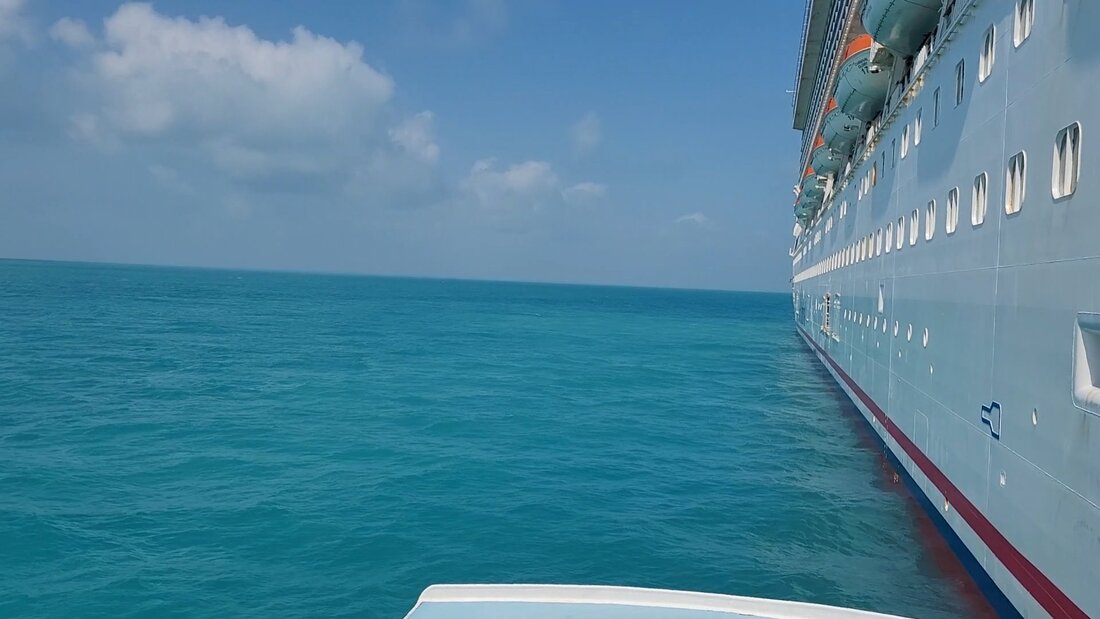 On the ferry boat, looking out the front window at the side of the ship before departure. 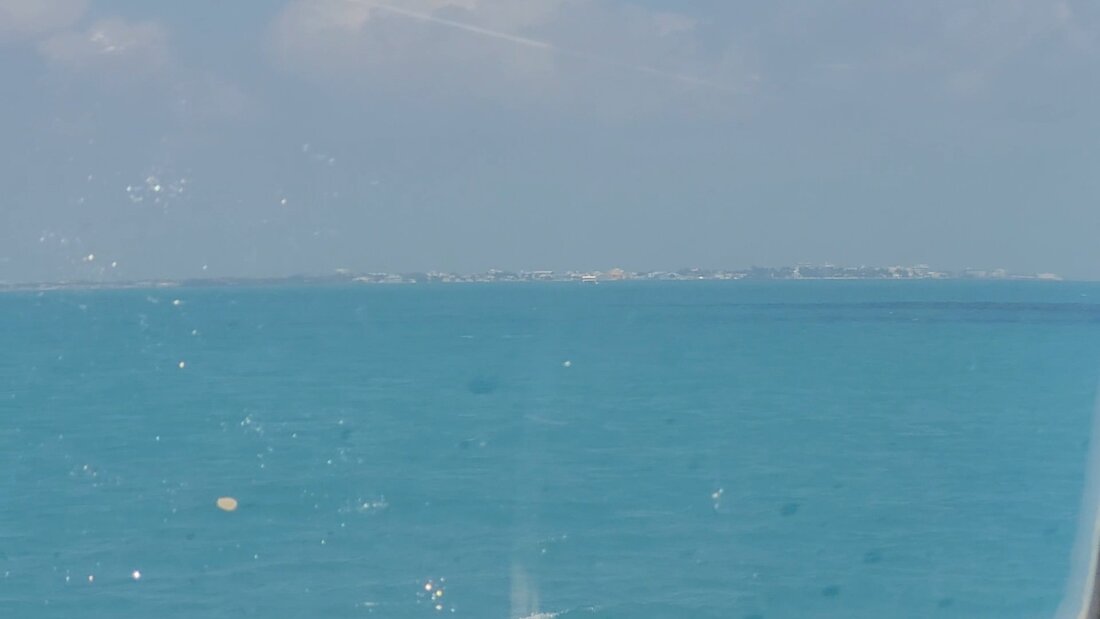 Sailing towards the mainland, Belize City in the distance. 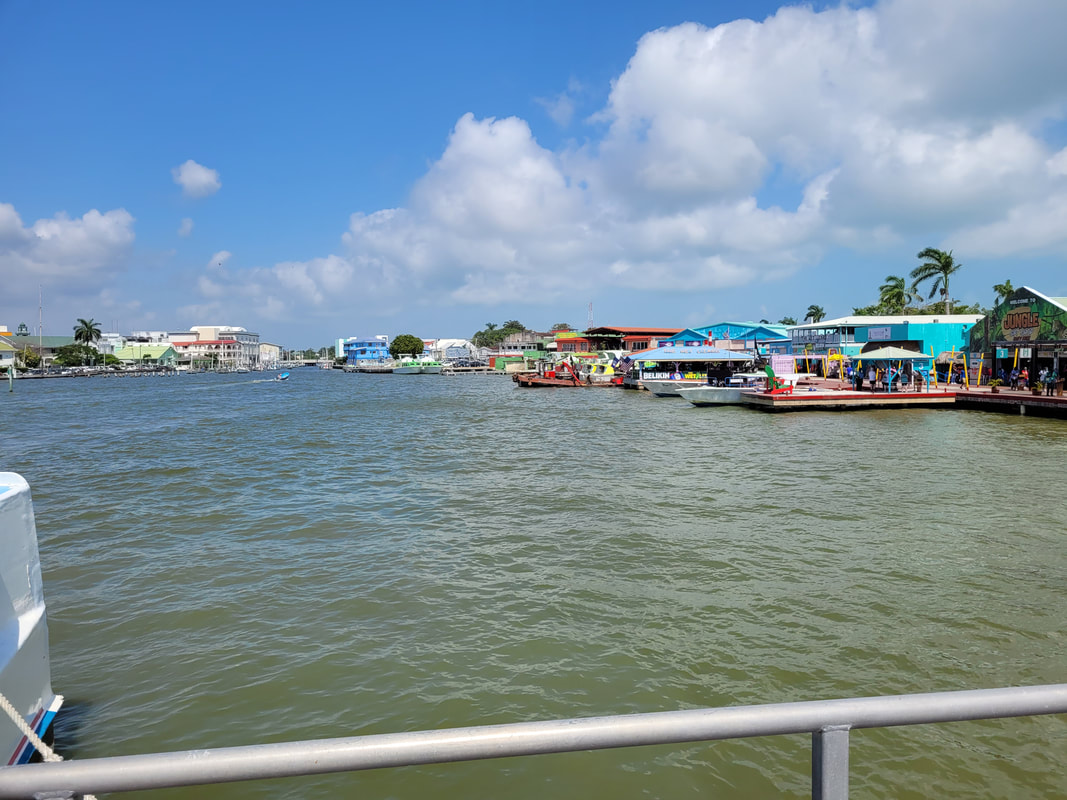 Coming into port. 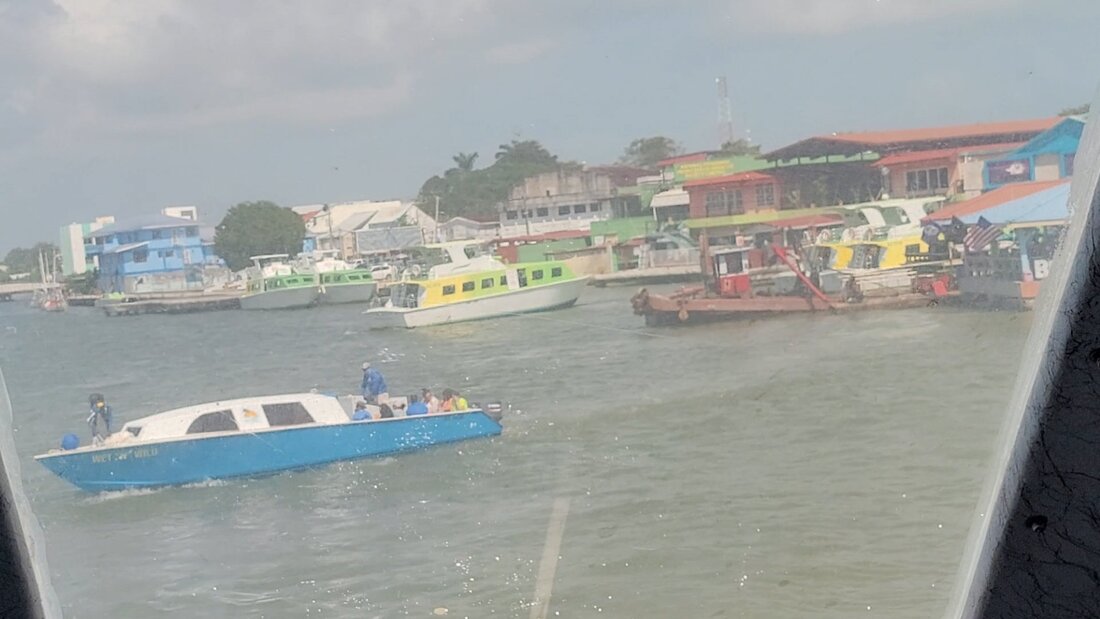 A cool little boat that appears like it used to be a sailboat that was converted to a regular motor boat. 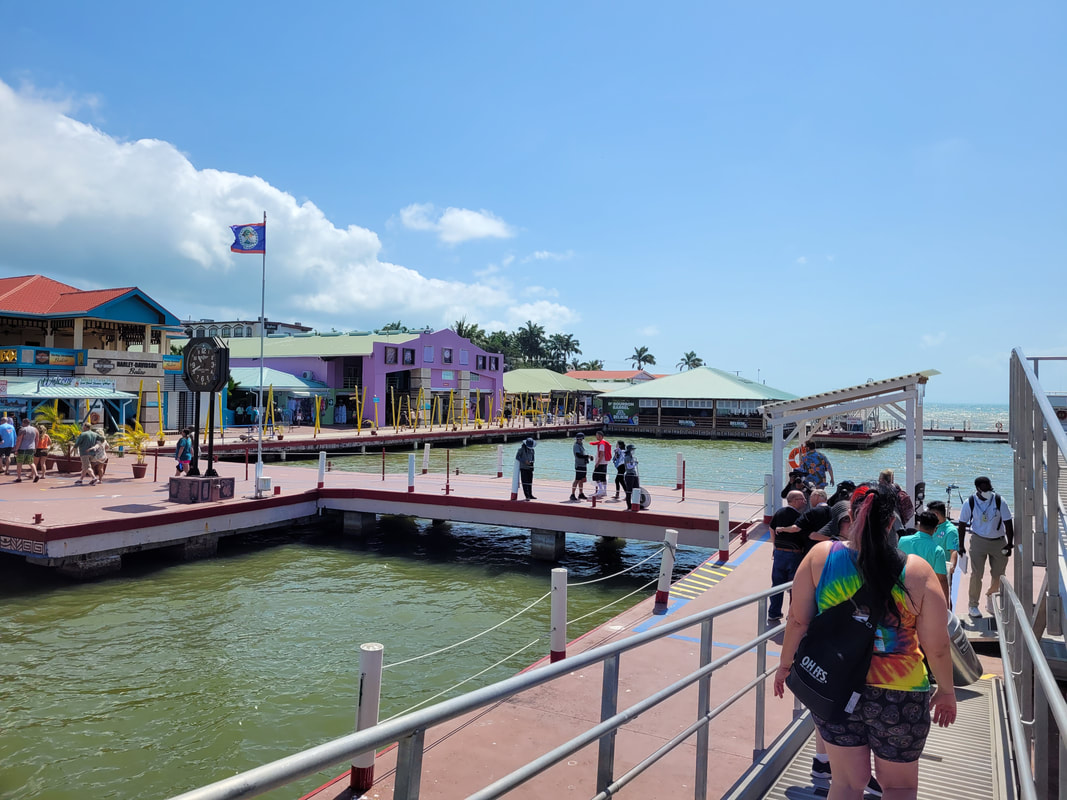 All ashore that's going ashore. We managed to find some more T-shirts that we were looking for, along with more magnets and even partook of another coconut drink. We were about to eat at a restaurant at the port which we went to the last time we were at this port but decided to just head back to the ship to eat since it really didn't make sense to spend money eating on shore when unlimited food awaited us on the ship. Of course, we had to hop the ferry boat back to the ship. Once on the ship we took another nap due to the fact that being even closer to the Equator, the sun zapped all the energy out of us. Of course, by the time we awoke we were already heading back out to see, with only the distant shoreline of north Belize reminding us that we were ever ashore. 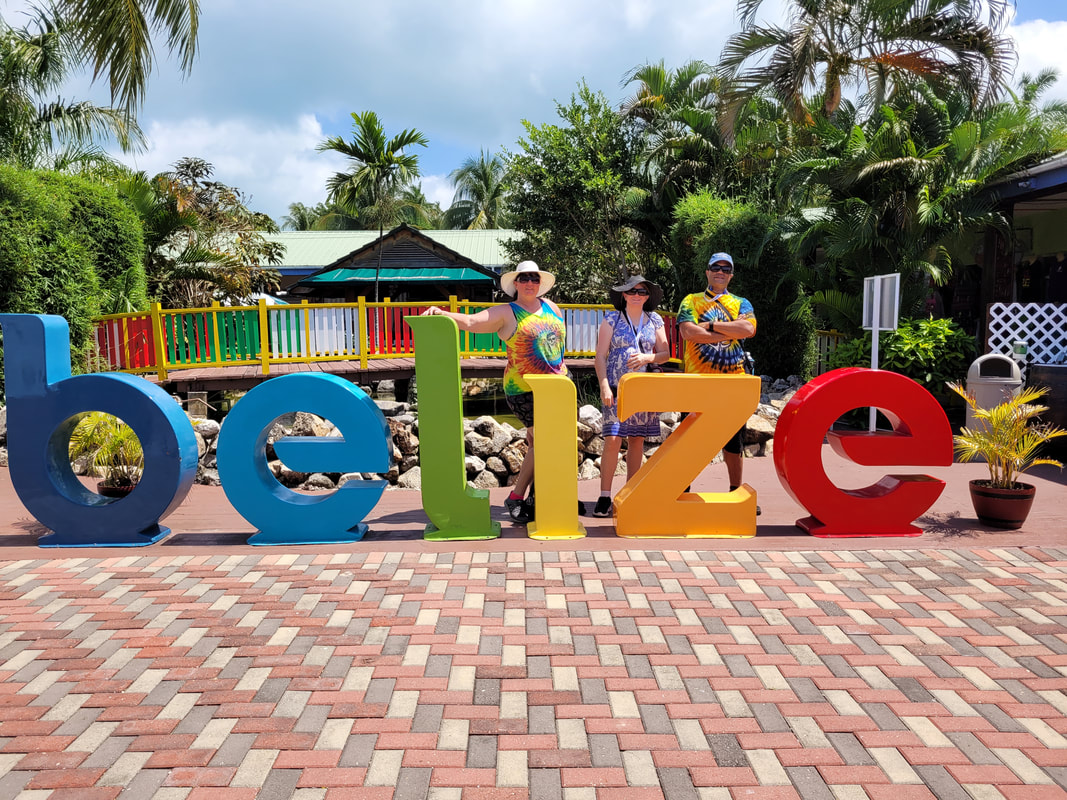 Posing in front of a Belize display. 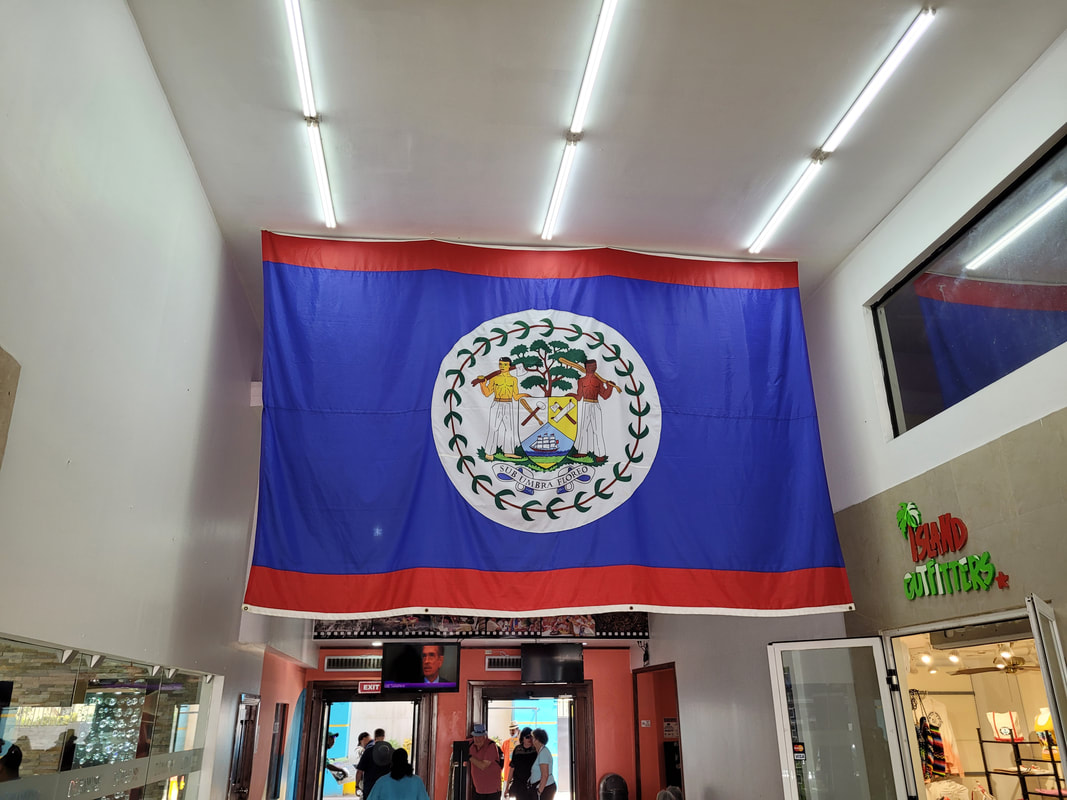 The Belize flag hanging inside one of the shop buildings. 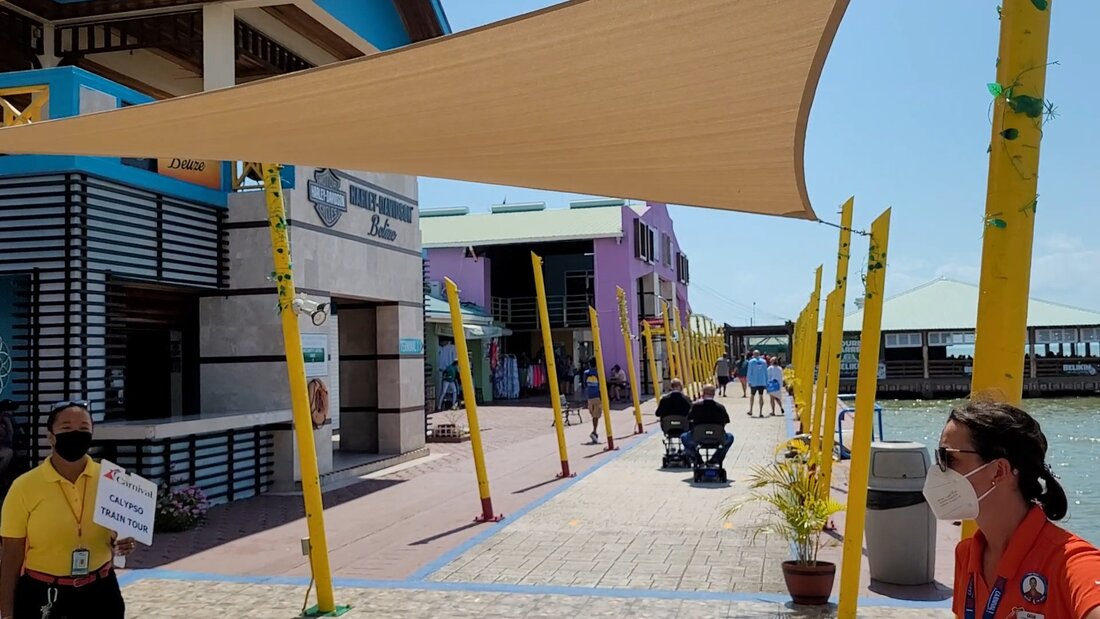 A shot of some shops along the port docks. 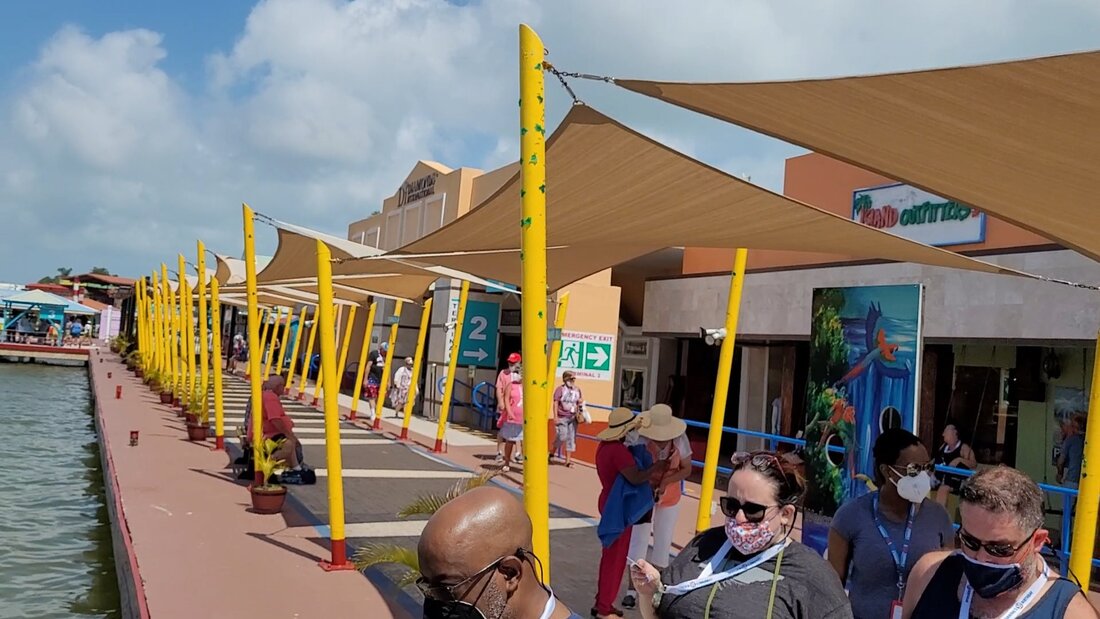 Another shot in the other direction of more shops. 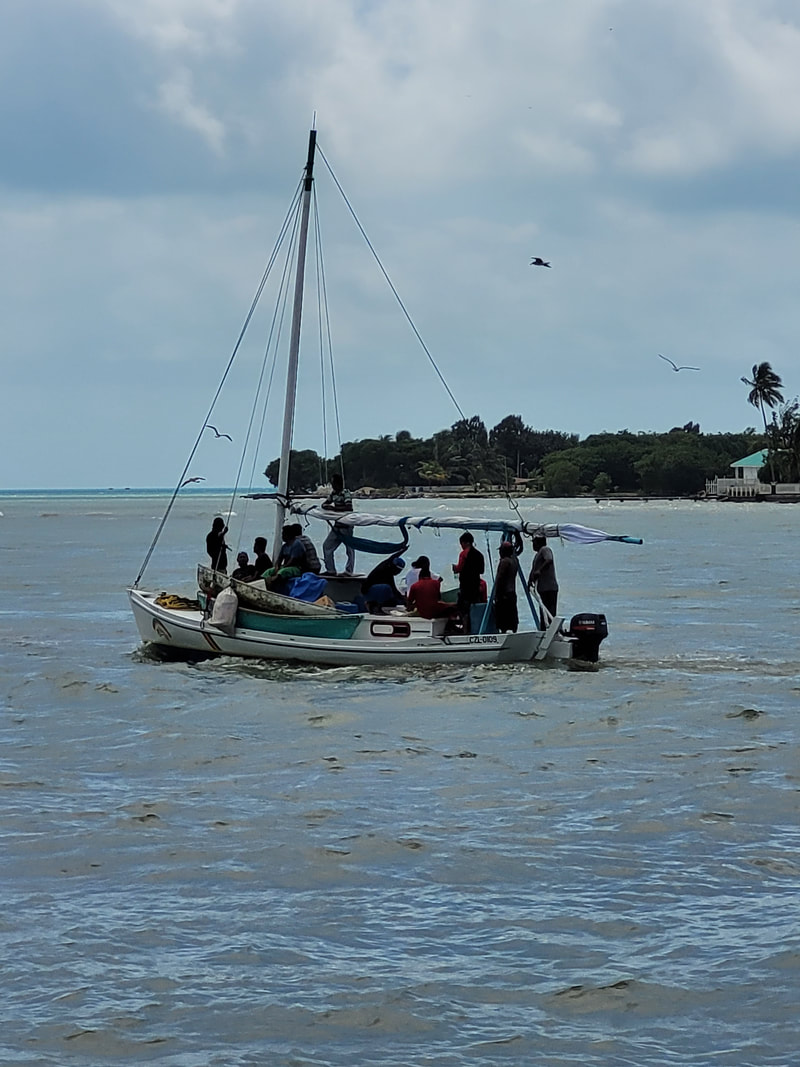 Another cool little sailboat spotted leaving the port, taken on board the ferry boat. 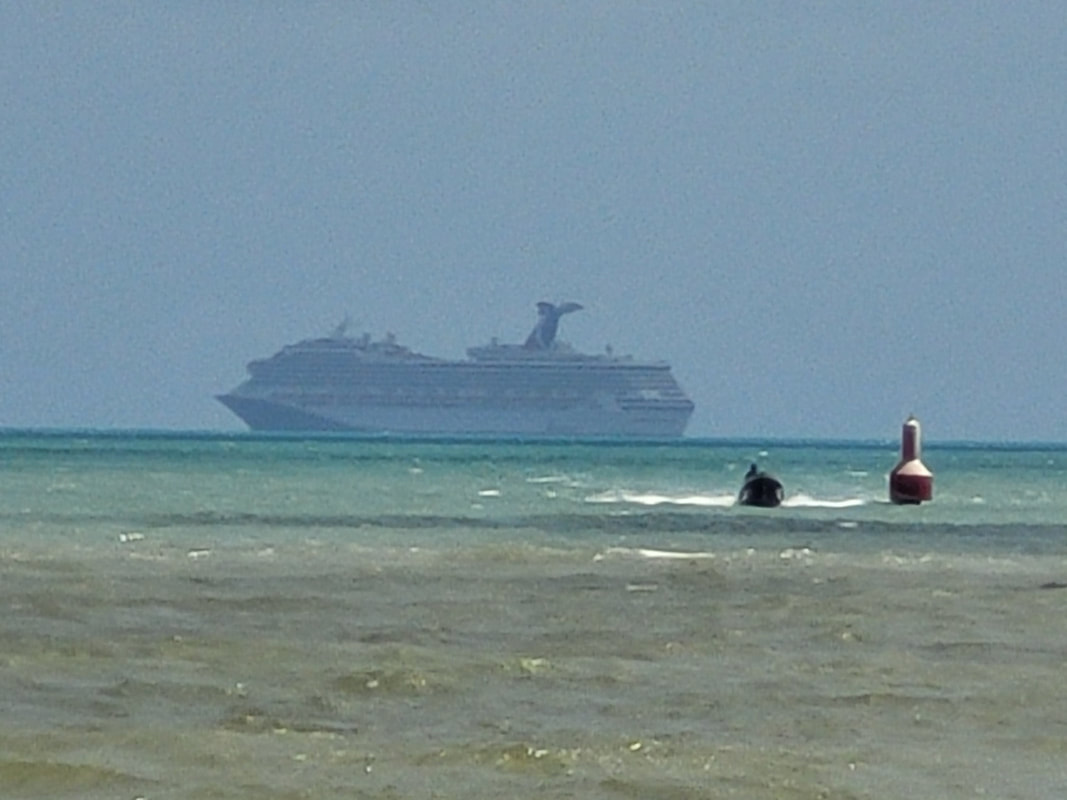 Our ship in the distance as we head back. With our fun on shore concluded, we pretty much can sit back and just enjoy the ride as we head back home, with two sea days between us and getting back to NOLA. Of course, we will still be partaking of the food and entertainment on the ship so we can get the most out of our trip on the ship. At the same time, we also need to start slowly packing things up so we won't be overwhelmed on the last day. It's best to try and get most of this stuff done sooner so we can relax in the final moments of the trip. Since we were so close to the coastline, the ship ended up essentially sailing in a big circle, taking its sweet time out off the coast for the remainder of the night after leaving Cozumel. They took their time so as to be able to pull into Costa Maya at their set time. Once cleared to disembark, we had to make a long walk up a pier to the port, which is like an outdoor mall/amusement park with many shops and eating establishments. They also had an overhead aviary that was in the trees, linked with rope bridges from treetop to treetop. There was also swimming with the dolphins exhibit that people can take advantage of if they desired. We did the aviary, getting some cups of seeds so the birds would perch on our hands while they ate. We walked around, looking for more to do but ended up deciding to catch a cab to the strip mall area along the beach a few miles away from the port. 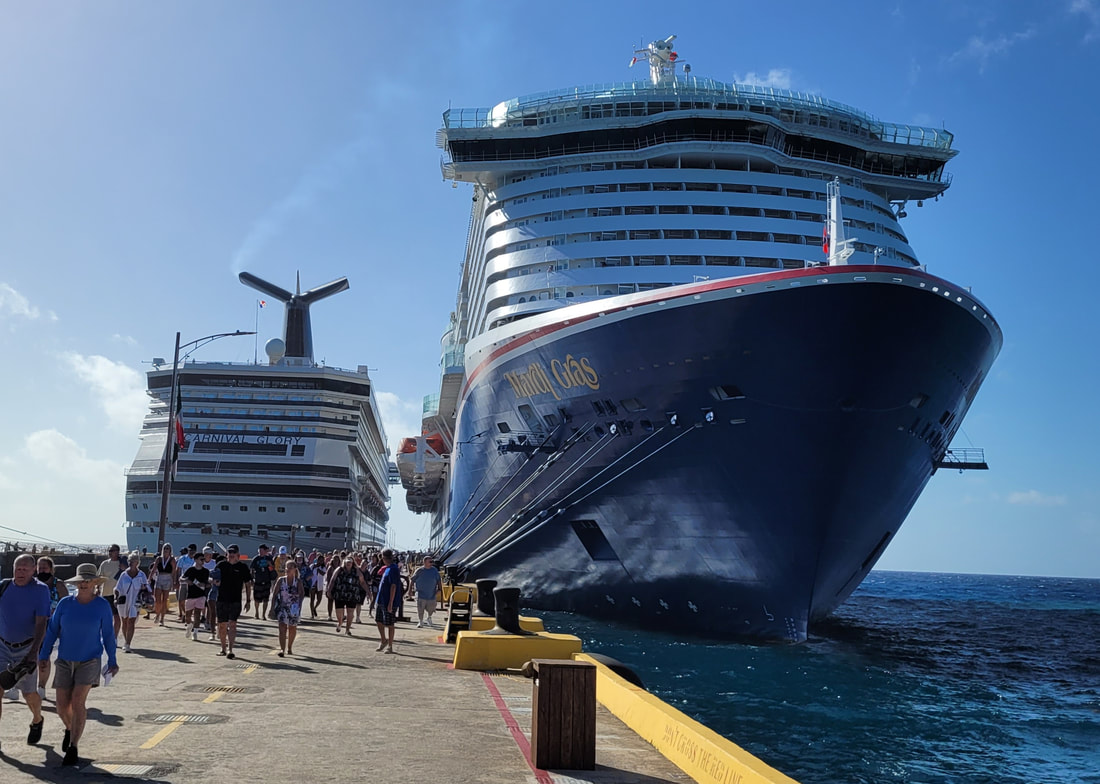 Our ship and the Mardi Gras docked at the port. 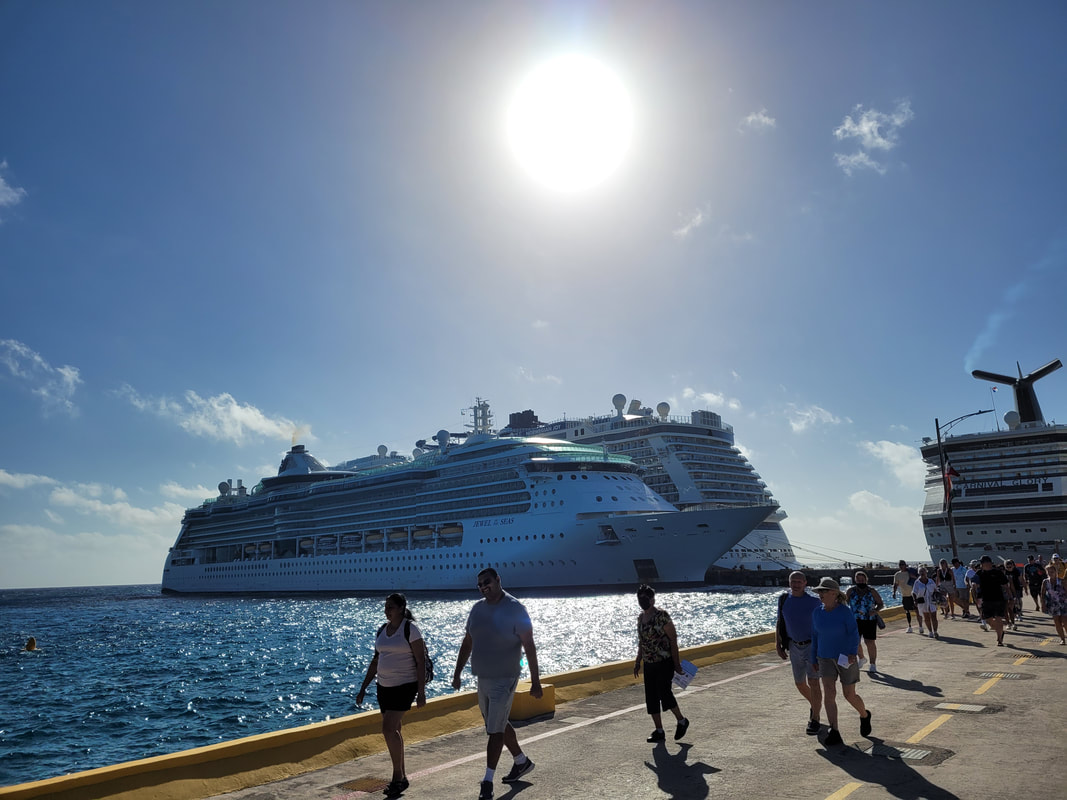 Walking the long pier from the ships, heading into the port, getting a shot of the other brands of cruise ships docked along with the Carnival ships. 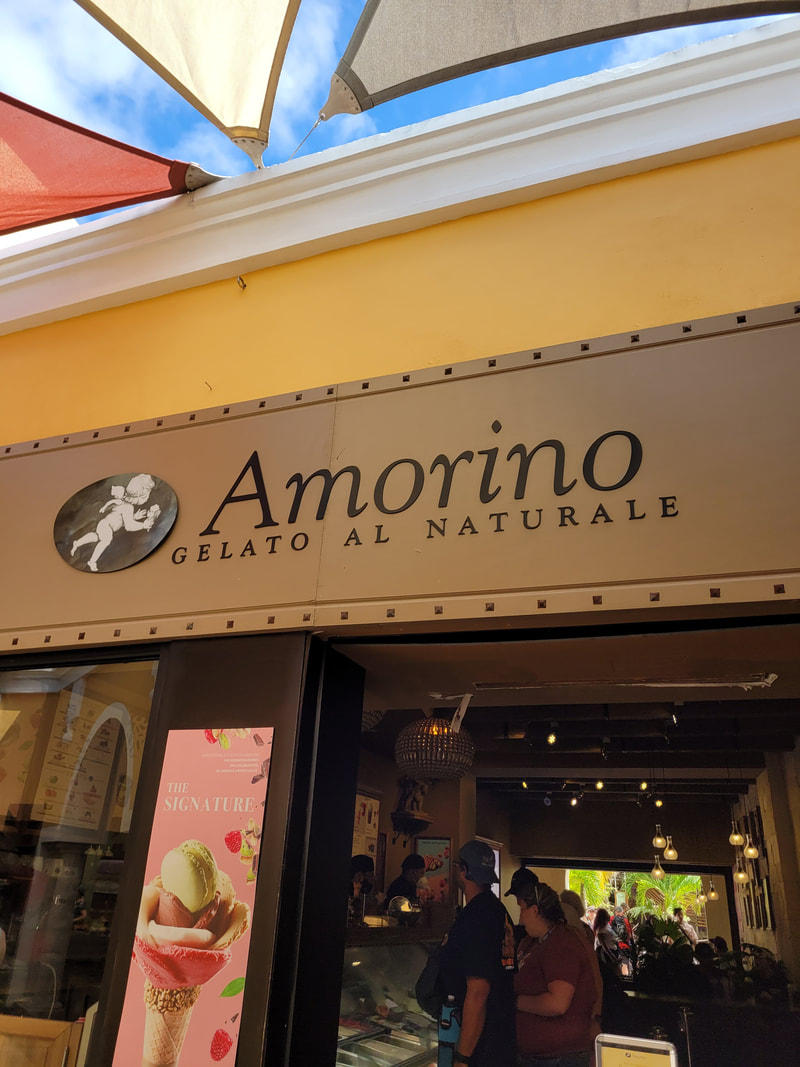 A gelato shop that we had to stop at to get a cone before moving on. 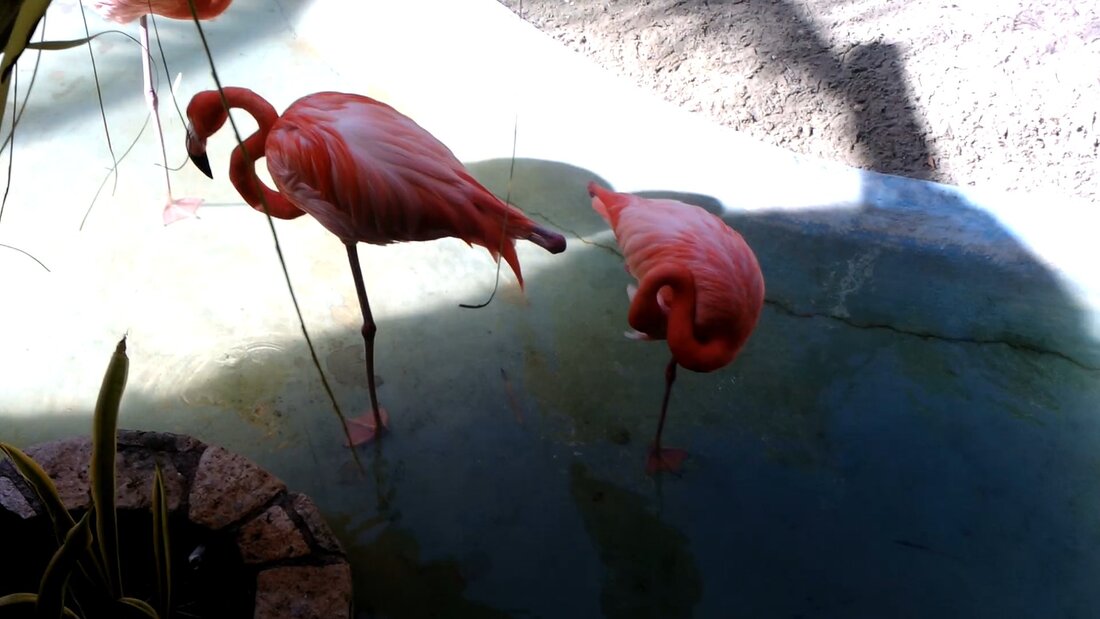 Some flamingoes at the beginning of the aviary tour. 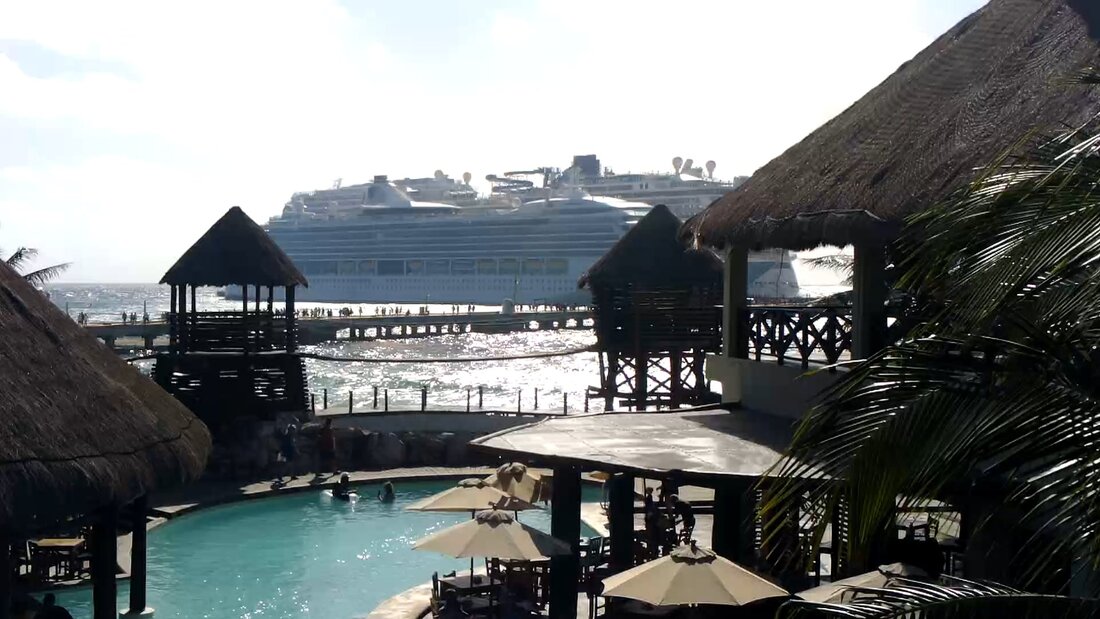 A shot from the rope bridge, looking out at the cruise ships in the distance. 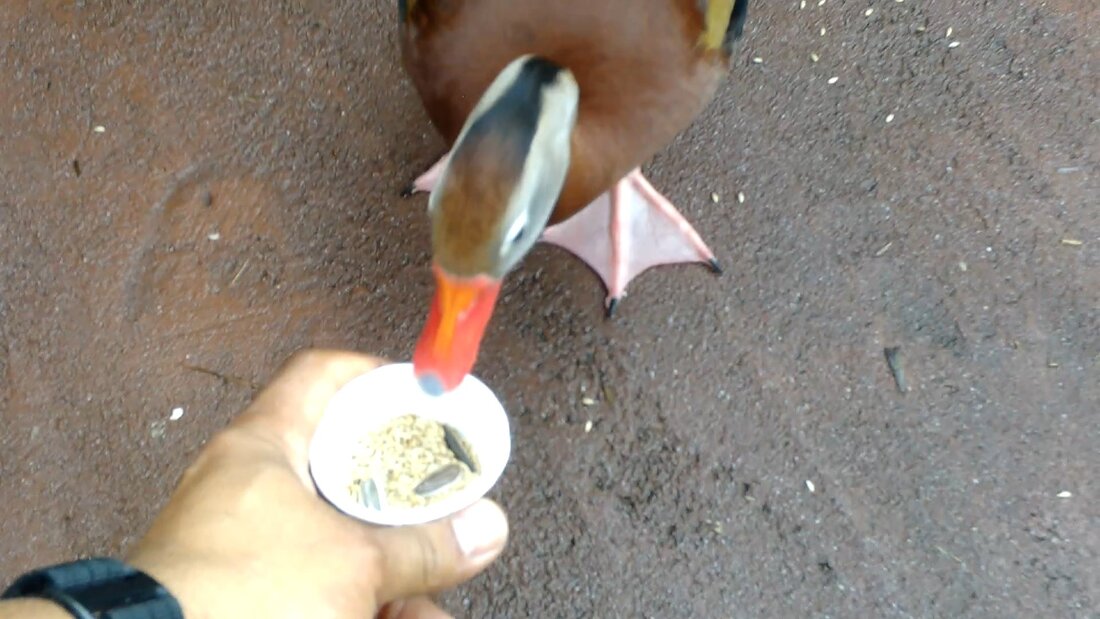 A duck enjoying some seed. 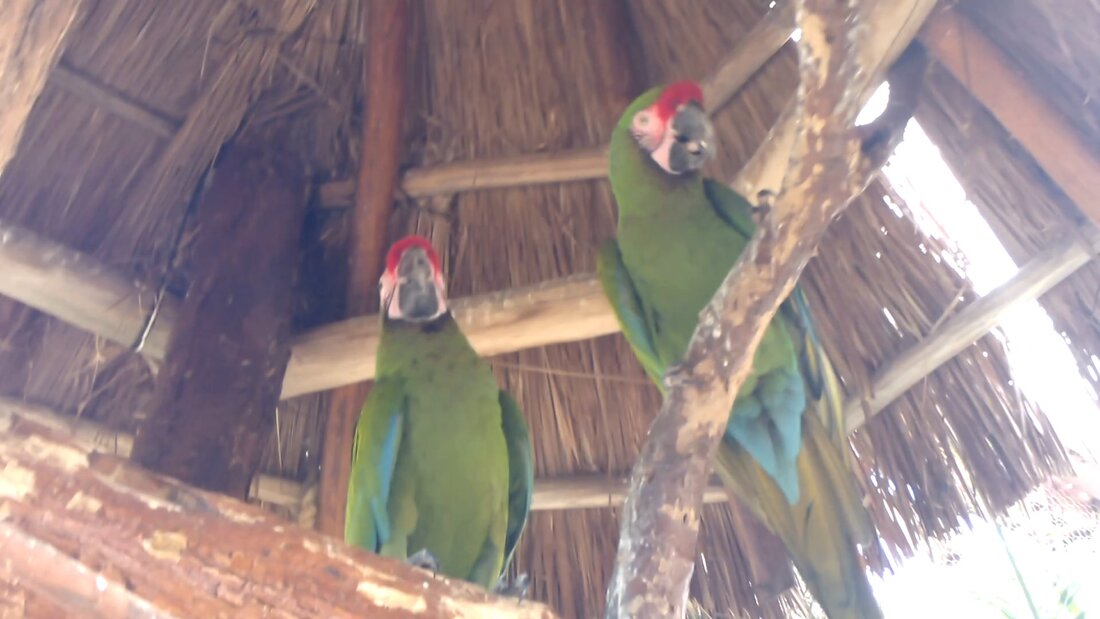 A pair of parrots (I think) perching high, watching us. 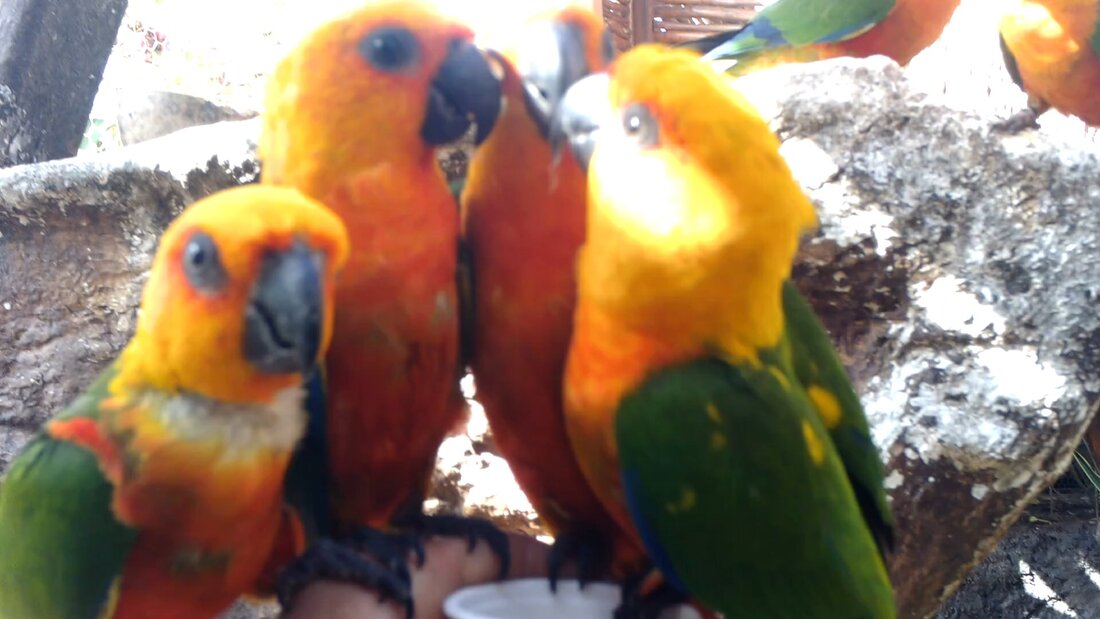 This crew of birds had no problem perching on my hand to enjoy some seed. 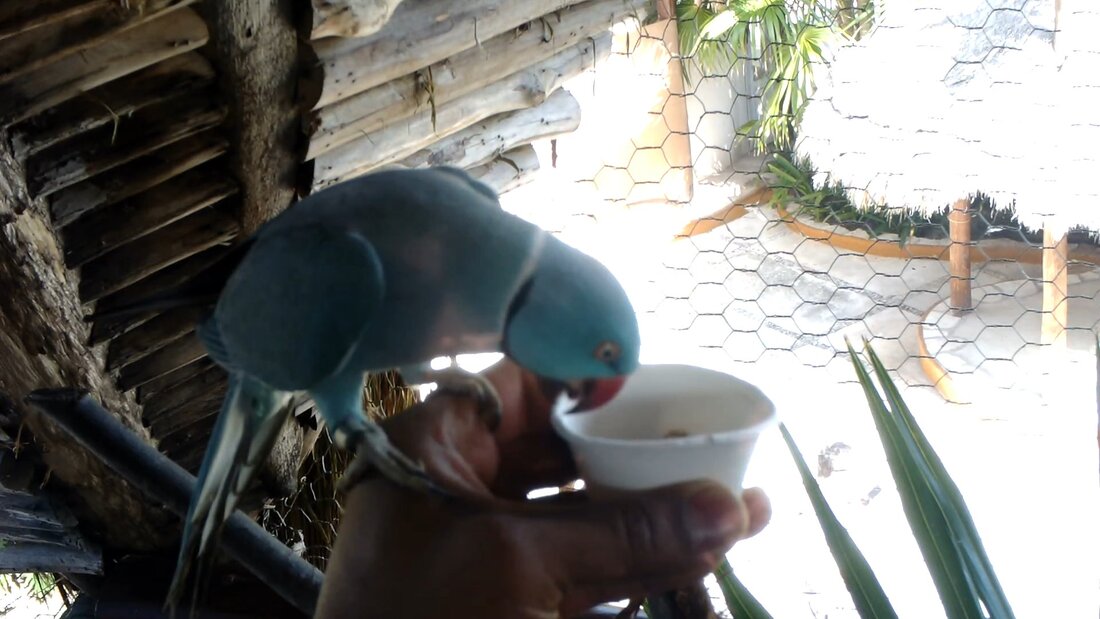 These birds wanted to try and take our cups of seed more so than perch to feast in front of us. 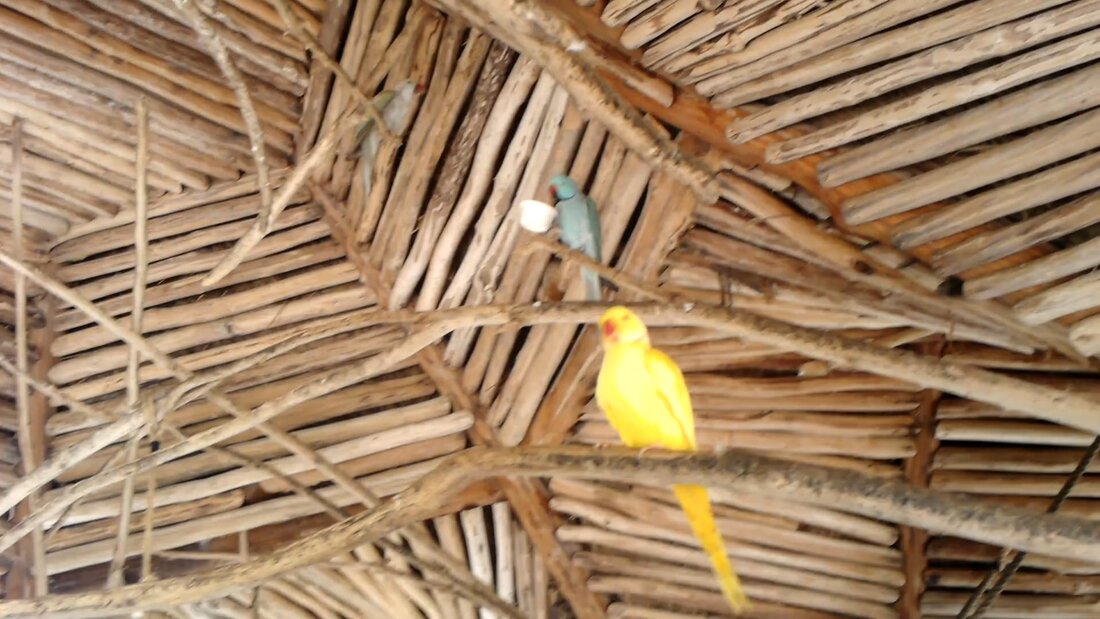 This thief of a bird stole the ole lady's cup of seed and went high to enjoy his spoils. 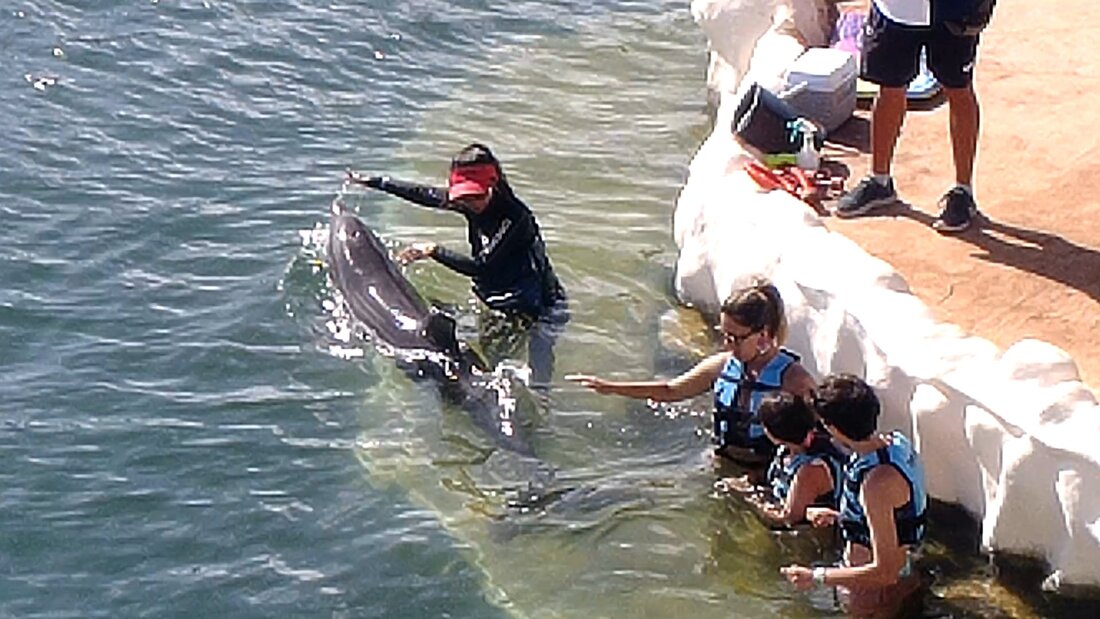 A shot from the rope bridge overlooking some people playing with a dolphin. We caught a cab ride with another couple to get to the strip mall. For the rest of the day we camped out here, as it was actually better than the port, more spread out and not as hectic. We were able to find souvenir T-shirts and magnets and even enjoyed some coconut water out of a coconut, later having the guy chop it up so we can eat the coconut meat out of the shell. We also had some grub while at the at the strip. All in all this little area was way better and more enjoyable than the port. We caught a cab back and made it back on the ship with plenty of time to spare. Again, no pier runners. 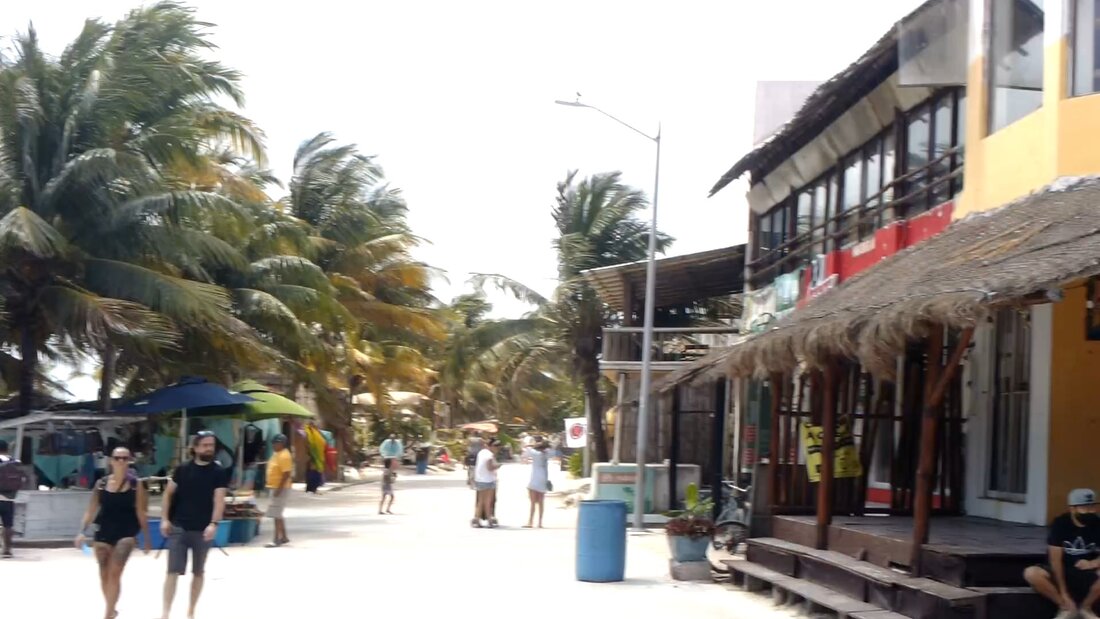 A shot of the strip mall area along the beach. 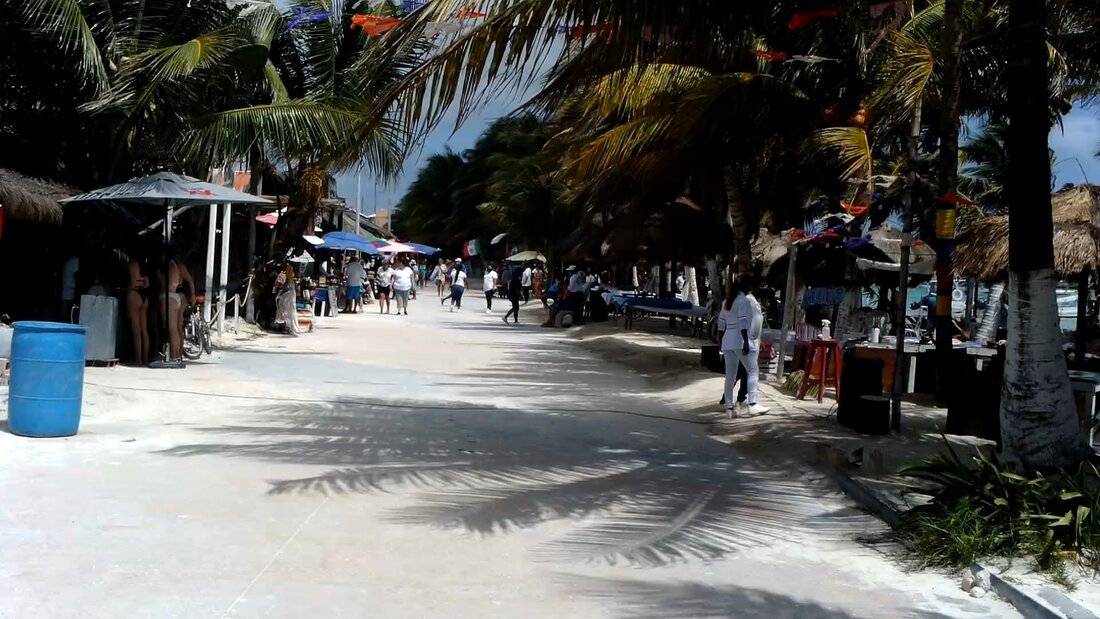 Another shot in the other direction from where we stood. 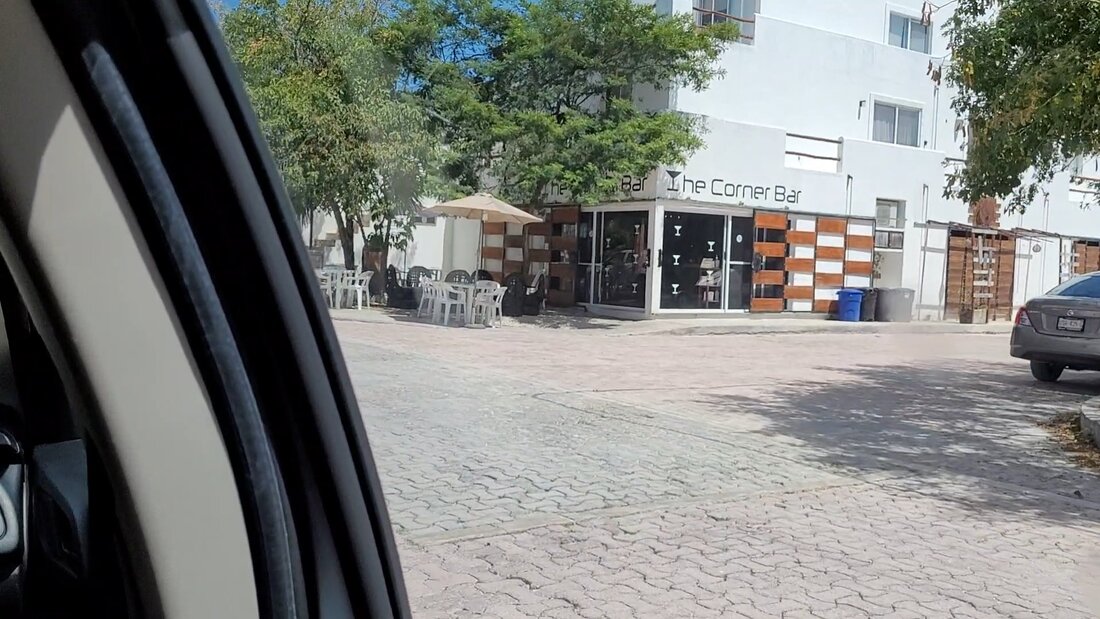 Riding through town back to the port. One thing I always enjoy when going out of the country is spotting the cool cars that we don't have here back in the states. I found a cool Dodge Ram car/truck. This vehicle is a FWD stick shift vehicle that was an extended cab with a small but utilitarian bed. I would've drove the shit out of this vehicle and would love to bring one of these or the similar ones we've seen in other places back home. 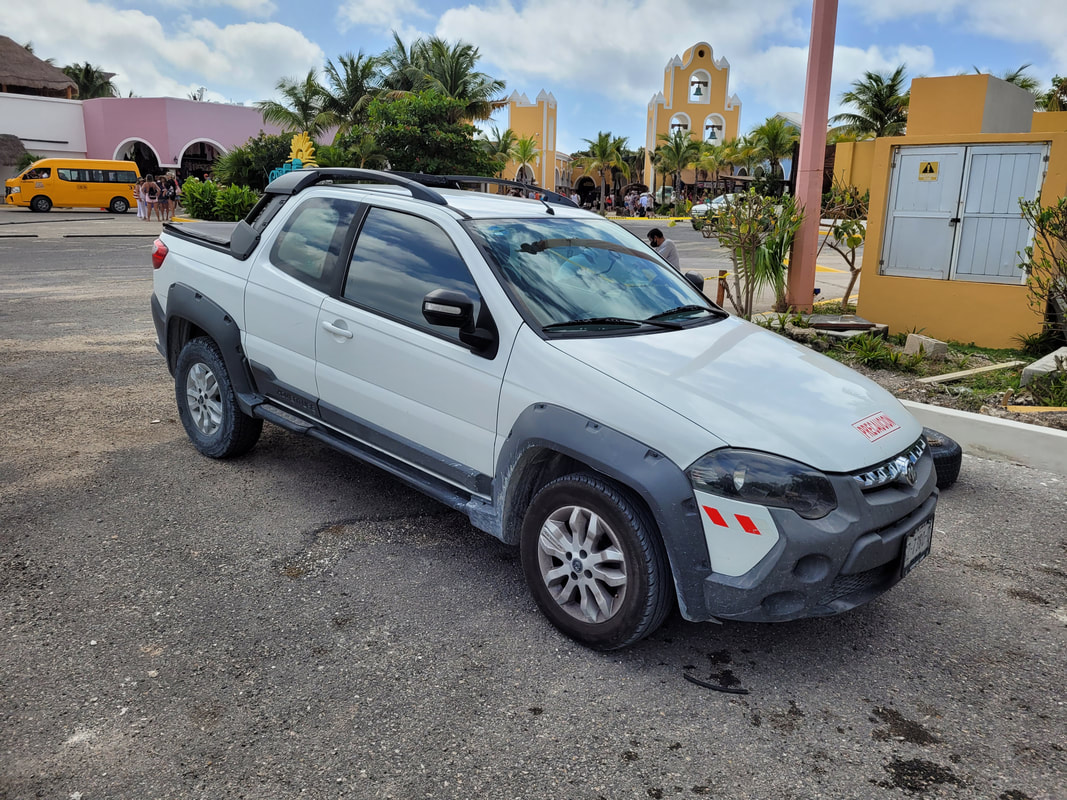 The Dodge car/truck, a pretty cool vehicle that makes me upset that we don't have these cool variants of vehicles here.  Apparently the official name is the Adventure... Back on the ship we did get a glimpse of a towel animal zoo on the Lido deck. Carnival crew are known to make animals out of towels and leave them around the ship, especially in our rooms after cleaning them. This arrangement had towel monkeys hanging from a rope over the pool, towel alligators all around, elephants and cats and more all over the deck. It was a pretty cool arrangement and something to brighten up the day even more after having fun at port. 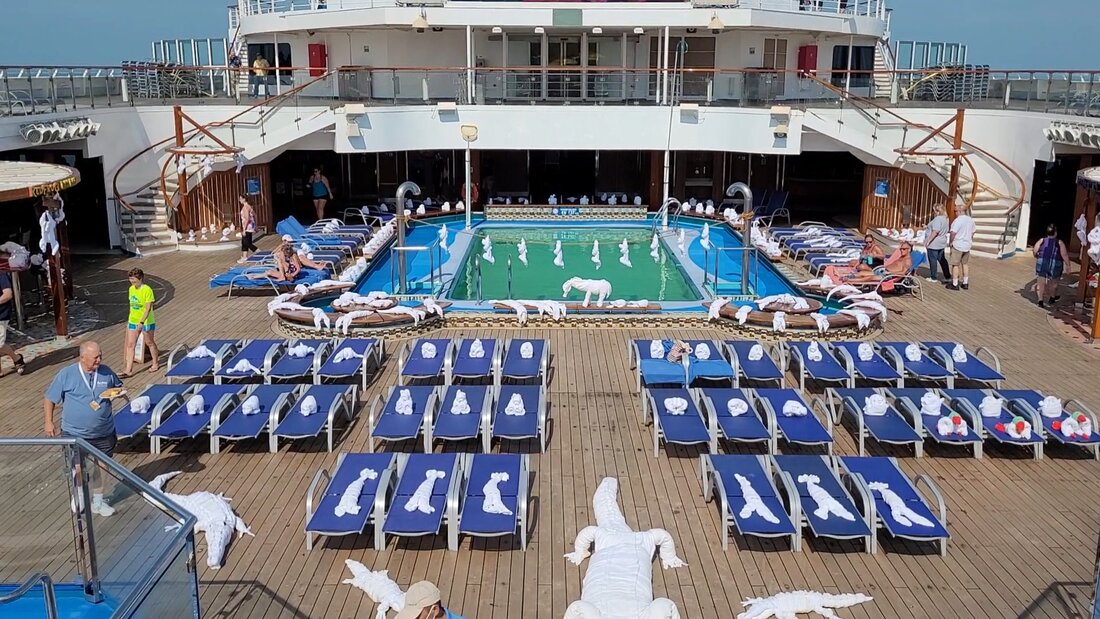 The towel animal arrangement on the Lido deck of the ship, as taken from the upper level. Another evening on the ship, getting more than our fill of food and entertainment. The weather was awesome as is always the case in the tropics and the evening shows are always entertaining. Our next stop tomorrow is Belize. At this stop we will actually anchor several miles offshore while ferry boats take us to the port. A barrier reef extends out from the shore in shallow water and anchoring a ship anywhere in this area will damage the reef, which for all intents is irreplaceable as it'll take a thousand years for the reefs to grow back. This will be our second time in Belize, which is actually one of the expat destinations that have been considered with regard to retirement to another location. In our 3rd day out of town and our 2nd day at sea, Carnival's ship meetup was to occur in the afternoon just off the coast of Cozumel, well many miles off the coast, enough so that we couldn't see the shore. Anyway, some of the other ships were already at the rendezvous point so we were like the 3rd from the last ship to show up. Of course, they played music on the Lido deck and a lot of people were dancing and having a good ole time, same with the other ships. Of course, it was a friendly competition to try and make the most noise, but we really couldn't tell as our noise drowned out the noise of the other ships. We did get to see the newest ship of Carnival's fleet, the Mardi Gras, but it was somewhat blocked by one of the other ships. 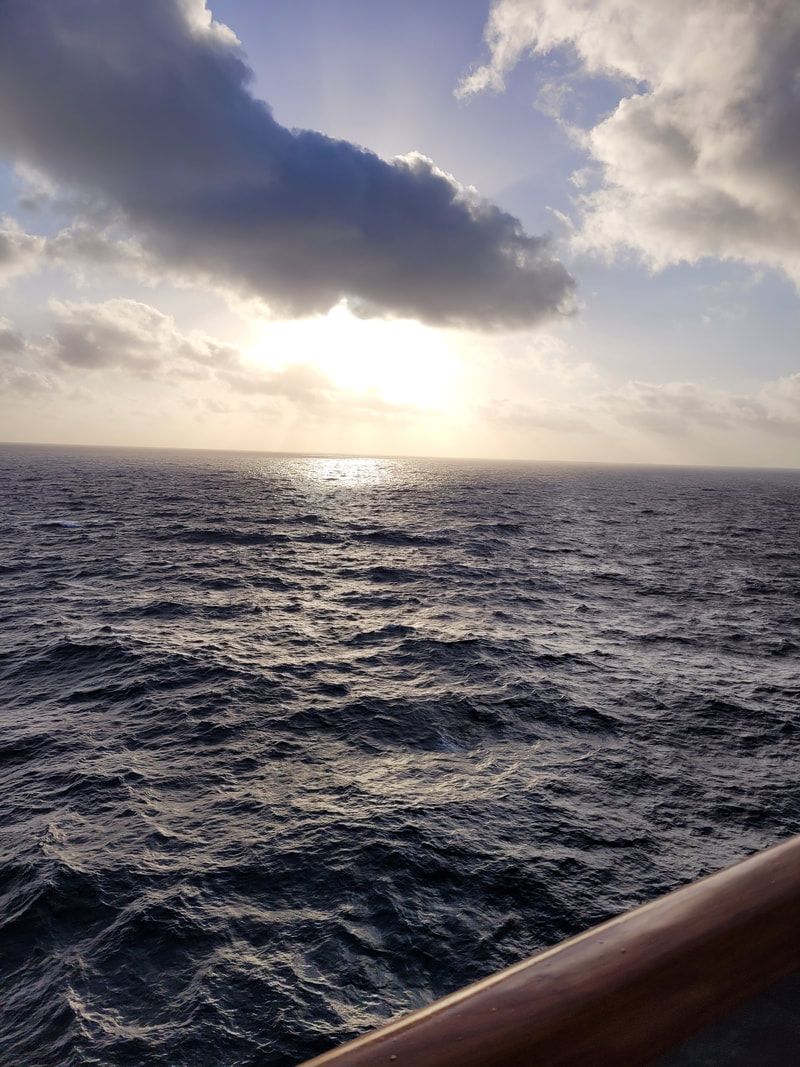 Good morning to us. 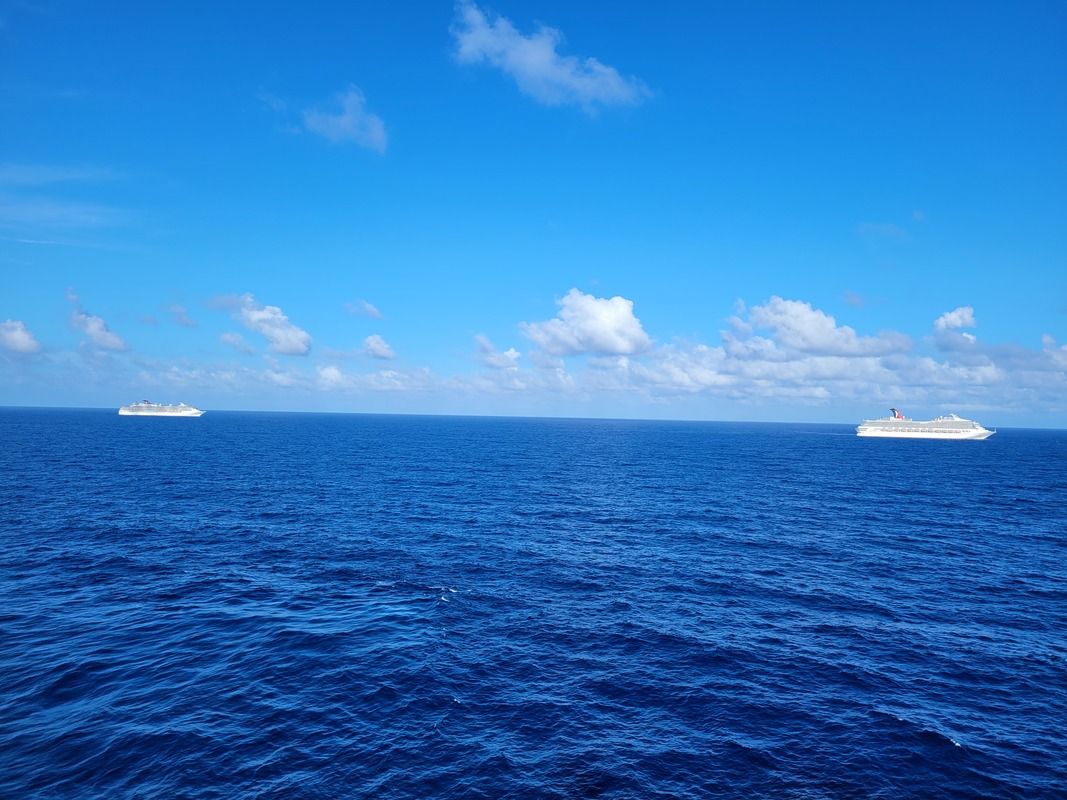 A couple of the ships spotted in the distance as we get staged at the rendezvous point. 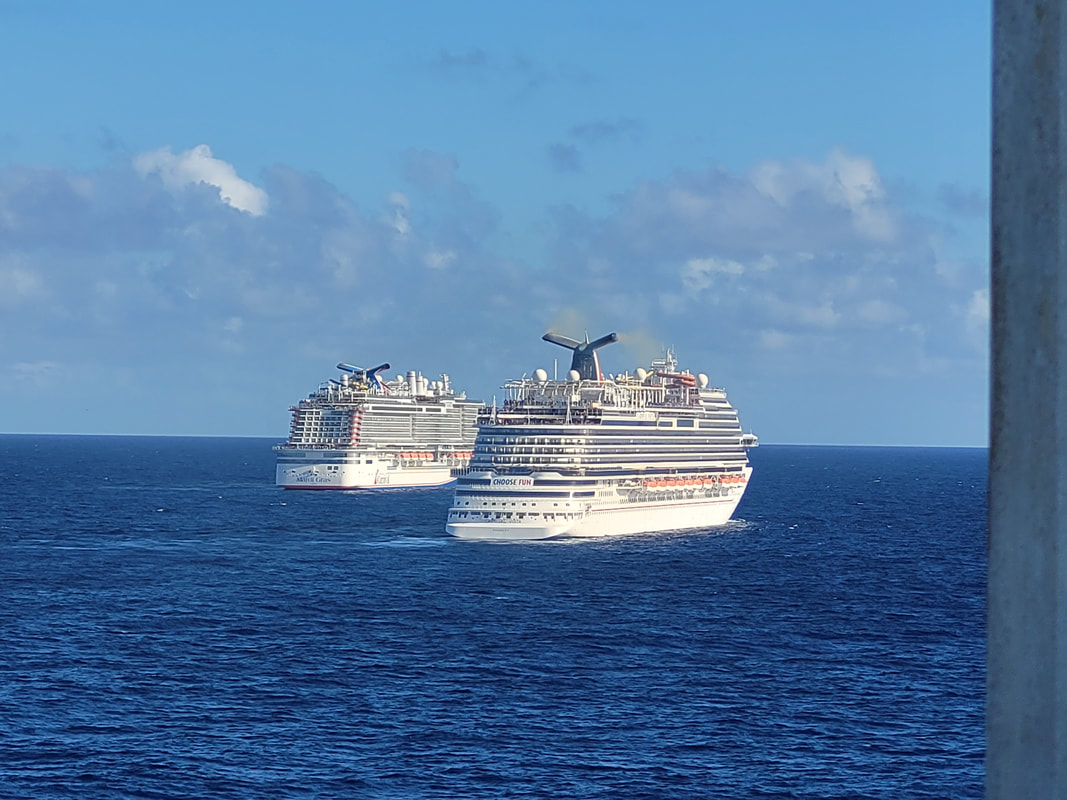 A closeup of a couple of the ships. 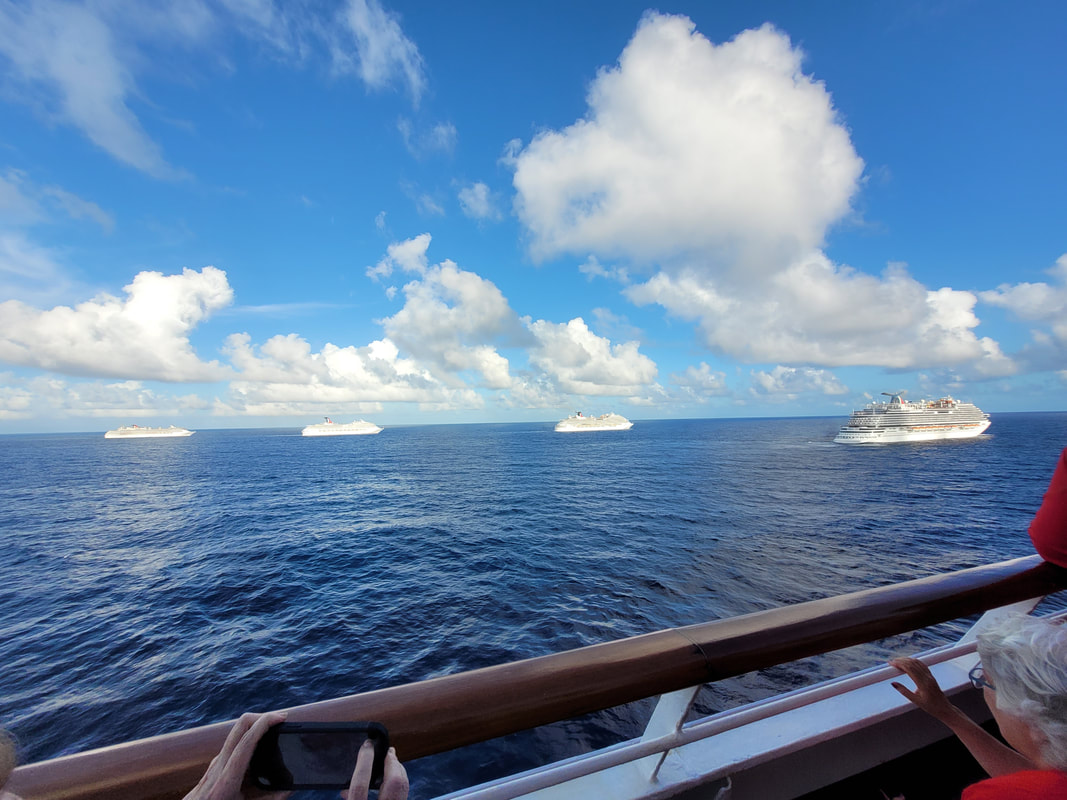 Four of the ships staged out there. Of course, the ship had some decorations inside for their 50th, along with the swag that we managed to pick up some of before everyone else wiped the gift shop shelves clean. Its also sad that a lot of people bought up multiples of the stuff with the intent of reselling the stuff on Ebay and the like, which was a douchebag move since those of us who wanted to get some of the stuff to remember the trip by were unable to. Luckily, we were on the preemptive and staged ourselves at the gift shop doors along with our friend so when the doors opened, we had first pick of everything before everyone else got everything. The biggest part of the ship meetup was to sound off the ships' horns in commemoration to Carnival's 50th birthday before everyone parted ways and we went back onto our respective trips. Of course on this night we continued to enjoy everything the ship had to offer, especially with the weather being very comfortable, being so close to the Equator. Our next stop: Cozumel.  Carnival's 50th birthday banner hung in the atrium of the ship. 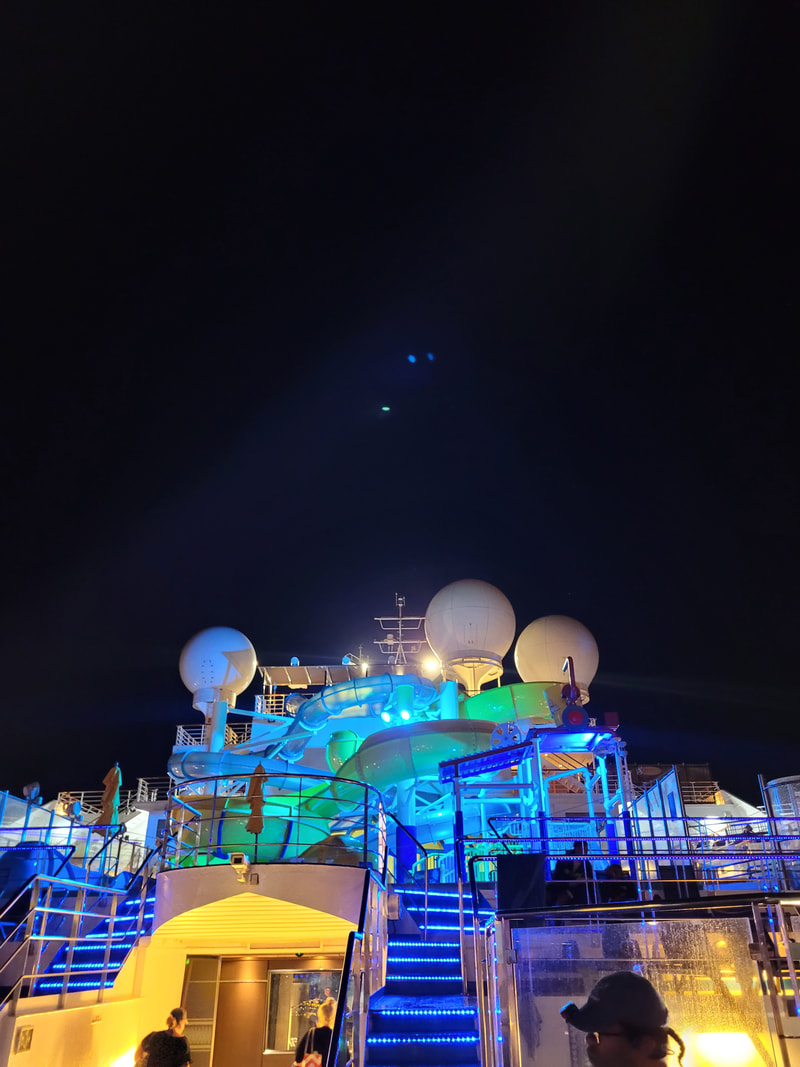 A shot from the Lido deck showing the upper level water slides and lounge chairs, all lit up at night. The following morning we pulled into the Puerta Maya, Cozumel, the main port that is visited by Carnival. We have been here every time we got on a cruise so the port and to a lesser extent, the city, are known to us but the purpose of our visit in Cozumel was to go to a beach club named Mr. Sancho's. This place is on the beach and offers pools with swim up bars, gift shops, and added parasailing, dolphin swims, jet skis and horseback riding. Food and drinks are included in the admission as well. We chose to do the parasailing and horseback riding while taking a minute to eat some grub and maybe grab a drink and go in the water for a spell. 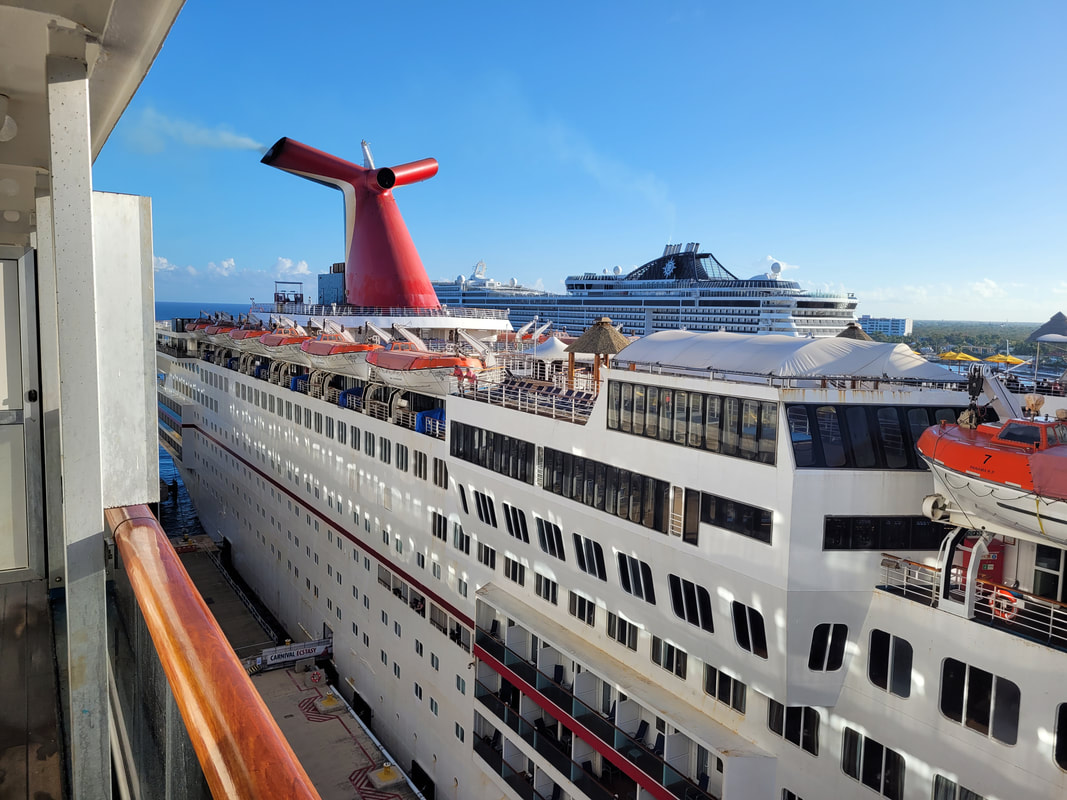 Docked next to the Carnival Ecstasy, an older cruise ship that is also smaller than even the Glory, which itself is smaller than the newer ships like the Vista or Mardi Gras. 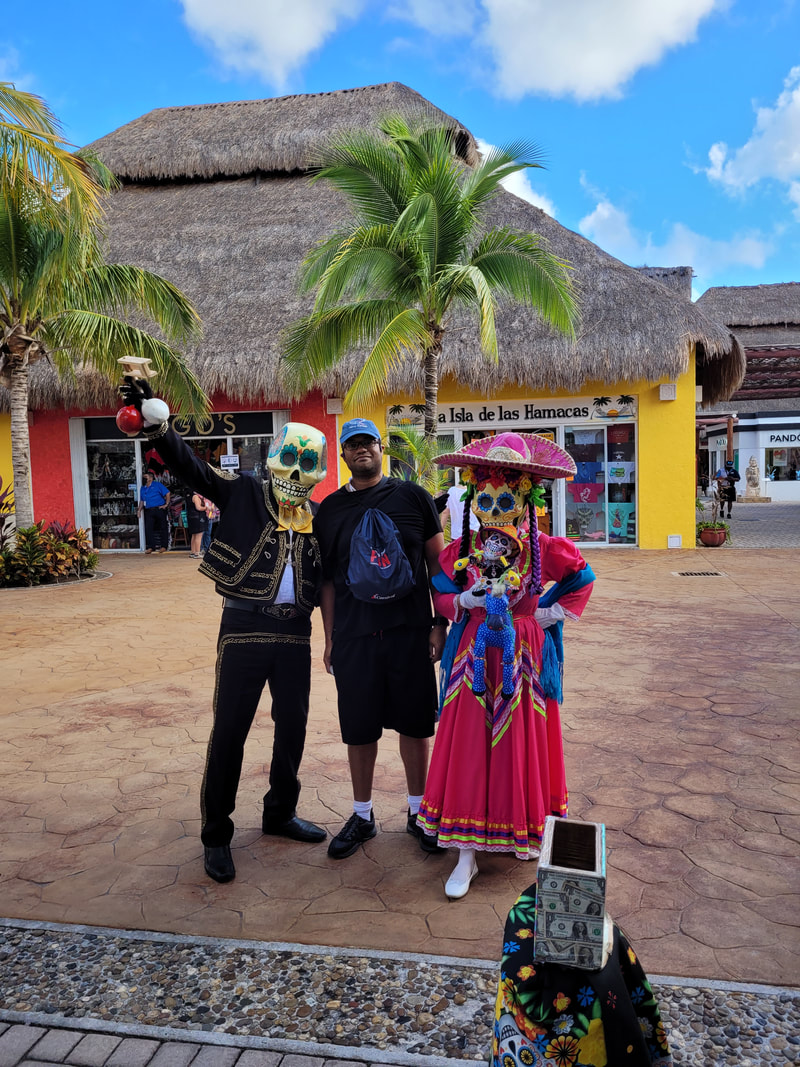 Posing with a couple of locals in costume at the port. 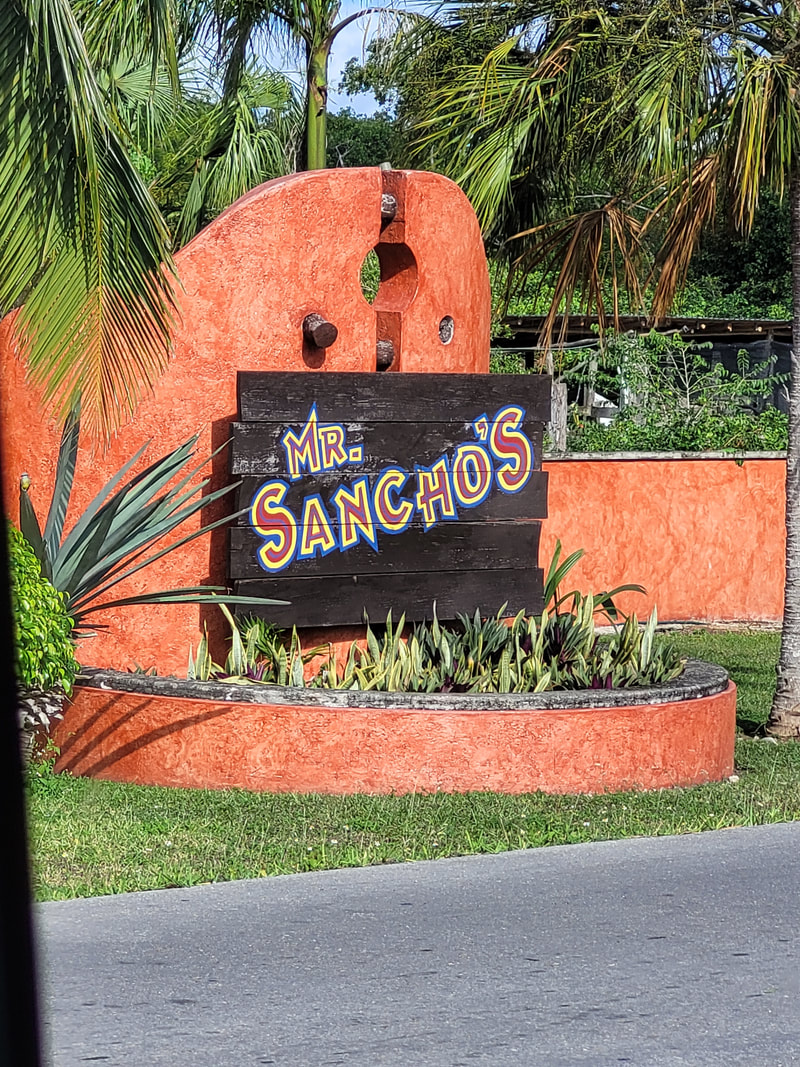 Pulling into Mr. Sancho's on our cab ride to the beach club. The first thing we did was parasailing. Since this was something that we never did, it didn't make sense to eat anything beforehand. It wouldn't help anyone to rain puke down on everybody after barfing from 100+ feet in the air. So we hopped on the boat and went out a good ways while one of the guys strapped us into our harnesses and explained what the deal was with the rigging. Once at our spot we hesitantly hooked up to the parachute. The guy threw the chute into the wind as the pilot accelerated the boat. At the same time the other guy reeled out the line so we can start climbing in altitude. After reaching a certain altitude the boat moved around, pulling us around while we hovered in the air, high as hell. Whether I was in shock, awe, or both, I kept my eyes open, taking in everything, especially the idea that I was over 100ft in the air because of a simple parachute versus an airplane. After a good while the guy reeled in the chute, taking his time to allow us to carefully land on the aft deck of the boat without even touching the water, which was my concern. The crew did a great job in operating everything and giving us an experience like no other. So in addition to zip lining we can add parasailing to the list of near death experiences.  We have liftoff! 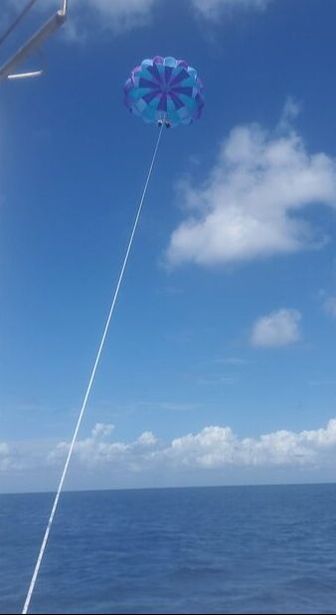 Yep we're up there.... Once back on solid ground we got our senses and balance back and slowly made our way to one of the eating areas, getting ourselves something to eat, taking our time as we were still in a light vertigo from the parasailing. Once we were full, we took a walk around the place, taking everything in. Once we had our fill, we made our way to the horseback riding area, getting ready and hopping on the horses while our guide got on his horse. The guide led us through a trail that took us all over the grounds and along a section of beach. We got to see some iguanas along the trail, as well as a male iguana in the parking lot and a female iguana that appeared to be hiding from the male who was bobbing his head in his mating ritual nearby. 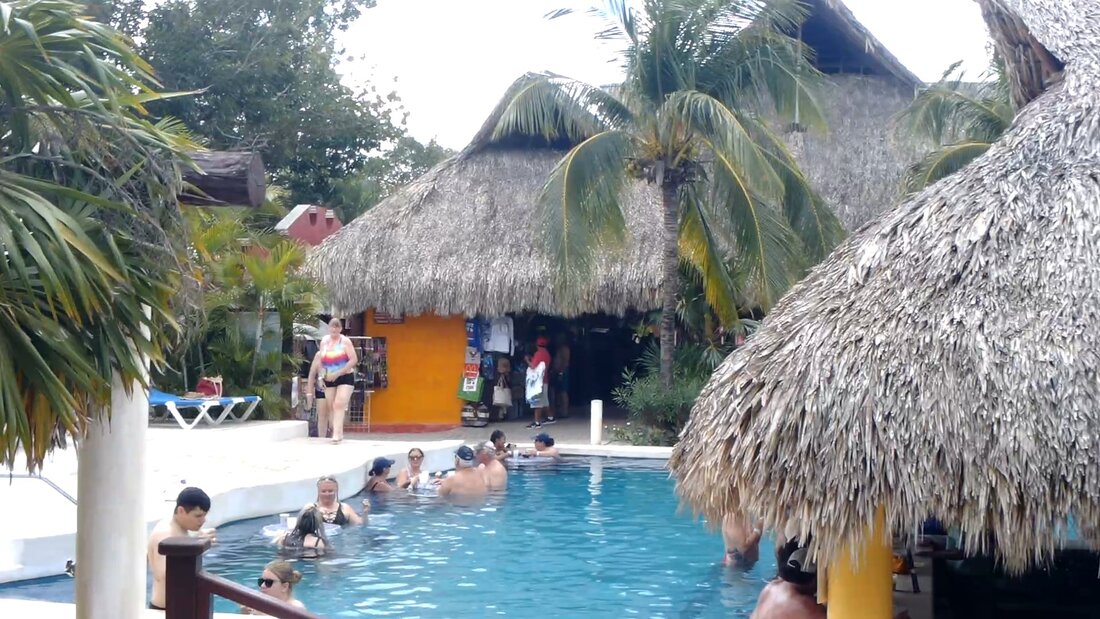 One of the pools next to a swim up bar. 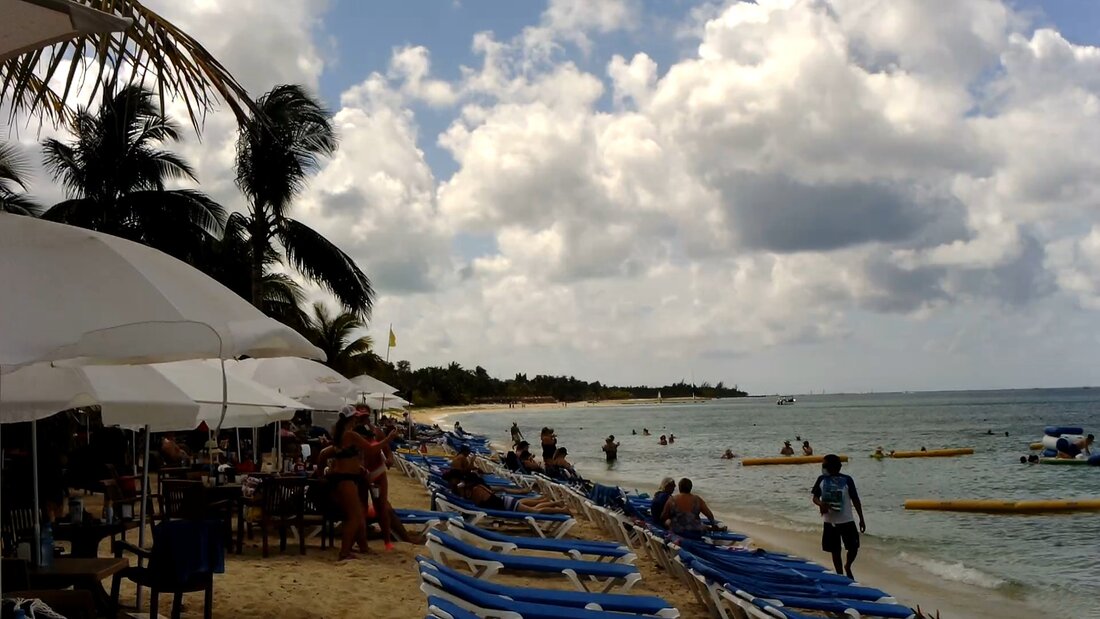 Lounge chairs and umbrellas along the beach. 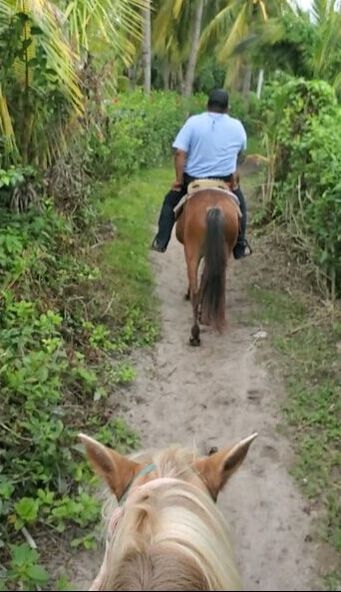 Horseback riding. 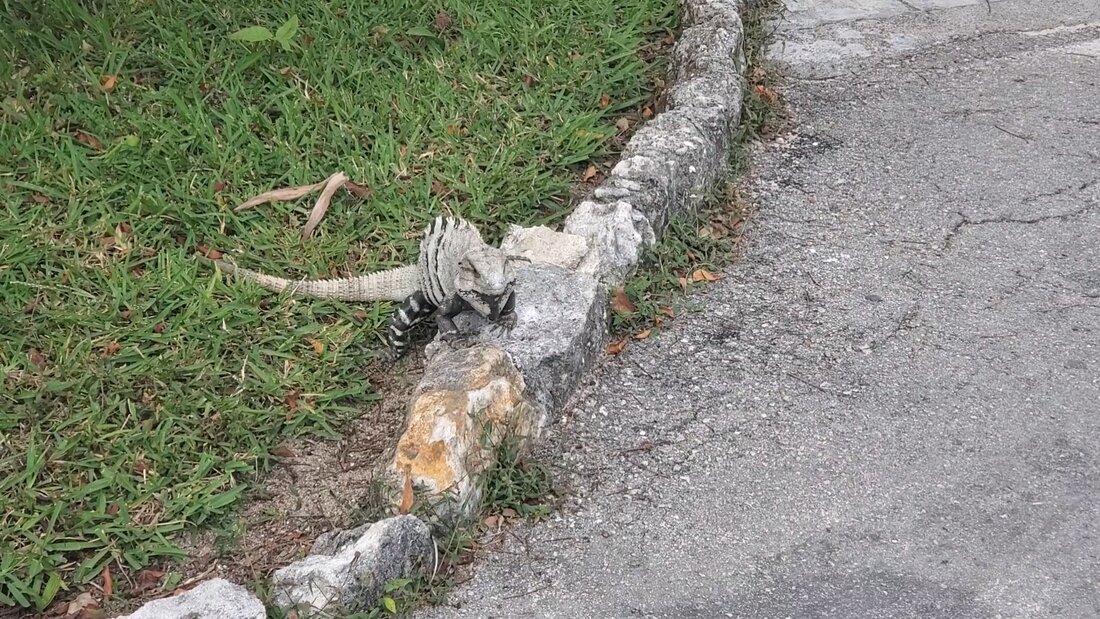 The guard iguana at the gate. After we were done, we picked up some souvenirs and caught a cab back to the port. We took time to get back on the ship at a reasonable time in order to ensure that we were on before check in time. We don't do like the newbs and cut it close by minutes, being one of the so-called "pier runners", making a mad dash back to the ship as the crew pull up the gangway. Besides, we picked up everything we wanted to for souvenirs as well as did everything we set out to do at Mr. Sancho's. We were already worn out and ready to take a nap. We did get up to see if we could catch any pier runners, which we did not. For the rest of the evening, we ate and enjoyed the various forms of entertainment on the ship before retiring for the night so we can get up early in order to go to Costa Maya, our next stop. After our last vacation to Cancun last December, we've made it to our next vacation that has been planned for quite some time. This one is a cruise, our first cruise to be taken since the shutdown in early 2020. Our last cruise was in Nov/Dec 2019, so we're long overdue for some boat time. Our plan was to drive to New Orleans the day before and spend the night with some friends at an old mansion turned hotel before making our way to the terminal to get on the ship. We drove the trusty Scion down to NOLA since it's only a few hours away, and the Scion logs about 180 miles a day during its use as a food delivery vehicle. Anyway, we had most of our luggage pre-packed, as is our routine so the only last minute preparations to be made are packing some stuff for our overnight bag and loading up some hygiene items into the luggage, since we won't keep such items stashed in a luggage bag for months at a time, especially things like vitamins. With everything ready to go and things at the home front straight and ready for our absence, we headed out to NOLA.  Posing in front of the Louisiana welcome sign at the welcome center off the interstate. 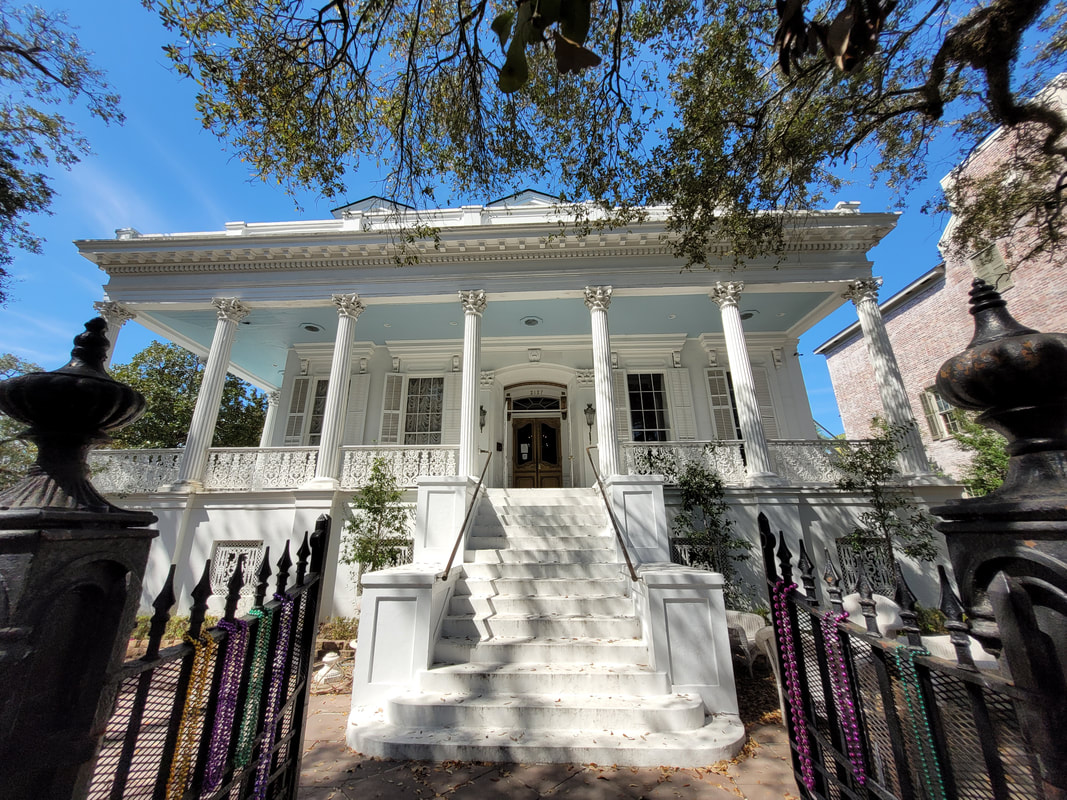 The Magnolia Mansion, our lodging for the night before the cruise. 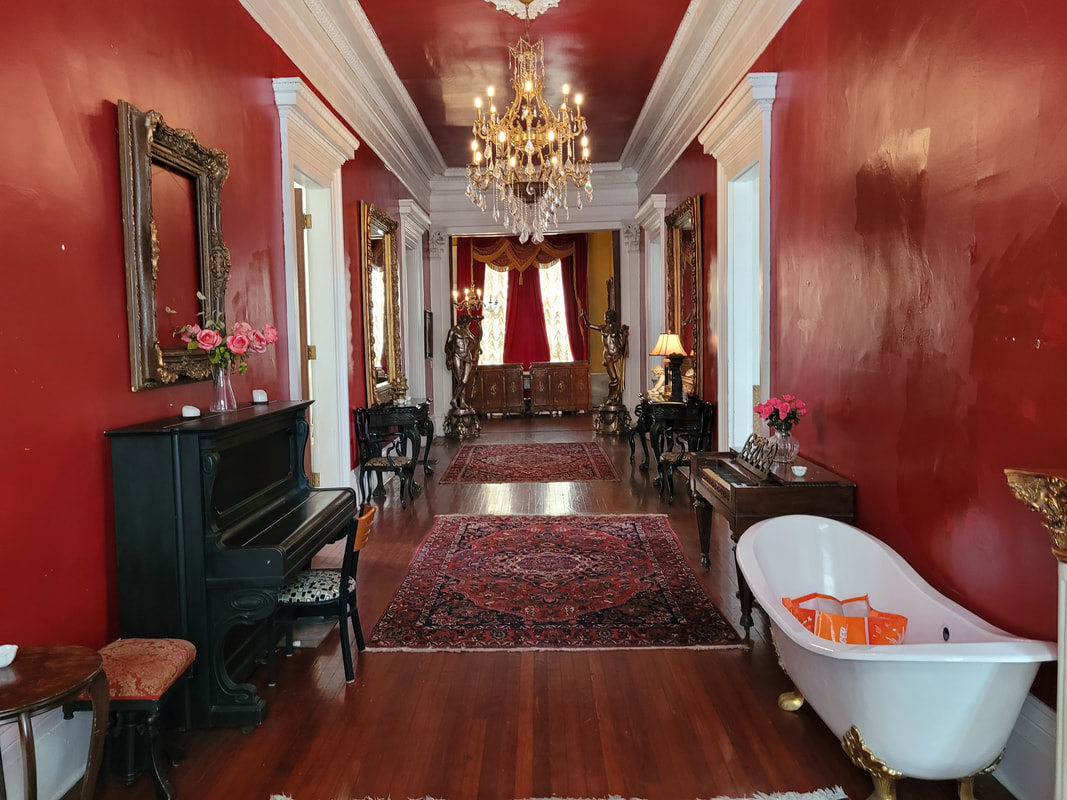 The main hallway on the first floor of the mansion. 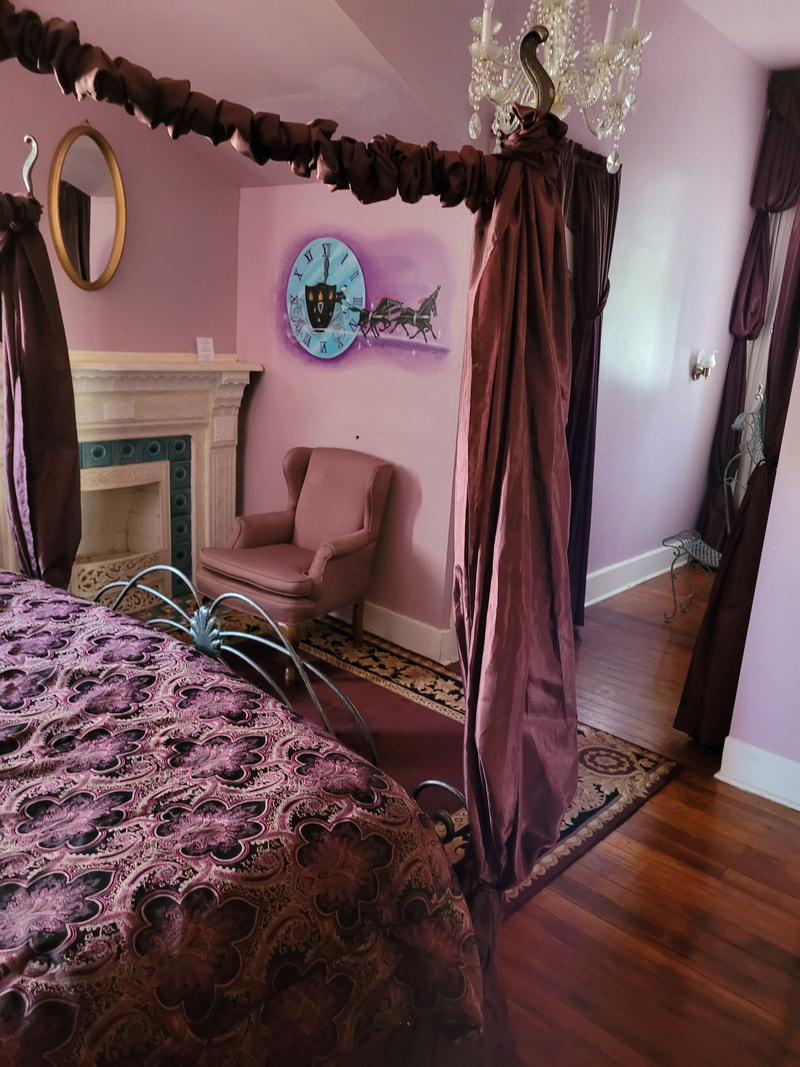 Our room, note the classy nature of the decor. 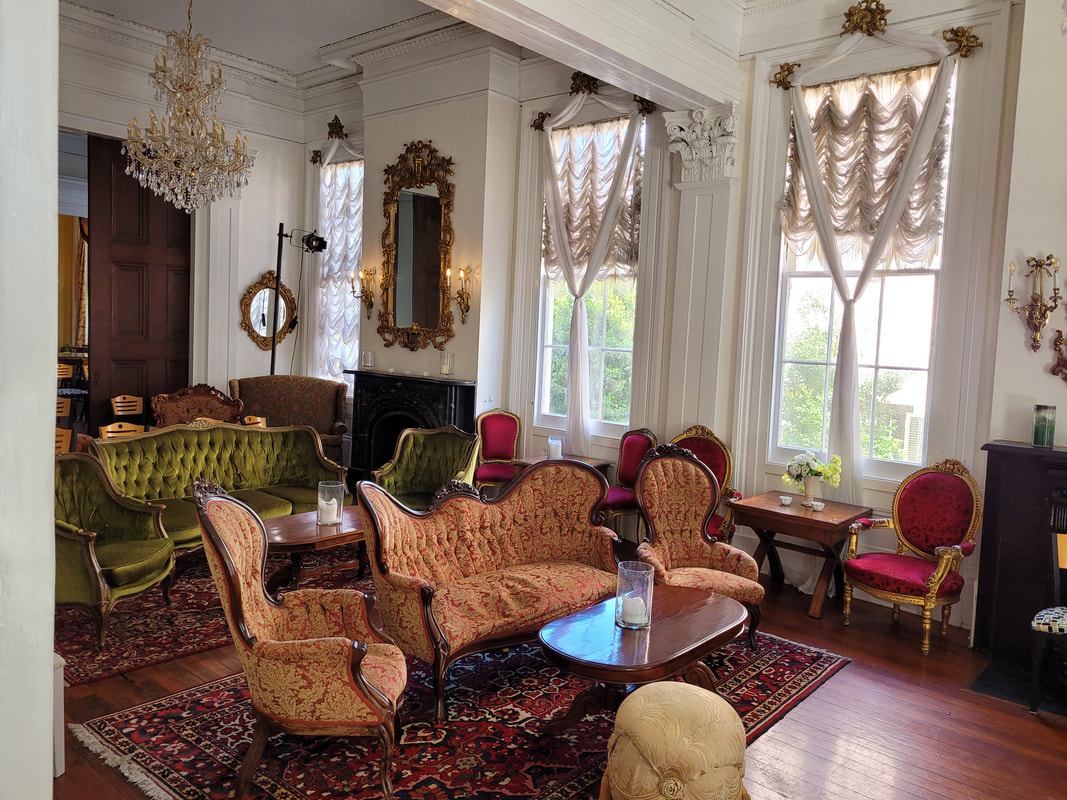 The parlor on the first floor of the mansion. 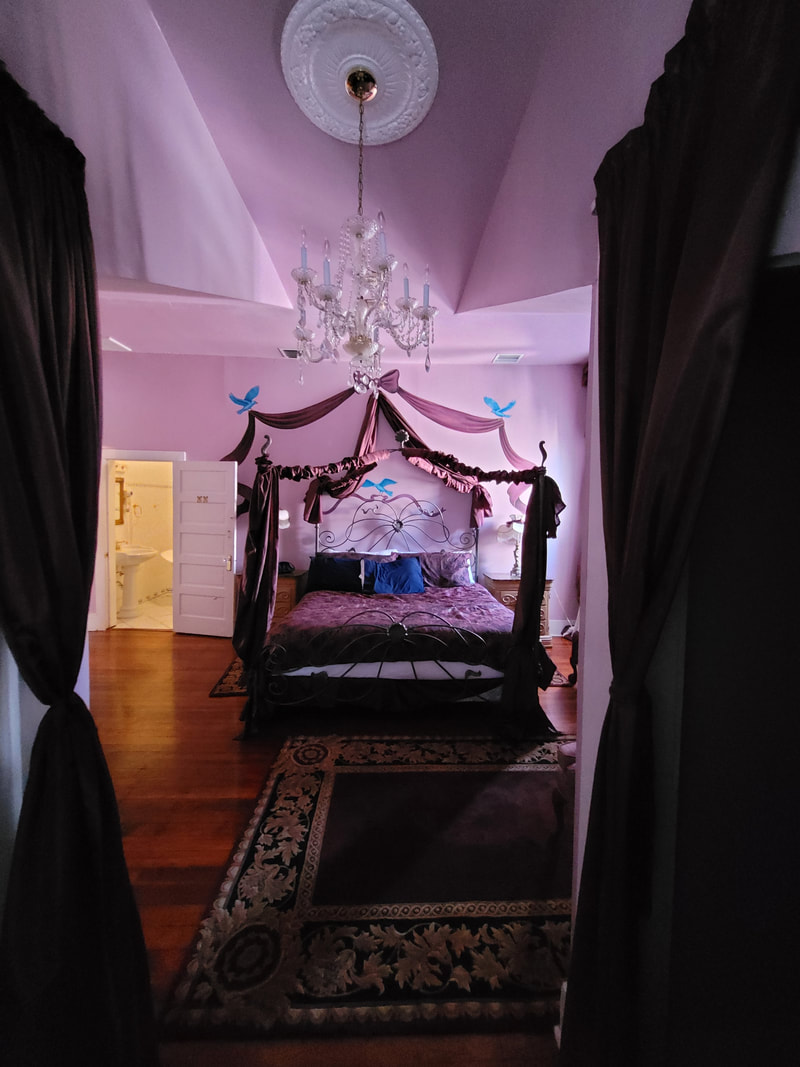 Another angle to our room, showing the bed. 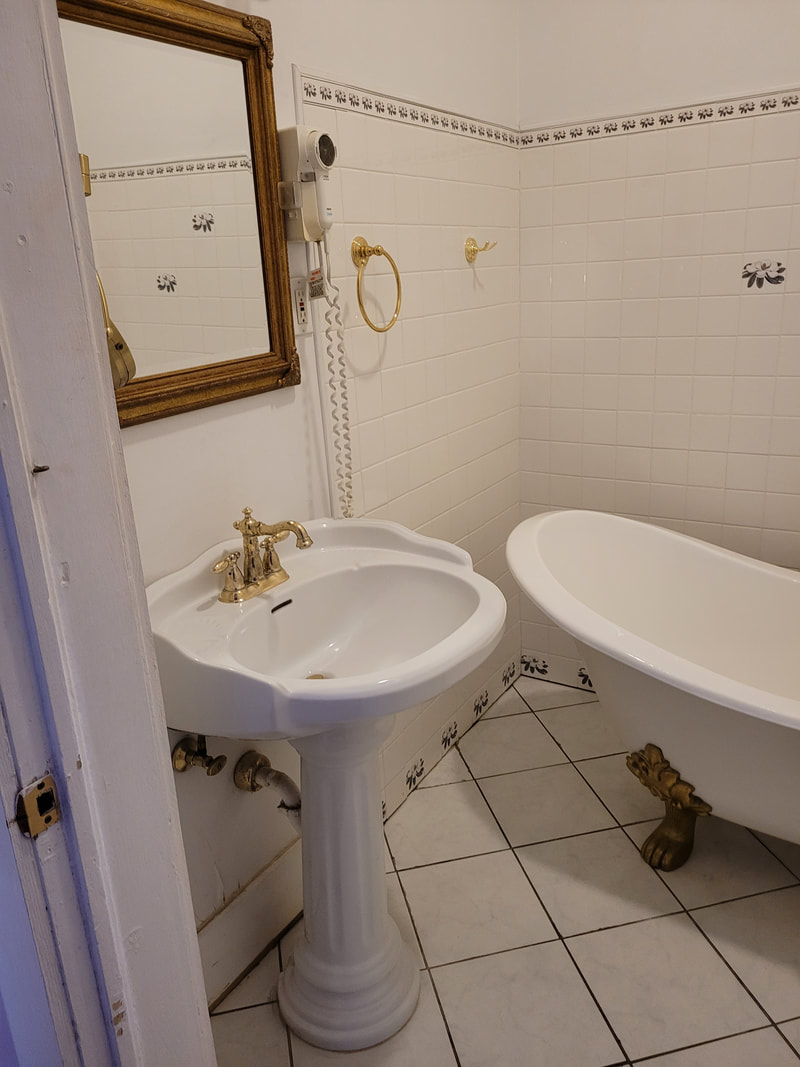 Bathroom in our room, note the clawfoot tub. 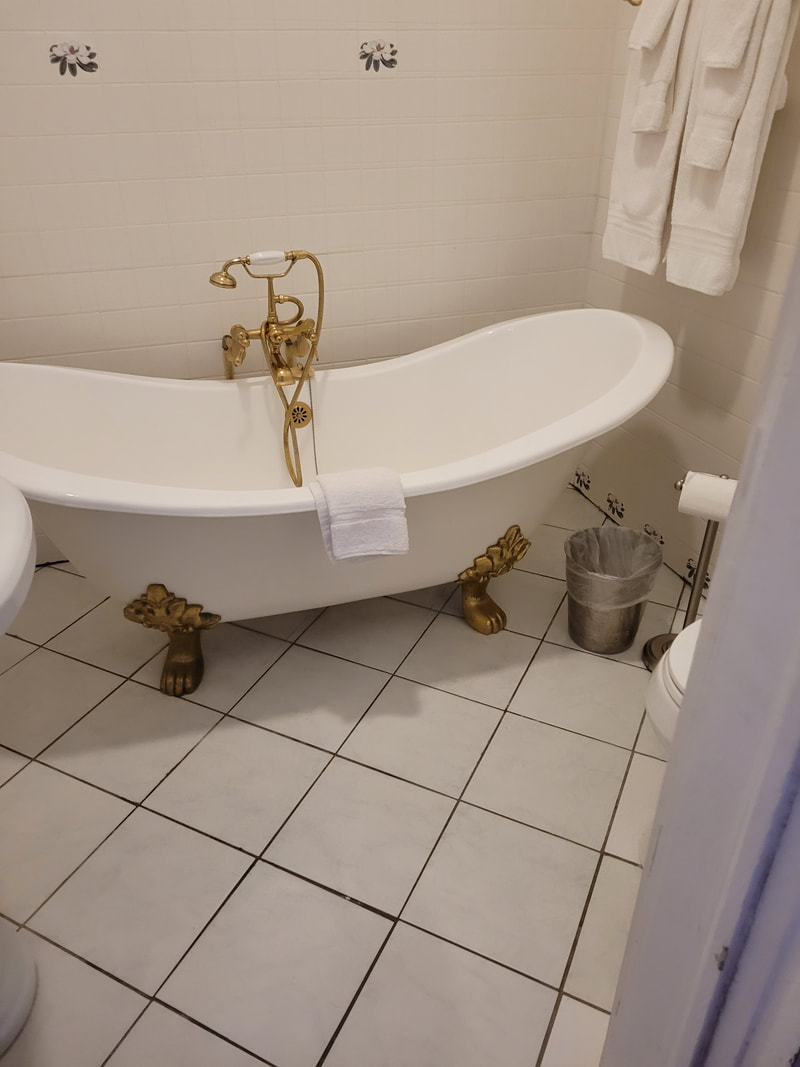 A better shot of the clawfoot tub in the bathroom. 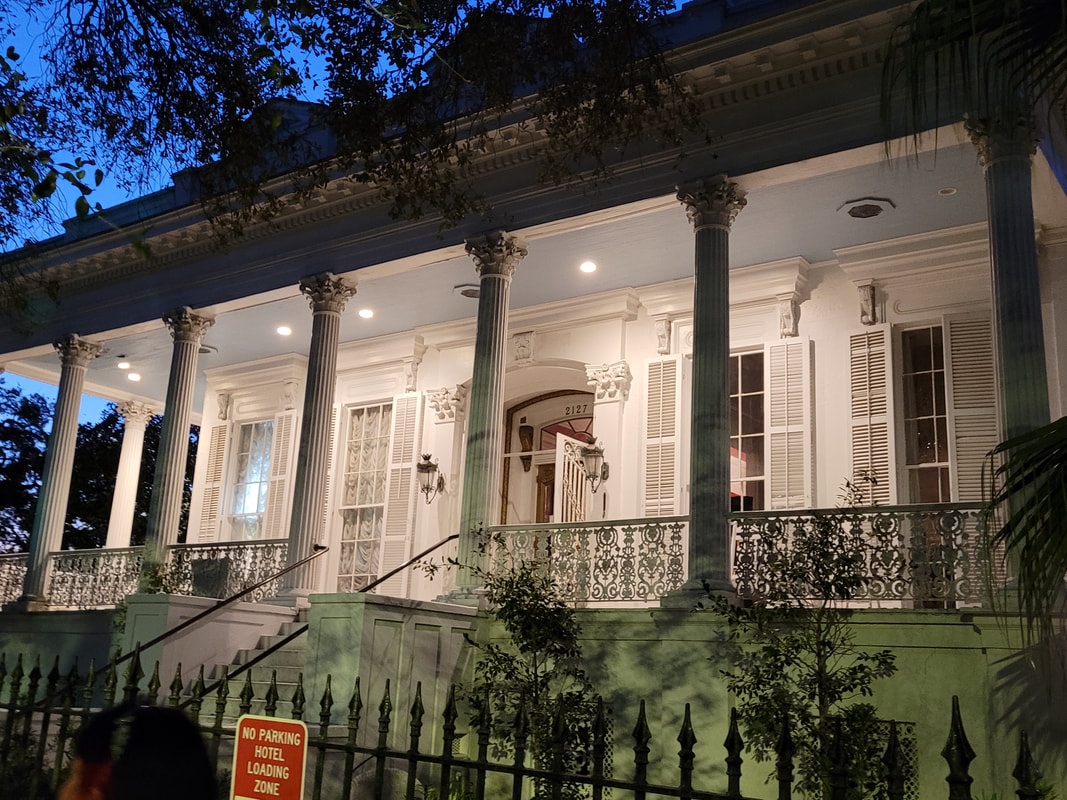 The mansion lit up in the dusk, its a nice sight at night. On cruise day, we bid our adieu to the Magnolia Mansion and headed to the terminal in the morning. After parking the car and unloading our luggage, all of which we would take on the ship ourselves, we ran the gauntlet of going through the terminal at the port, going through the security and passport checks and all that other shit before finally making our way to the main Carnival terminal where we were checked in. Once we were finally checked in, our boarding went pretty fast. 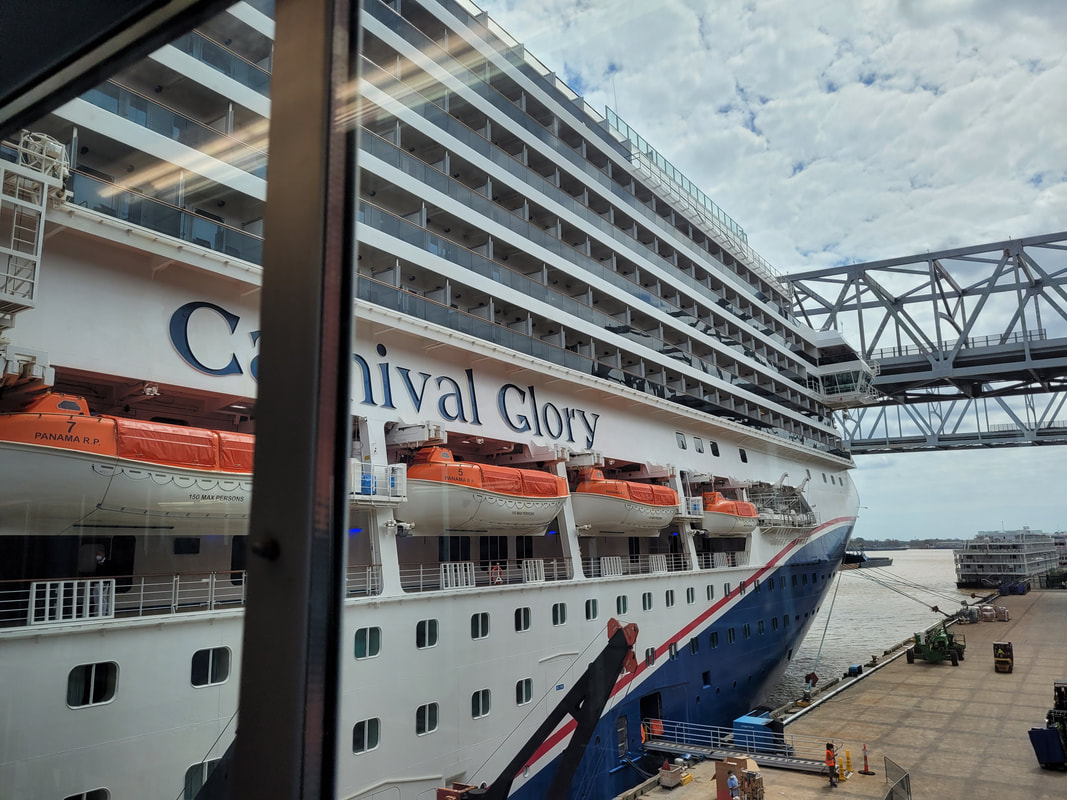 On the gangway entering the ship, the Carnival Glory, our home for the next eight days. 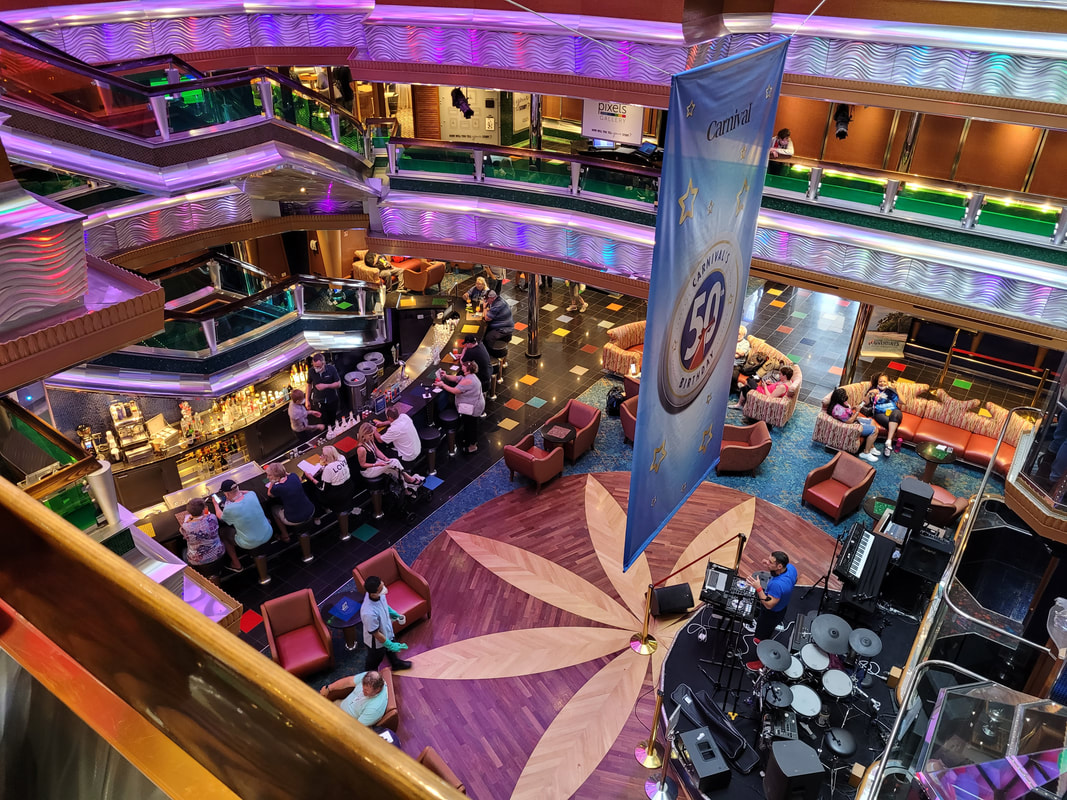 On an upper level looking over the atrium of the Glory. Once on board, we were allowed to drop our bags off at our room, even though it wasn't technically ready yet. From there we took advantage of a port lunch, hitting the buffet to get us a bite to eat to kickstart the trip, even before the ship even left the port. Once all boarding was completed, which was probably a few hours later, we finally started to back out from our mooring at the Port Of New Orleans. We headed to one of the upper decks overlooking the Lido deck to oversee the Glory's departure from the port. Music was played as everyone had a good time dancing and celebrating the departure of the ship and its trip down river towards the Gulf. 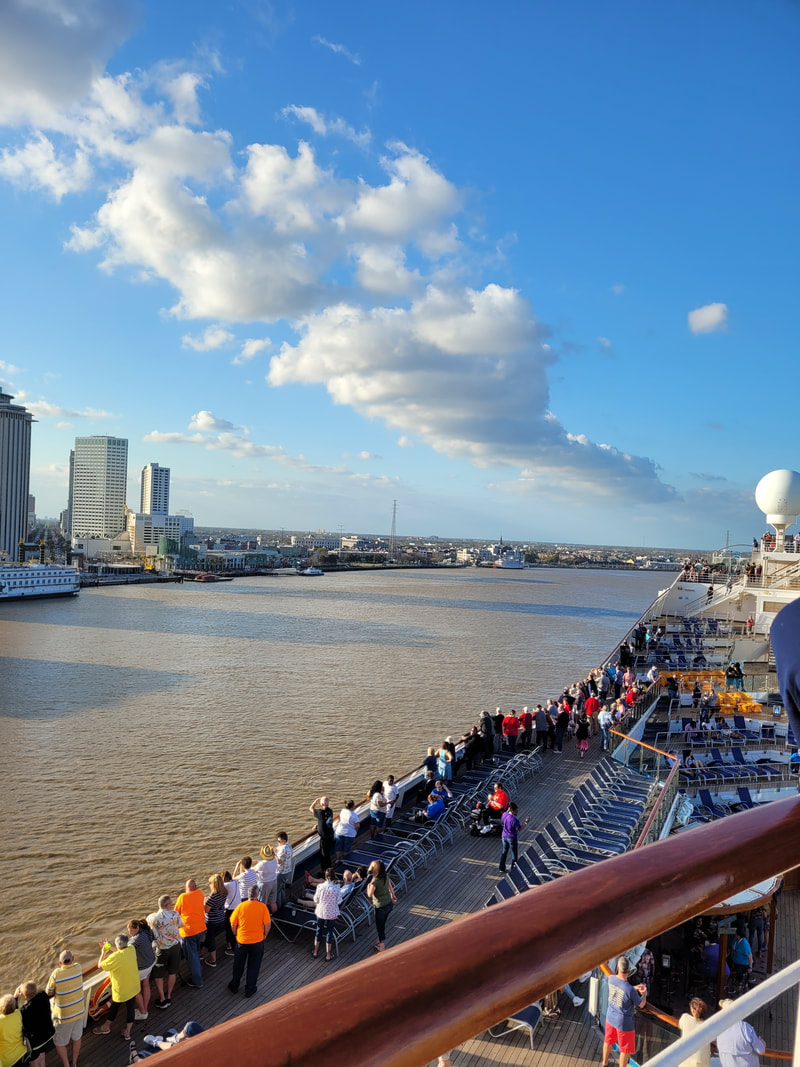 Standing on the 10th level, above the Lido deck overlooking the ship and the river as we start to pull away from the port. 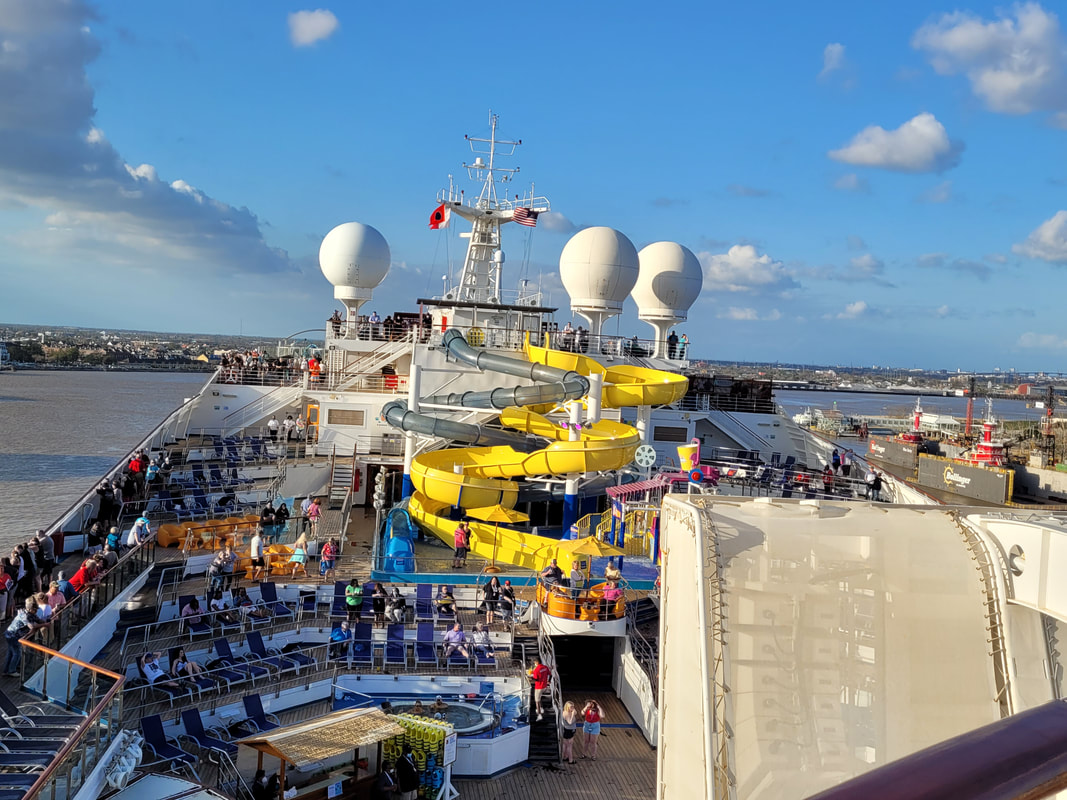 Another shot overlooking the Lido deck as we head down river. 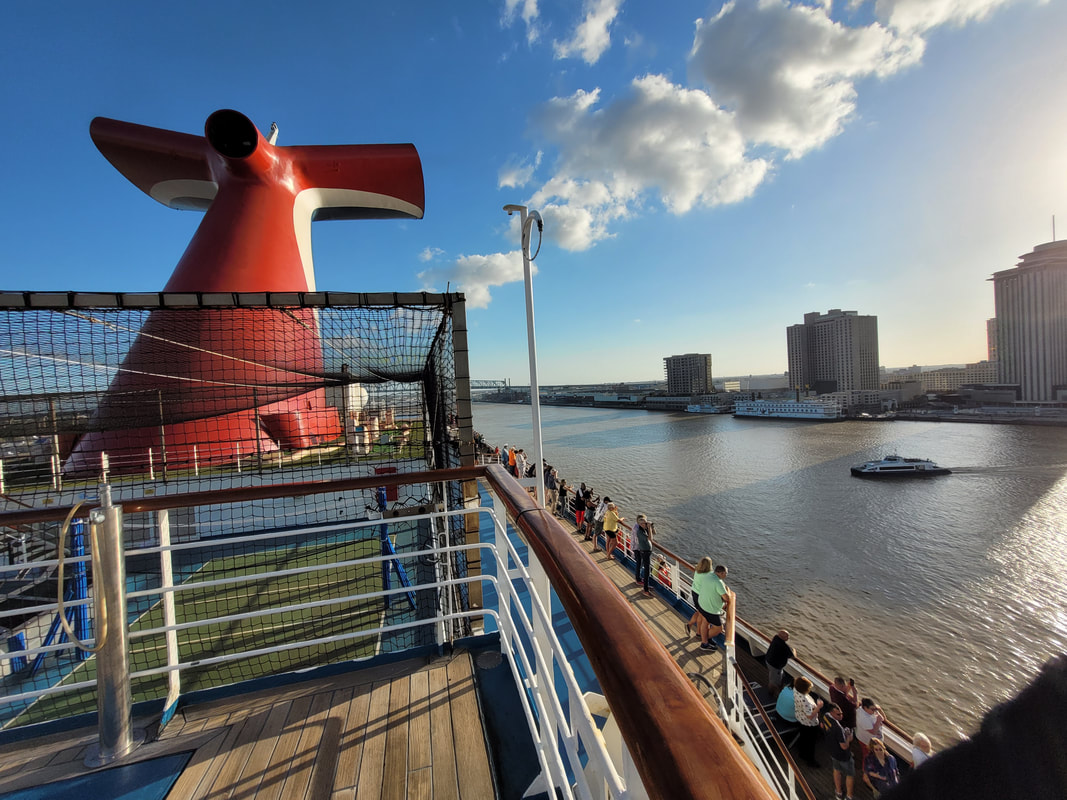 Looking towards the aft of the ship and the port in the right background as we head away down river. 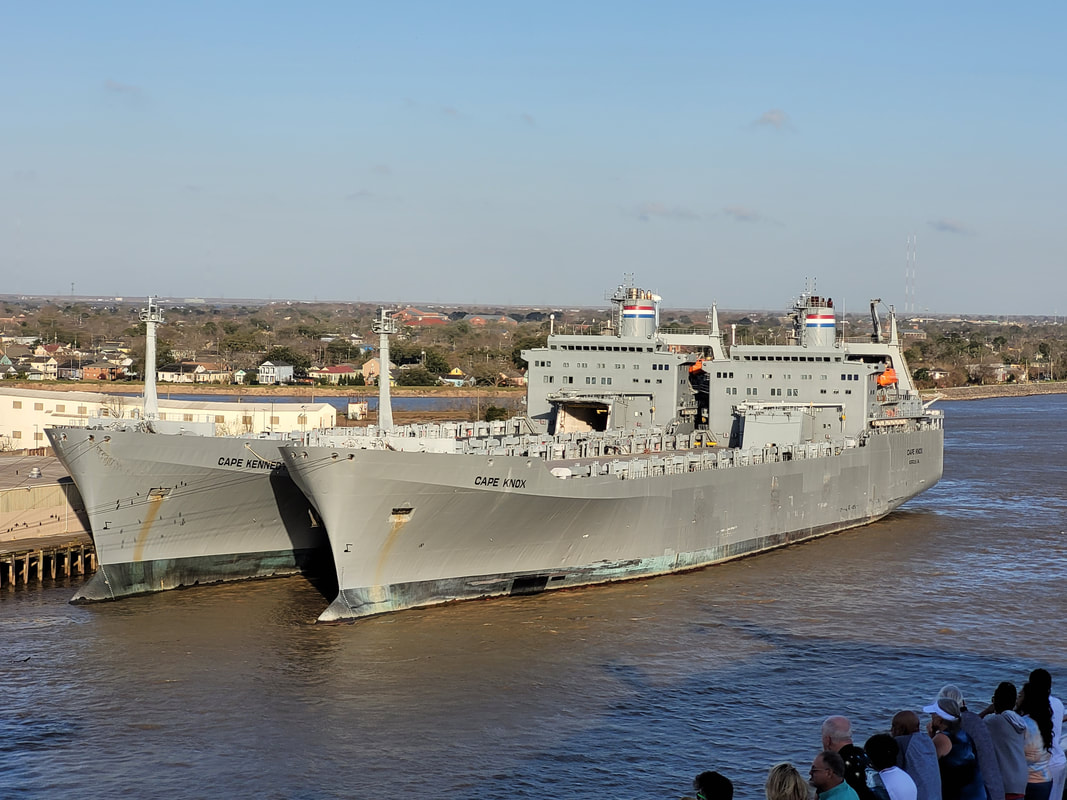 A couple of moored navy cargo vessels we passed as we head down river. This cruise is special due to the fact that it is Carnival's 50th birthday/anniversary in business and part of this cruise is going to be a ship meetup off the coast of Mexico near Cozumel by our ship and several other Carnival ships. Of course as is the case on these ships there's going to be music and dancing and celebrating with some words from Carnival's representatives and the ships will sound off their horns in recognition of the 50th birthday. There's swag that'll be handed out as well as up for sale in the gift shops, one time only items with the 50th birthday logo on them so these items will probably go fast. My main thing is that I'm just happy to be able to take another cruise again after so long. Our port stops will be Cozumel, Costa Maya and Belize. We only had one excursion planned for this trip, with us really hanging out with our friends and just winging it for the most part. Stay tune for more to come as we hang out on the cruise ship.
It was probably a year ago when we last replaced the struts all around on the Scion, but because this car sees more use in a year than most cars see in five, it's understandable that the struts would be worn out this fast. The many miles on various grades of roads can easily wear out even the strongest suspensions on a car. For those of you who don't remember what is involved with this particular job, we will visit that again right here.
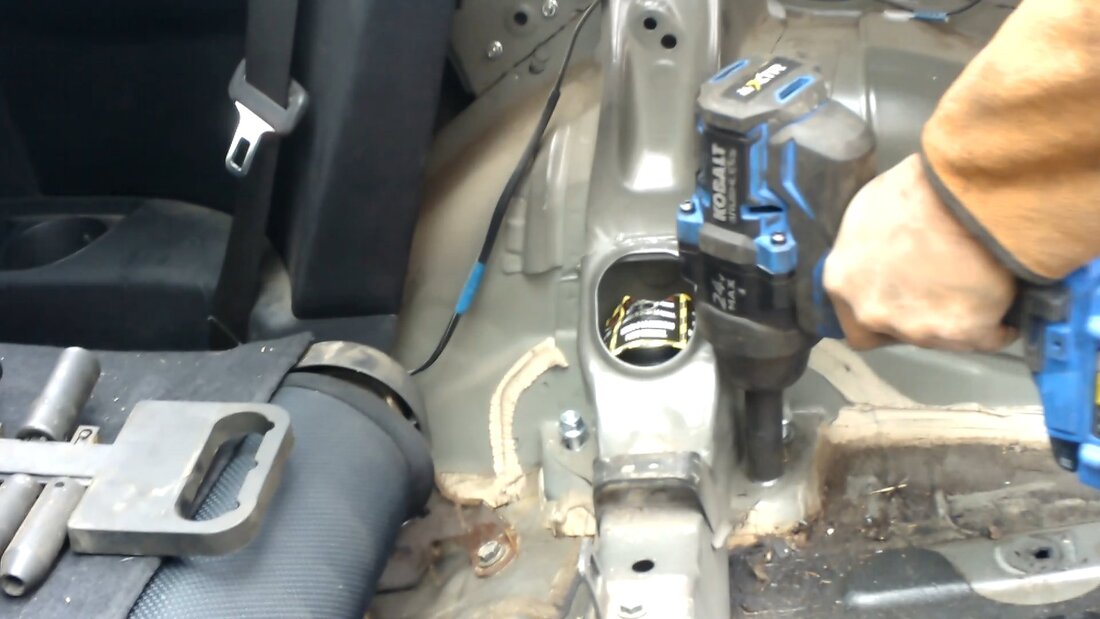
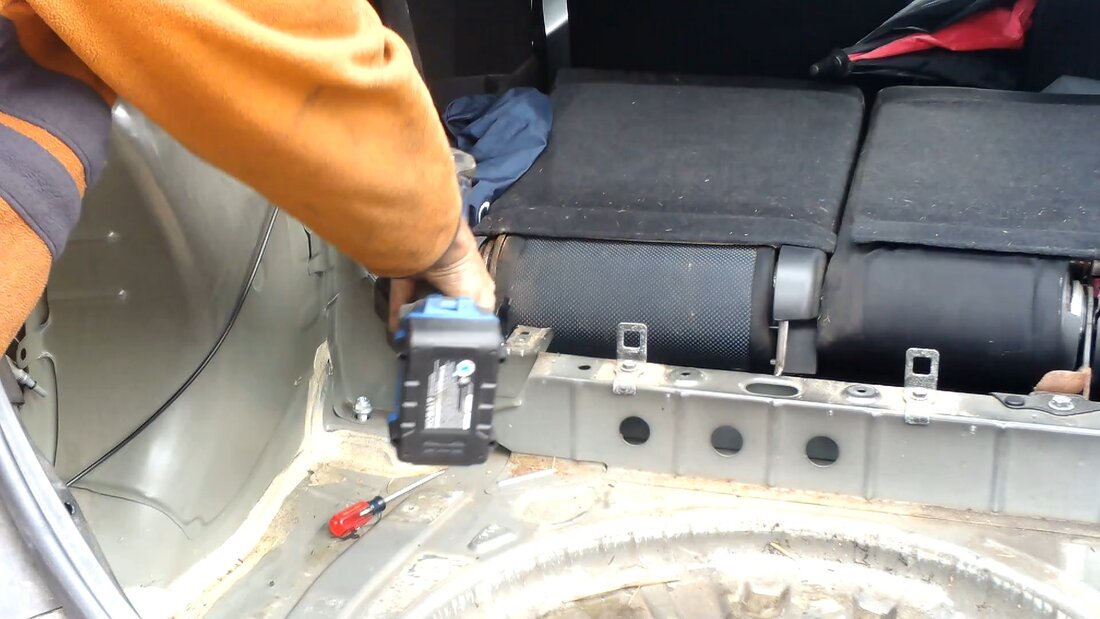
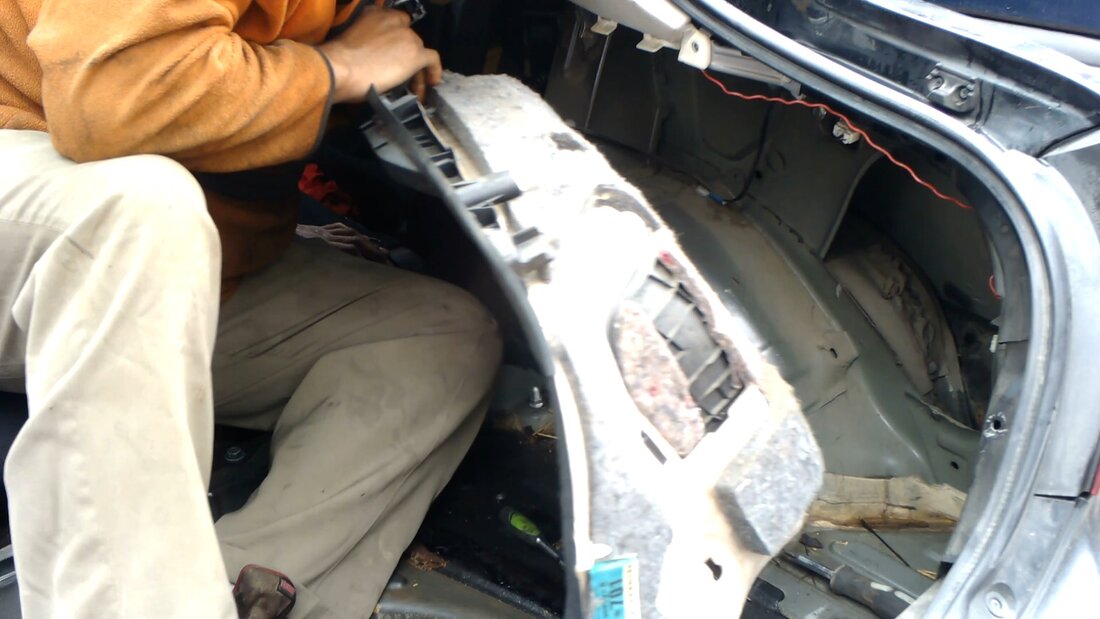
First of all, I had to clear the rear of the car of everything in order to expose what amounts to the trunk area. The spare tire and everything around it had to come out. From there I had to remove the side interior panels, which then allowed me to remove the middle "floor" panel that makes up the back of the rear seat. This opened up the area around the tops of the struts and where they mount to the floor. 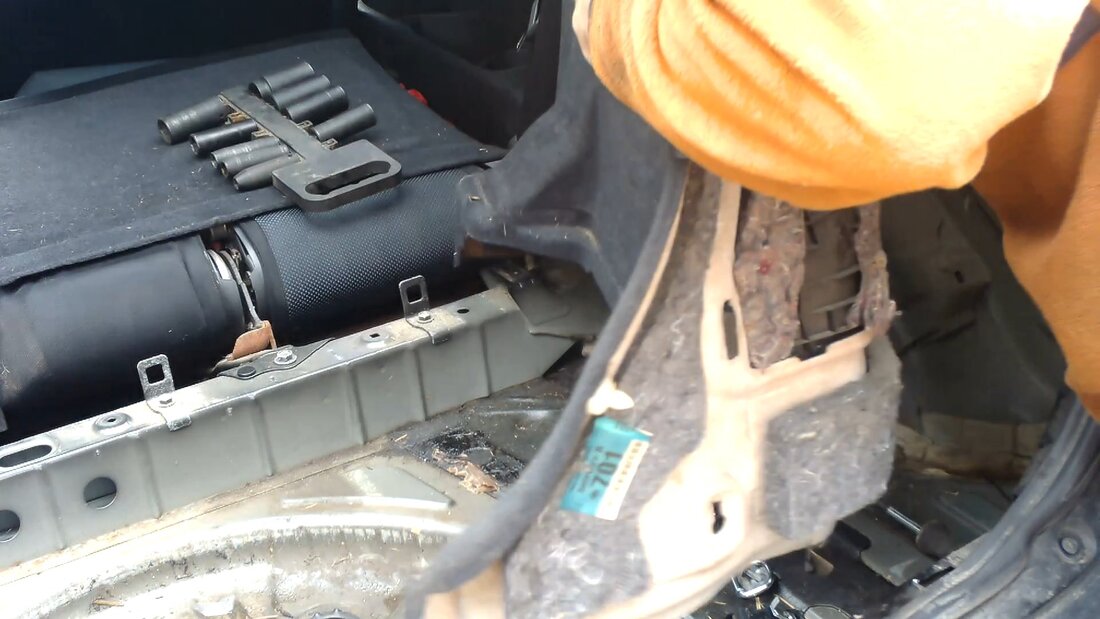
Removing interior side panel from car to expose the tops of the struts and their mounting nuts.
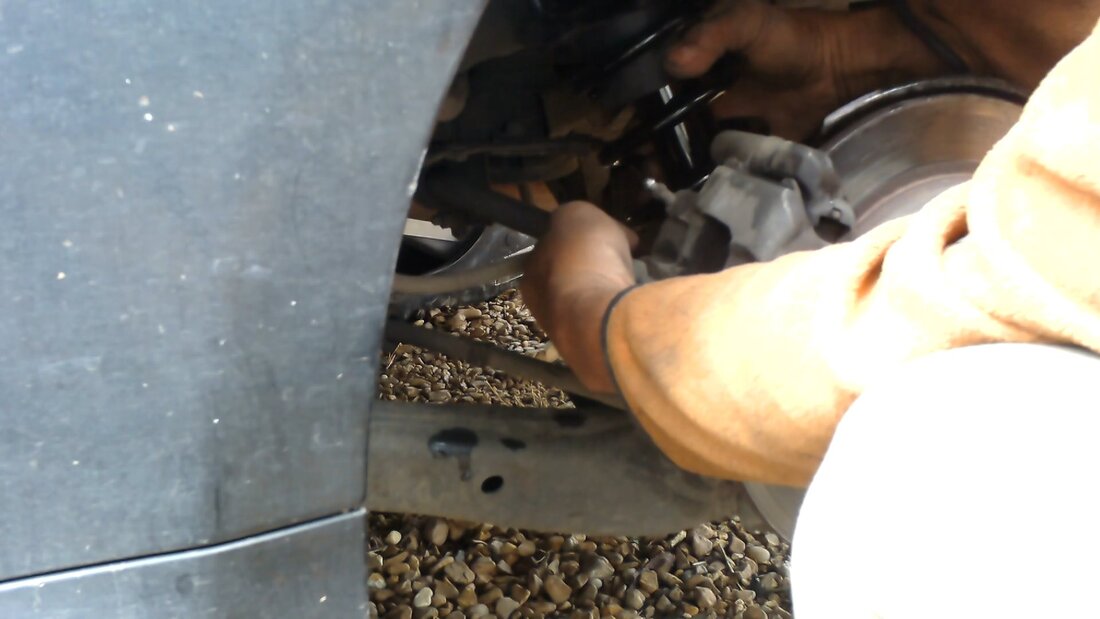
With the panels off and the tops of the struts exposed, the impact wrench made quick work of the three nuts that hold each strut's top to the floor of the car. I started with the right side first, removing the nut then moving to the bottom, having to remove the tire and remove the large nut and bolt holding the strut's bottom to the axle. I had to work the strut out and around the axle and the linkage hardware before I was able to fully free the piece from under the car. Once the strut was out, it was just a simple matter of putting the new unit back in the same way the old one came out. After I got the strut secured, and the tire back on, I moved on to the left side. 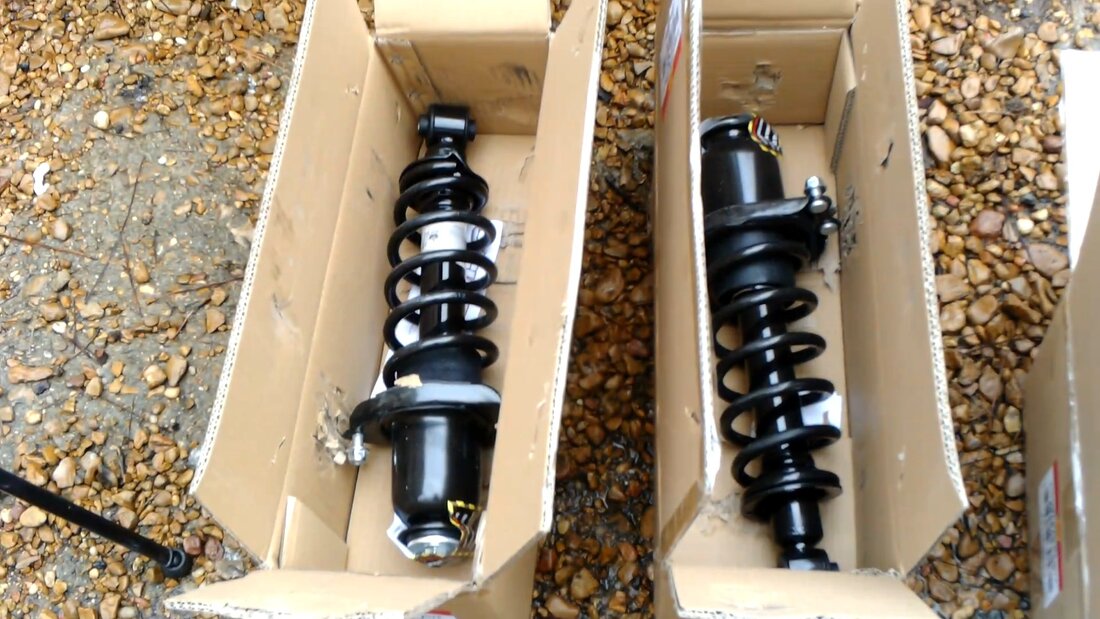
The pair of new rear struts.
Securing right side strut using the impact wrench.
Removing the nuts from the left strut using the impact wrench.
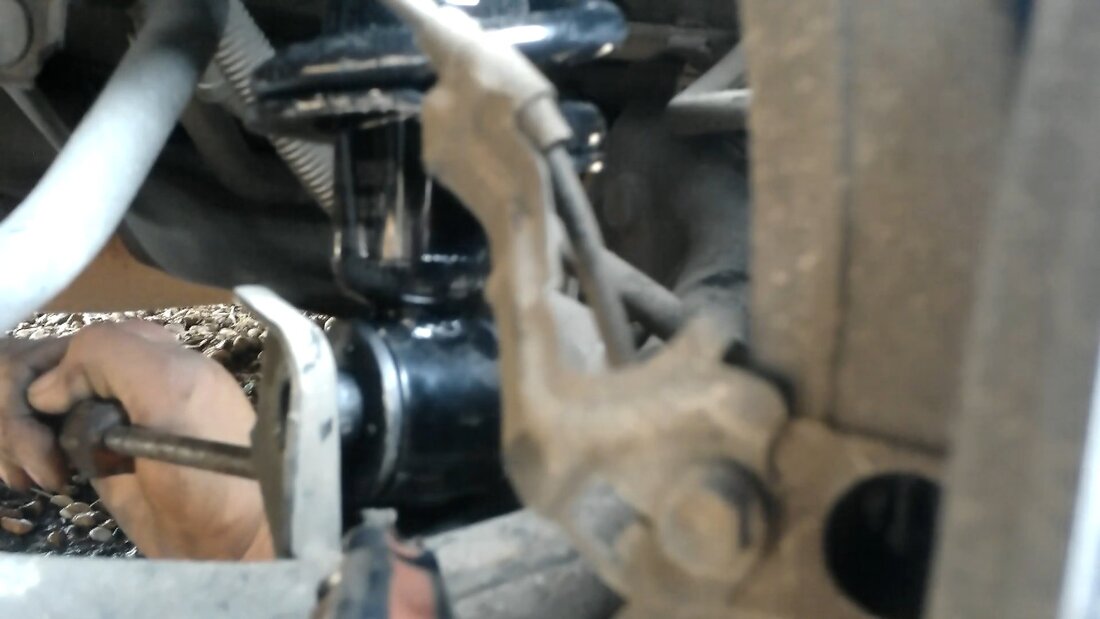
Its funny how the first of anything can go easy but the second or last thing goes with some difficulty. That was the case here as I had to use a length of pipe to serve as a lever to push the rear control arm/axle down to get the clearance needed to remove the strut. I also had to remove the bracket holding the rear speed sensor as well. All of this stuff wasn't in the way on the right side, which was annoying for the most part. With the pipe I was able to get the old unit out as well as the new unit back in. 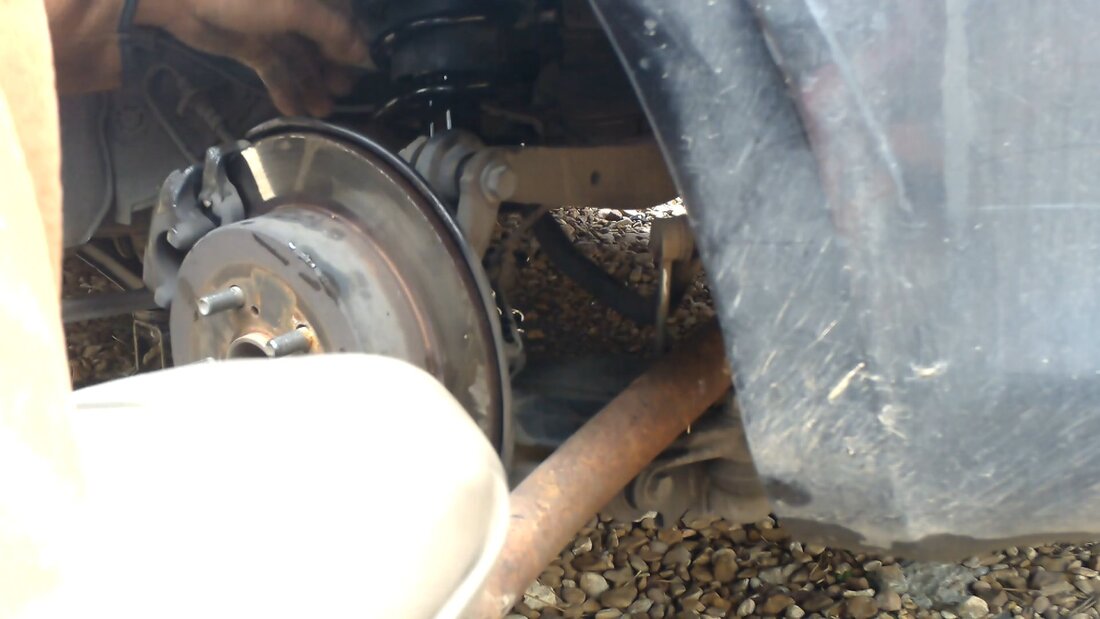
Using a length of pipe to lever down the control arm to gain the clearance necessary to remove the strut.
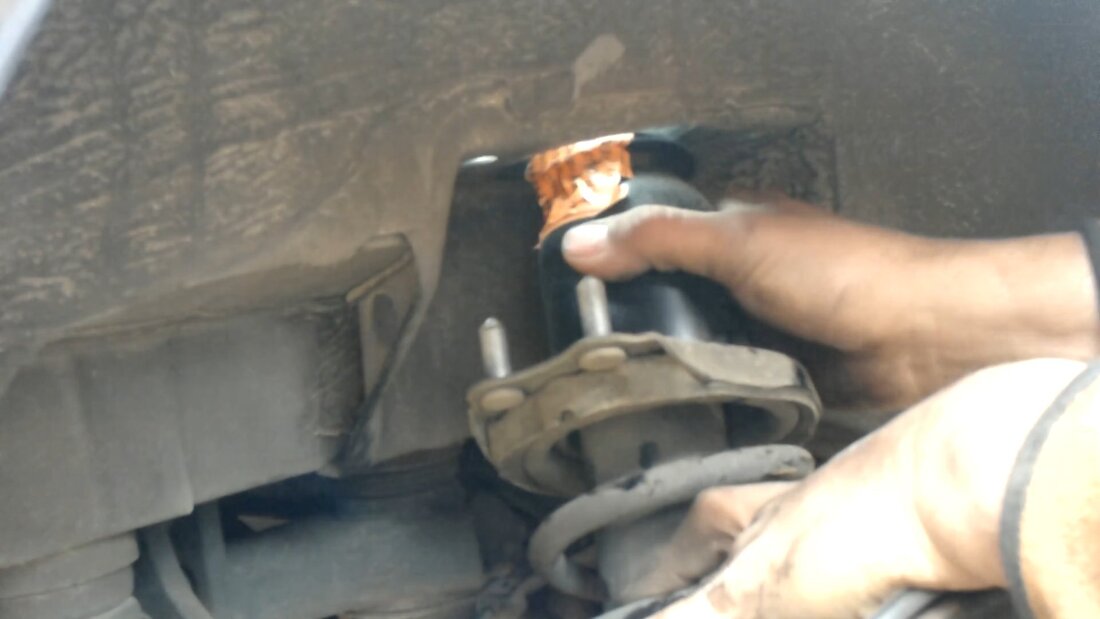
Removing old strut from strut tower on left side.
Installing new strut back in place.
Using screwdriver to move bottom of strut to align bolt holes with mount before inserting bolt.
Replacing interior panel back into car.
With everything bolted back up I installed the interior panels and all of the junk that was removed from the car in the beginning. After a day's driving, it was determined that the problems of bottoming out and wheels scraping under the fender wells was eliminated. At this point it is fair enough to assume that the front struts are either at or near the point of needing to be replaced just as well, so we will be ordering these parts soon enough so we can get them here and in the car more sooner than later. Keeping the daily drivers and in the case of the Scion, the money maker vehicles in service is a high priority.
Even though the last time we brought up the John Deere Tractor it was probably sometime early last year, it doesn't mean that things just ended there. We have used this thing to do everything from run garbage down to the road to transporting tools and supplies to install a new mailbox to just doing general parts/materials runs between the compound and the garage. During all this time the engine continued to run as it should with all the new parts, we installed but there was one wild card that I had been ignoring, that has always been a problem is the steering. For those who have owned these lawn tractors or similar designed machines, is that the steering tends to go out due to the design of the parts in the system.
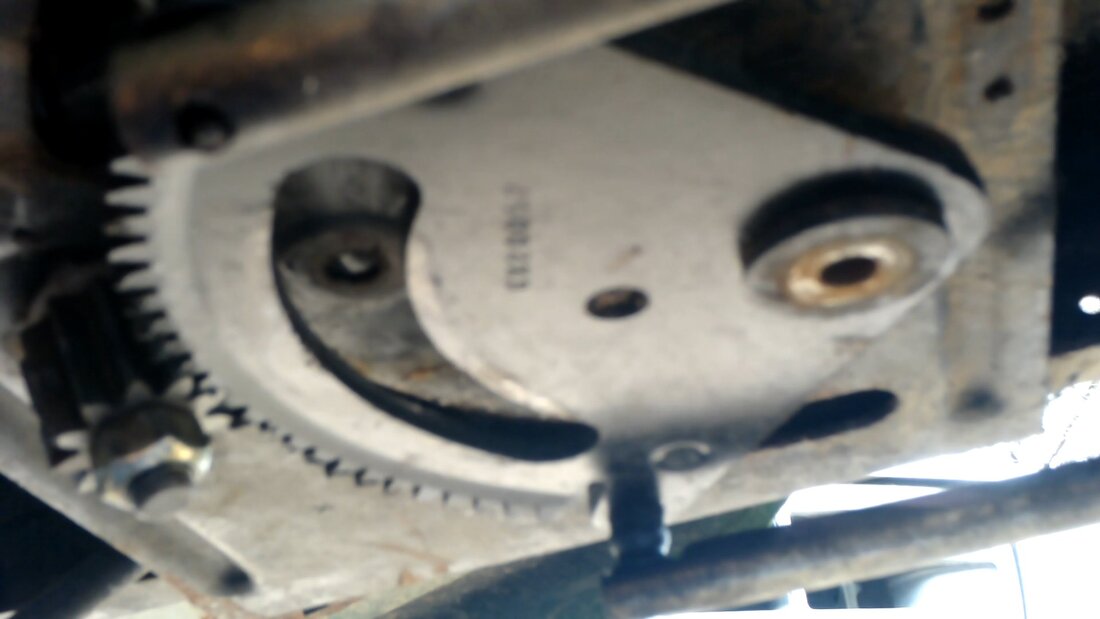
The steering utilizes a triangular gear that sweeps from side to side on a curved gear that meshes with a simple round gear on the steering shaft. Connected to either side of the triangle are the tie rods connecting to the axles to turn the wheels as intended. What ends up happening is the plastic bushing on the steering shaft wears out, causing play in the shaft. This play allows for meshing to not be complete and in turn, causes excess wear on the splines of the steering shaft gear as well as the triangle gear. Of course, the wear in the splines then causes the gears to slip and bye bye steering. This is the case, yet again, on this tractor. 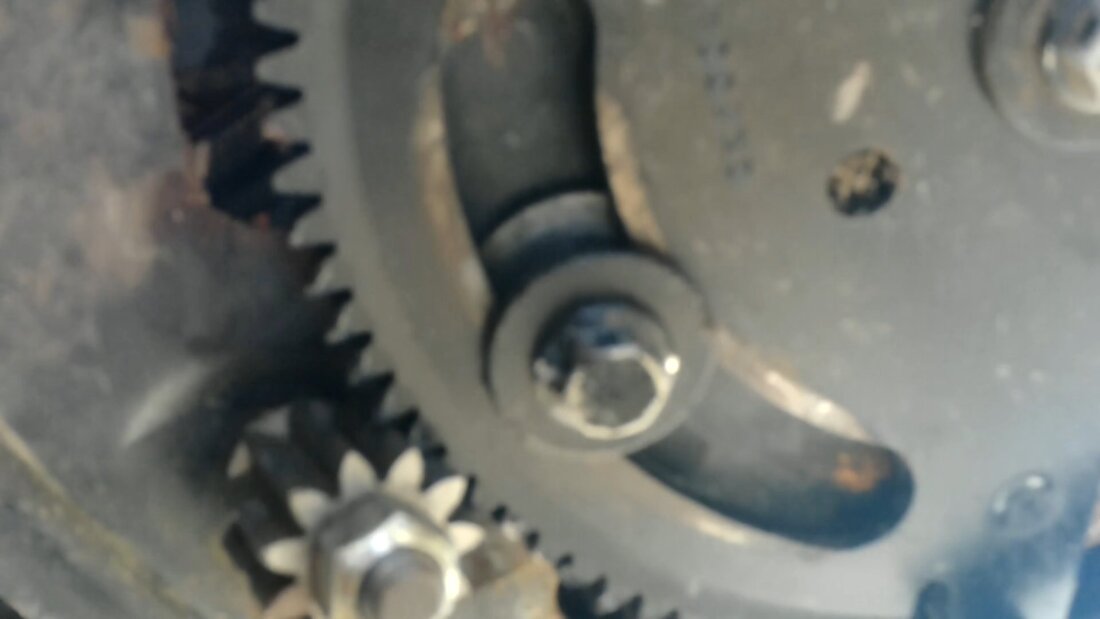
Steering shaft gear and main steering gear, note gap between the two.
I removed the pivot bolt from the "point" at the front of the triangle gear, with the intent of lowering the position of the gear relative to the steering shaft gear. Since the steering shaft gear is at an angle, the lower the triangle gear is relative to the steering shaft gear, the more the two will mesh together. In order to achieve this, I had to add a few washers between the triangle gear and the bottom of the tractor's frame, so when the bolt is put back in its place, the washers will hold the gear at the desired spacing relative to the steering shaft gear.
Both the pivot bolt and the guide bolt removed from the triangle gear to allow me to move the gear around to position it in the process of trying to get the two to mesh better.
Washers used for spacers on triangle gear, drawing it lower relative to the steering shaft gear.
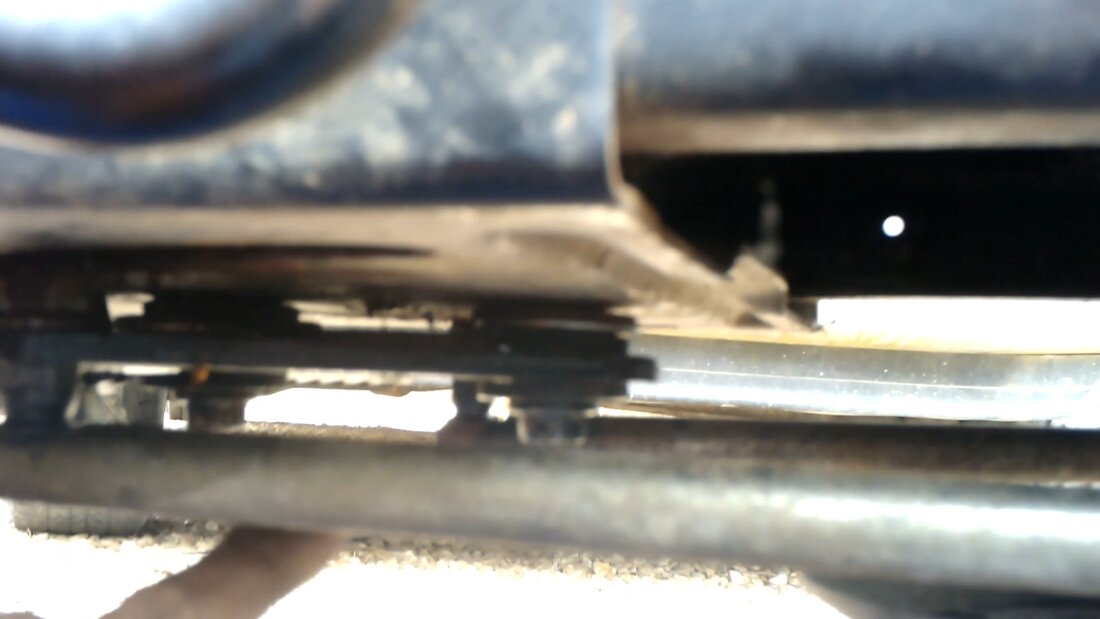
With the triangle gear lowered, it allowed the steering shaft gear to mesh more with the teeth of the triangle gear. Again, since the steering shaft gear is at an angle, the gear was able to mesh better as the triangle gear was lowered. I'll pretty much have to leave things like this if I want to have the chance of getting some more life out of these components since the triangle gear does have some worn down teeth. 
Triangle gear at lower point. Note how steering shaft gear is meshing tighter with triangle gear at this point.
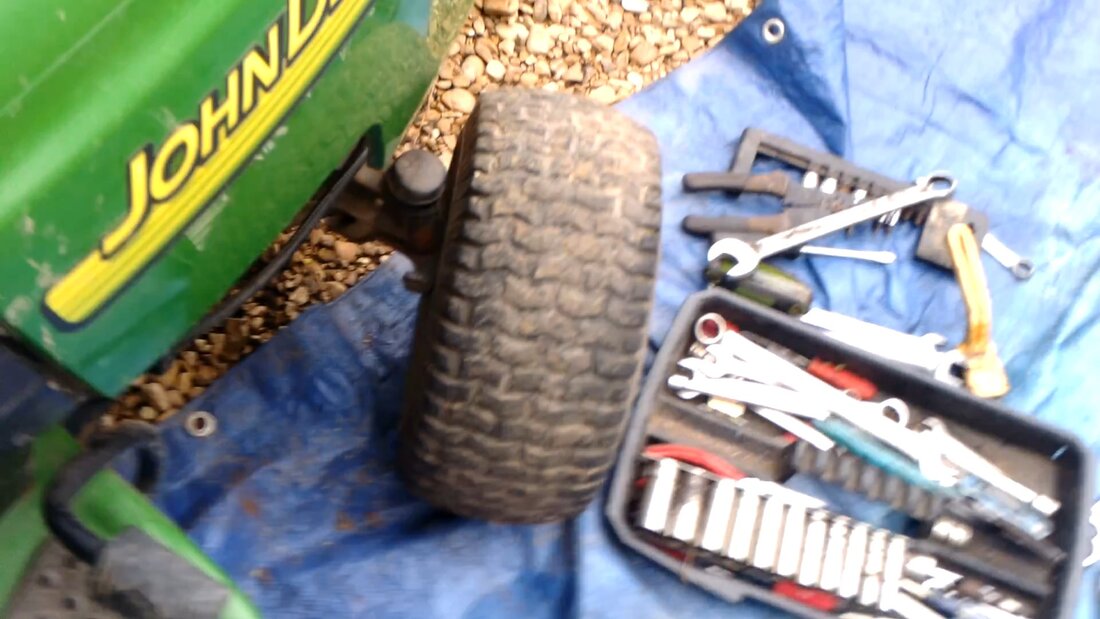
Turning steering wheel to the left amongst batch of tools.
While things seem to look good, this is not the end-all to this problem. I will still have to replace the bushings on the steering shaft as well as the triangle gear, due to the fact that the teeth in the middle 1/3 of the gear are partially stripped. Even with the gears meshing better, it won't be long before the teeth on the triangle gear get stripped more and will no longer allow the steering to operate. Of course, we will need to take time to grease up everything to allow the metal on metal action to be a little smoother between the components. At least now we will have use of the John Deere Utility Tractor once again.
I finally came to a point in time that I decided to try and replace the bed on the F250. This thing has been trashed on the right side for about as long as we had the truck, due to the idea the ole lady didn't pay attention when backing up and chewed the side up against a stationary object. Anyway, we managed to pick up a replacement bed from a dude for $125, a steal for all intents since there are no replacements to be had that are in good shape, anywhere. In the meantime, the replacement bed sat on our utility trailer, as it came home on that trailer and it didn't make sense to remove it only to have to work harder to lift the thing up from the ground onto the trucks frame. By the bed being on the trailer, it was damned near at the level necessary to move it right over. 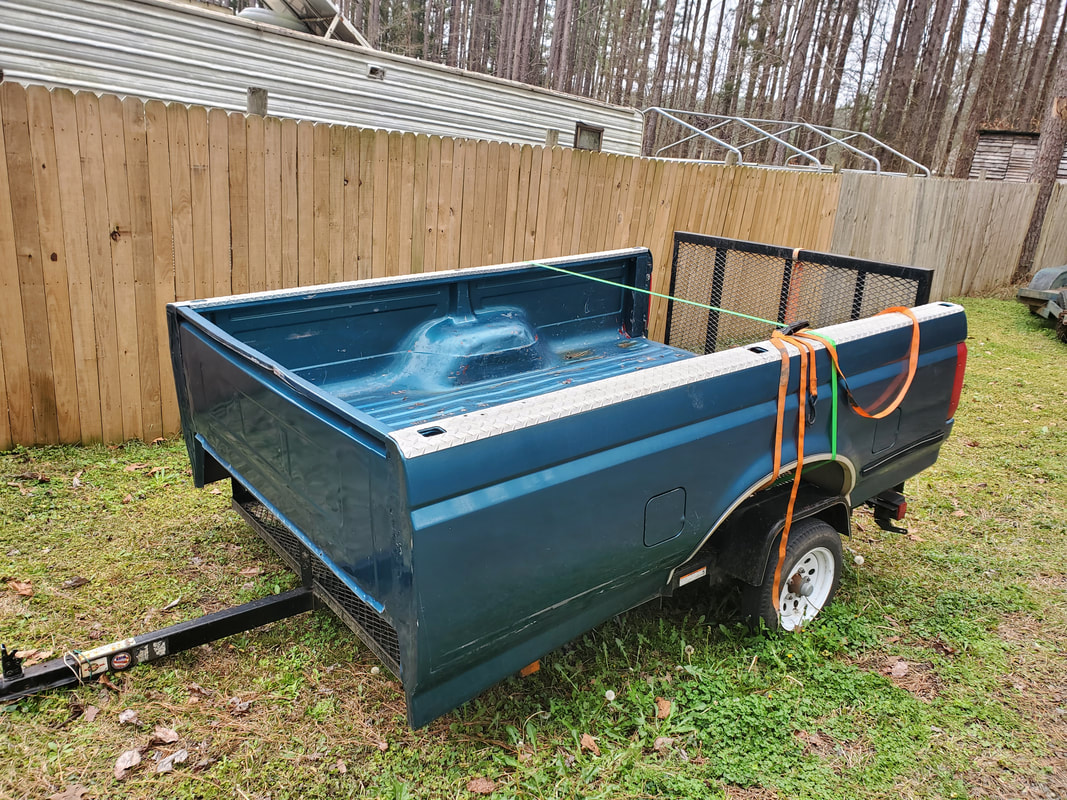 The replacement bed staged on the same trailer it was hauled home on. The first thing I had to do was remove the storage toolbox then the bed liner. The toolbox was held on by a pair of 3/8" bolts on each side so that was pretty fast. Other than the weight, it was on the ground in no time. As for the bed liner, there were a couple of large screws that were used to secure the liner to the lip of the bed that ended up having to be ground off due to the things being shitty. Once that was done the bed liner was off and on the ground. Those things are heavier than one may believe them to be. With that it was a matter of removing the nuts from the six large bolts holding the bed to the frame. The impact wrench and a U-joint and extension allowed me to get the nuts off, with a couple needing to be removed the rest of the way. With the bed technically free of the frame, there was a matter of the fuel filler tubes that I removed since they will be reused on the new bed and unplugging the taillight harness. Once that was done it was time to pull the old bed from the truck. This was ideally done near where the new bed was, and outside of the compound fence area. I moved the truck in the main driveway, staging just in front of the trailer with the new bed. My plan was to work the bed off and onto the ground next to the driveway, parking the old bed in the same place where we had different vehicles parked in the past. With a little work I managed to get the bed off the truck frame and onto the ground. 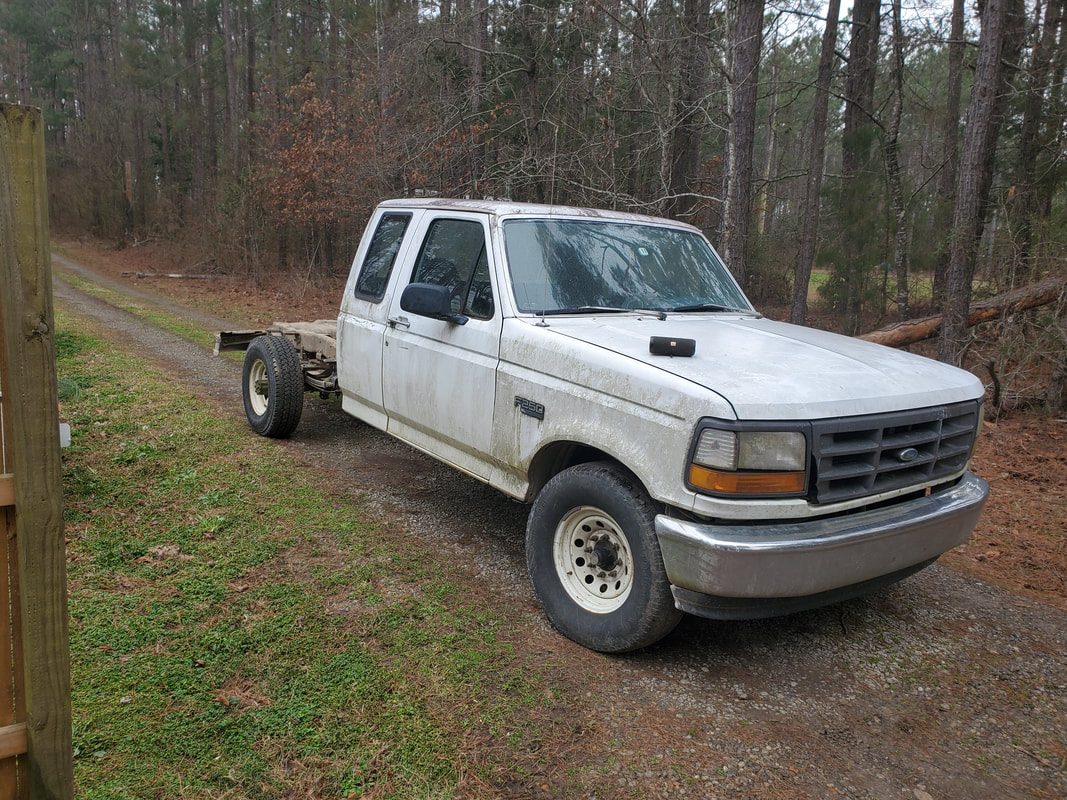 The truck sans bed, staged in the main driveway. 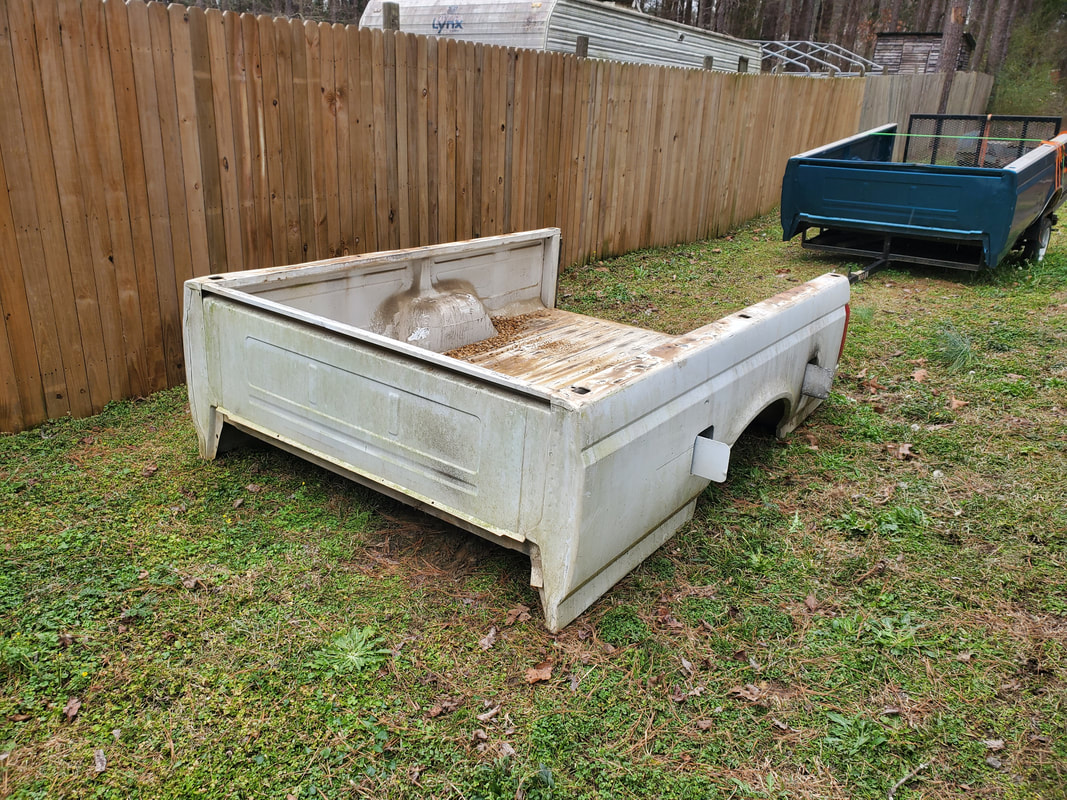 The old bed, on the ground in its new parking space for the time being. Note the new bed just behind it. To get the new bed installed, I had to park the truck as close to the new bed as possible, with inches to spare between the two. The intent was to work the bed from the trailer, over to the truck's frame without the bed even touching the ground. Once I got the truck staged, it really wasn't as bad as I thought it would be. I gradually worked the new bed off the trailer and got a corner on the truck frame then worked more, going back and forth until I had the bed completely resting on the frame. Once on the frame I got the six bolts back in and secured then installed the fuel filler tubes, then the taillight wire harness. Once the bed was on the frame, everything went pretty fast.  Shot of the right side of the new bed showing the straight lines, way better than the old bed that was all crinkled up. 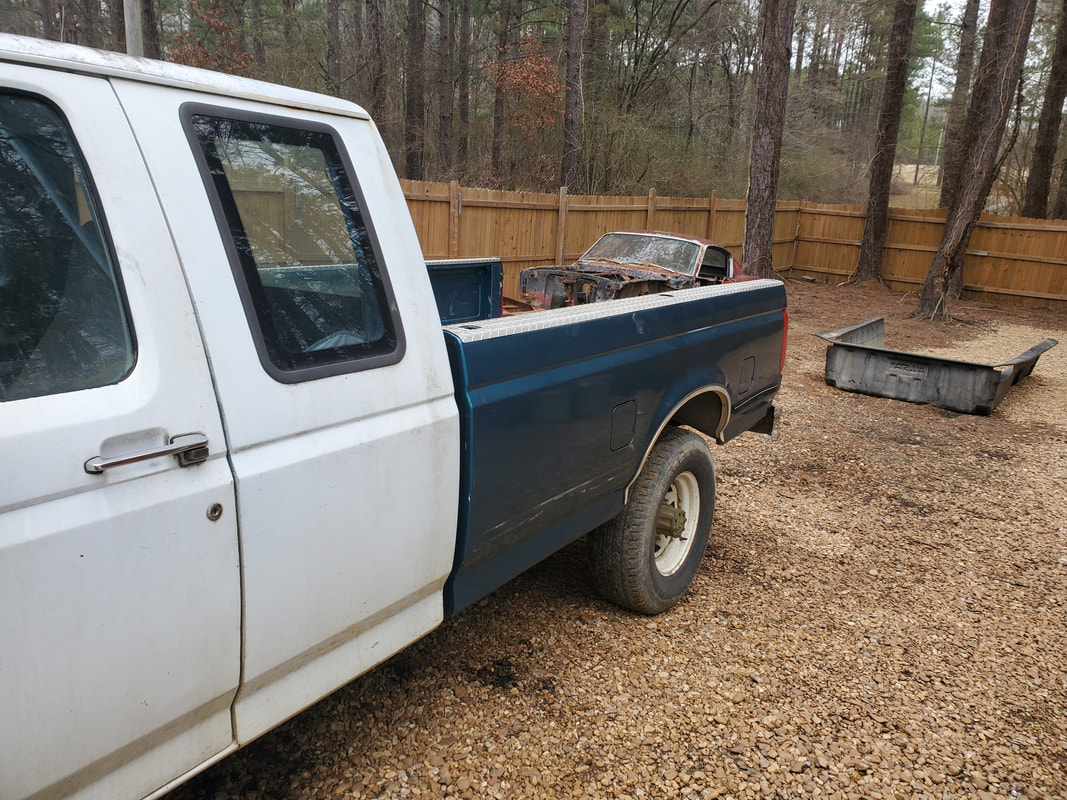 Shot of the left side, I had to straighten out the area in front of the fender well due to its being pushed in some. Everything is now straight on this side as well. With the bed on and everything hooked up I was able to move the truck back to its parking space within the compound. From here I put the bed liner back in and the toolbox back on the top front of the bed. I had to drill four new holes to install the bolts to hold the box down. The tailgate was installed back on as well, completing the whole job. 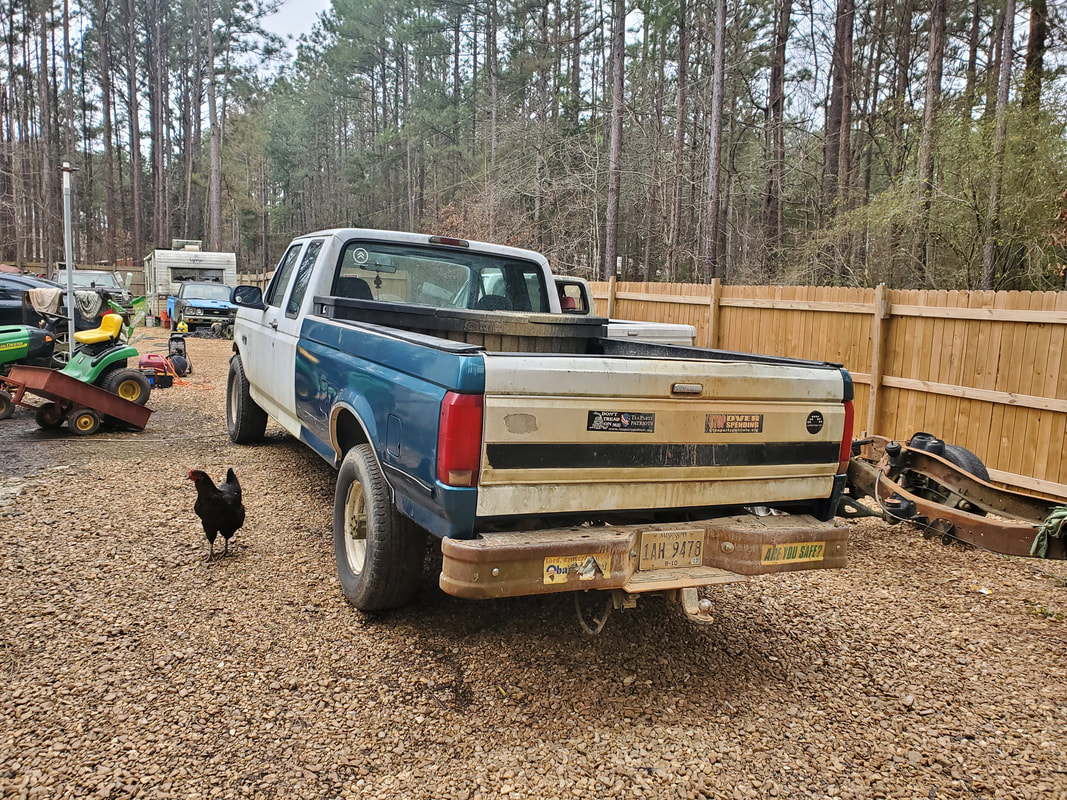 Tailgate installed on back of truck, along with toolbox and bedliner as seen in the pic. 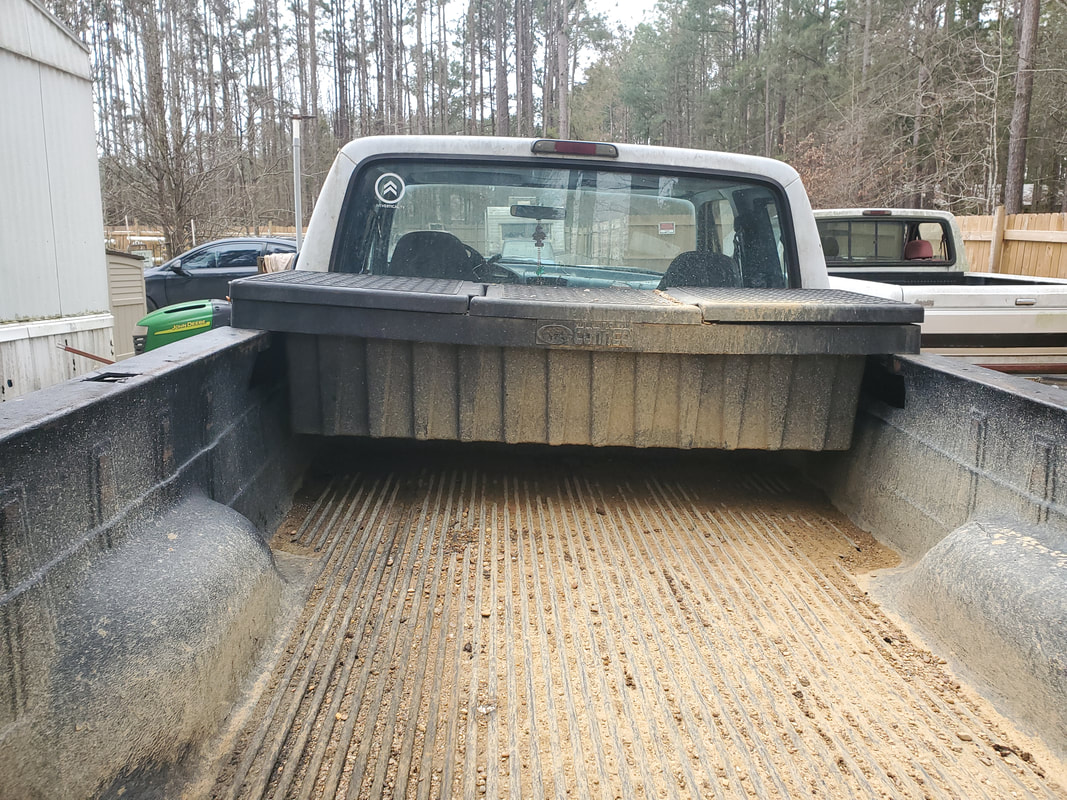 A better shot of the bed liner and toolbox installed on the new bed. The F250 is back and ready for business. With everything done, now there's a matter of what I want to do with the paint scheme. I could just paint the bed, which may be easier since there isn't much to mask off or go further and paint the cab the color of the bed, going with an all-new paint scheme. It all depends on my mood and how much I've gotten done on other projects as this will determine how much time I want to spend on the project. If I do go with painting the bed white, I may still go forward and just paint the whole truck since it would just make sense to do everything in one shot. We'll see. Either way, the F250 is coming back together in a state of restoration to bring the truck back up to its former glory. |
